by Laura Pifer, Trash to Couture
Supplies
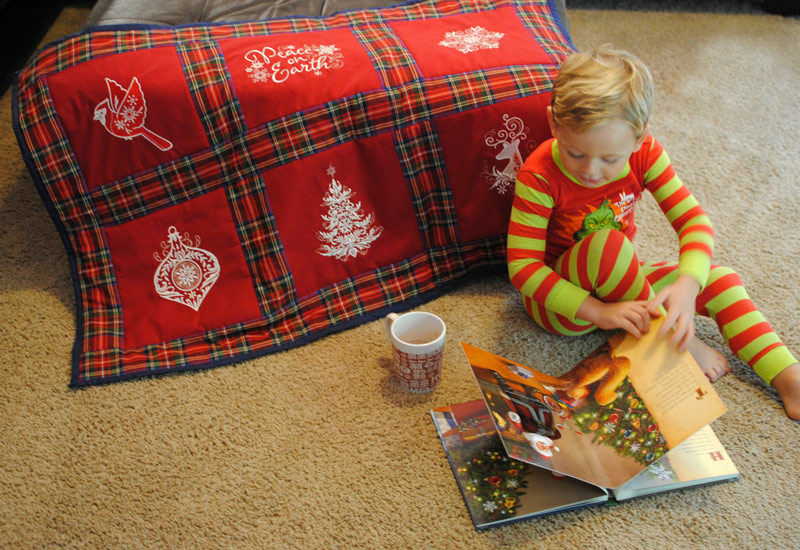
- OESD’s Winter Wonderland #12765 embroidery collection
- Brother SE1900 Sewing and Embroidery Machine
- Stabilizer: OESD Medium Weight CutAway
- Cutting Tools: Omnigrid
- Measuring Tools: Omnigrid
- Embroidery Thread
- General sewing supplies
- 1 yard of cotton fabric for blocks
- 1 yard cotton fabric for backing
- 3/4 yard cotton fabric for inner sashing/borders
- Pellon batting
Cutting:
- 6 x (10″ x 10″) squares for embroidery blocks (red). Adjust this measurement for your hoop size and alter after embroidery if need be.
- 4 x (3.5″ x 10″) strips for inner sashing (plaid fabric).
- 4 x (3.5″ x 36″) strips for inner and outer border (plaid fabric). Adjust as necessary.
- 3″ strip x quilt perimeter plus 8″ for binding (navy fabric).
- 1 yard backing (plaid fabric)
- 1 yard batting
Embroidery:
Use a CutAway Stabilizer large enough for your hoop and fabric. Hoop and embroidery each block.
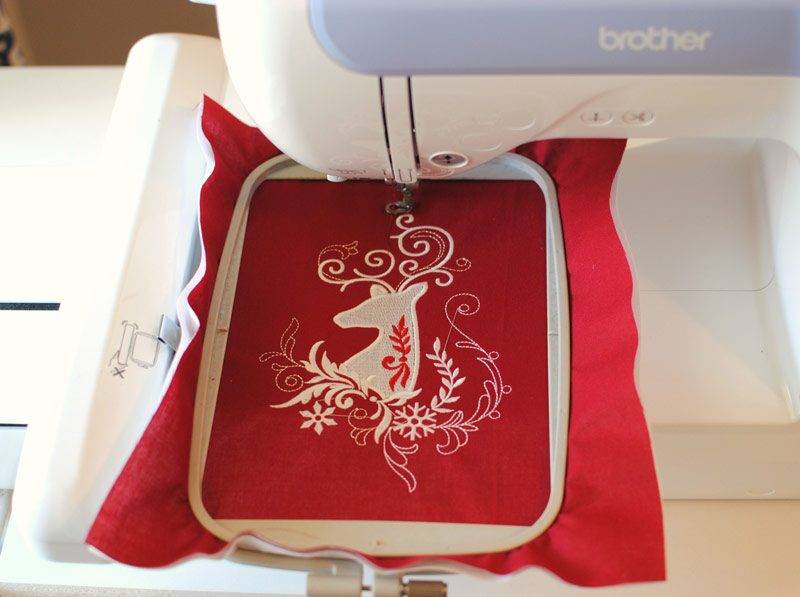
Once the embroidery is complete, cut jump stitches, stabilizer, and press
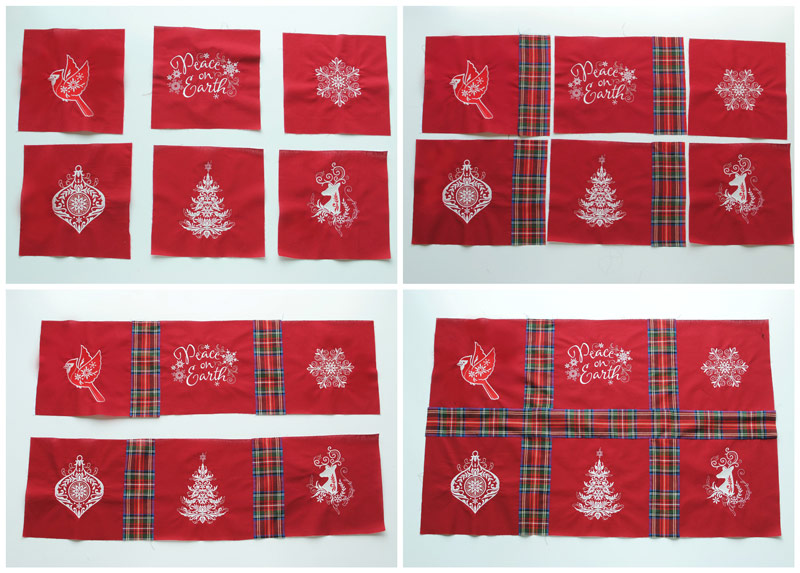
Assembly:
1/4″ seam allowance
Cut the embroidered blocks to measure 10″ x 10″. Arrange the blocks how you’d like.
With rights sides together, sew the inner sashing to the right side of the blocks in each row.
Sew the blocks right sides together in each row.
Sew the inner border between rows.
Sew the outer side borders.
Sew the top and bottom borders.
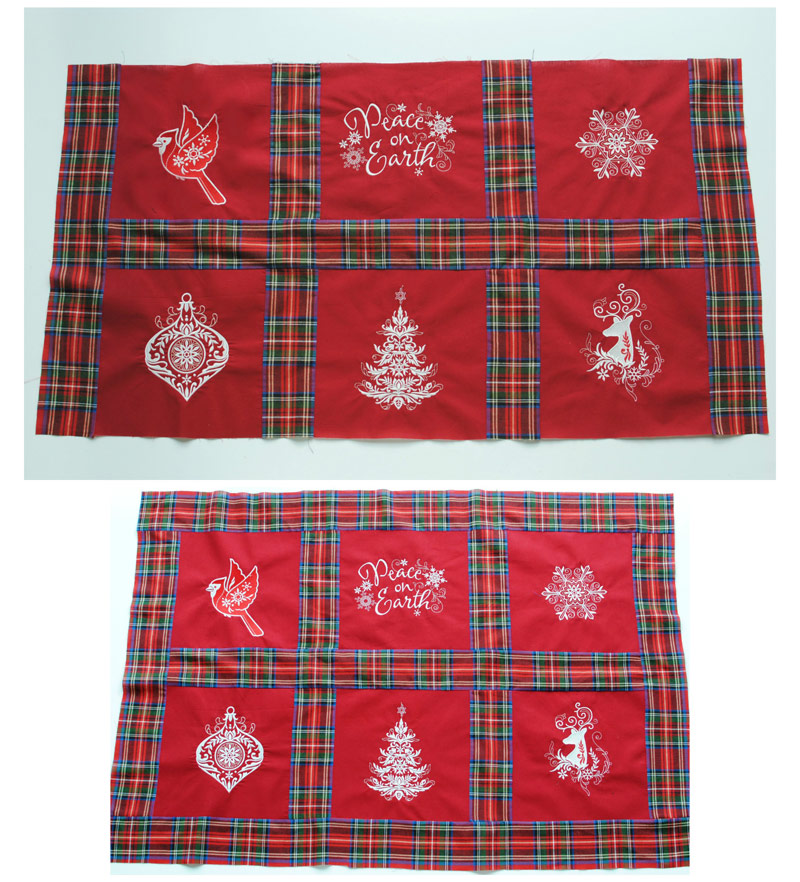
Layer a quilt sandwich by placing backing, batting, and quilt top together.
Baste the layers together with pins.
Quilt as desired. I topstitched, also known as “quilting in the ditch” along the seams of the blocks and borders.
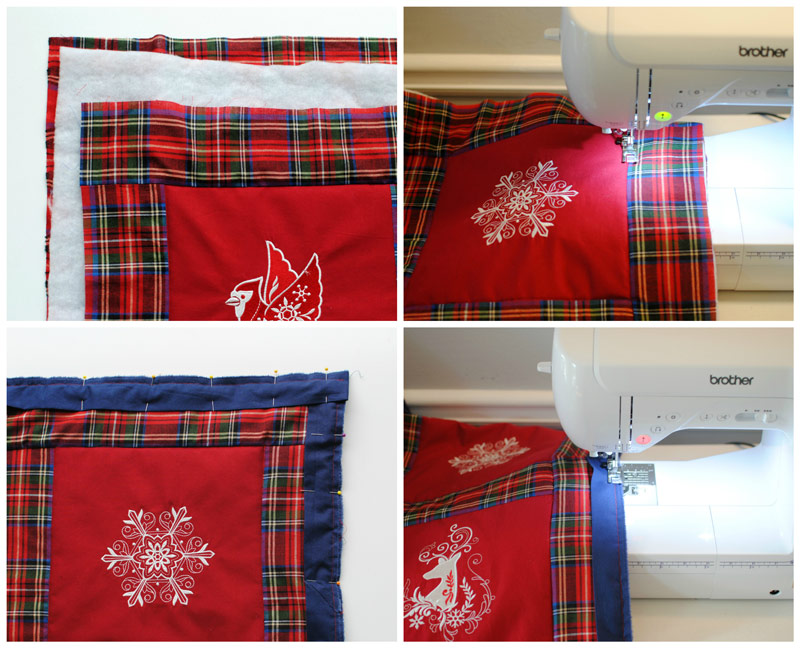
Square up the quilt by trimming so the back, top, and batting are equal.
Stitch on the binding using the mitered corner technique.
This material is © OESD, LLC and may not be reproduced or published without permission.
