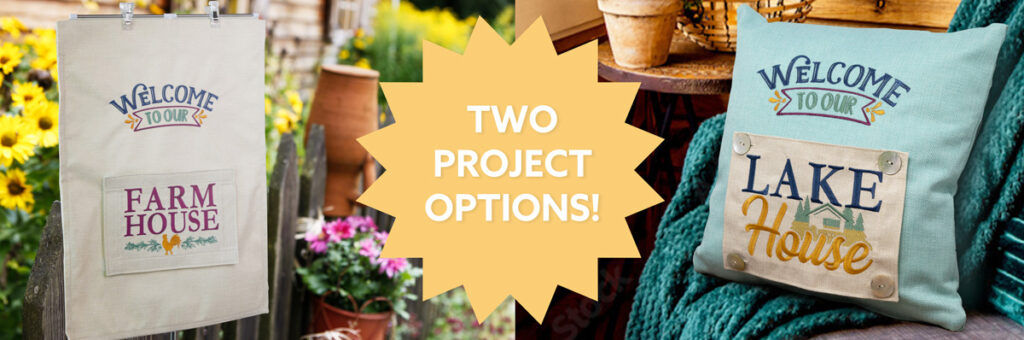
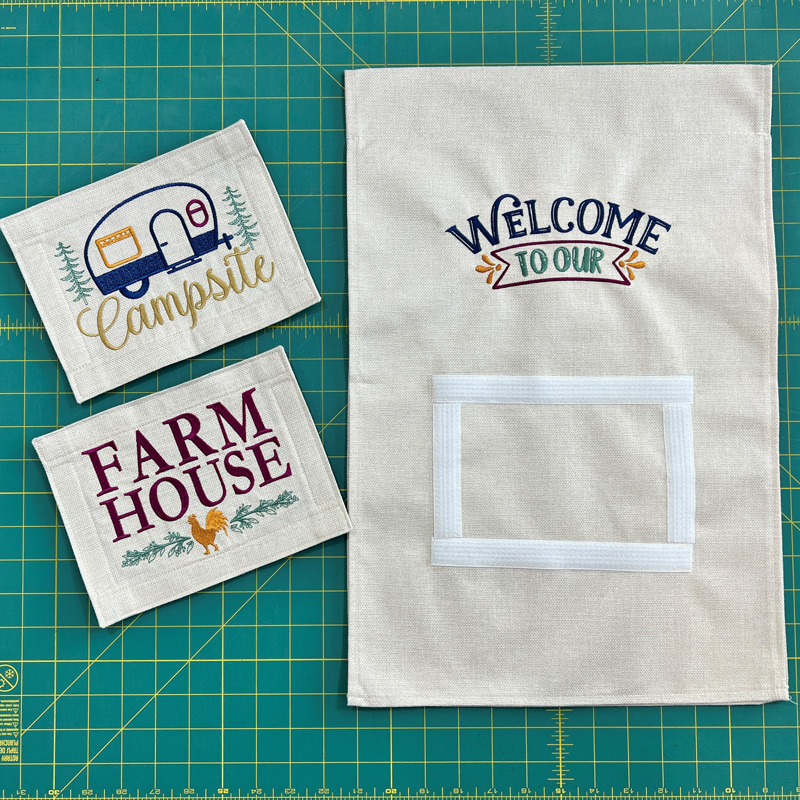
Your guests will feel right at home when they see this beautiful machine embroidered ‘Welcome to Our House’ pillow! This customizable handmade décor is adorable for any kind of dwelling – a camper, a lake house, a farm house, or just your home sweet home! In this machine embroidery tutorial, we’ll show you how to stitch this creative and cozy pillow as well as a garden flag! There are 2 different methods of assembly for you to choose from to create tons of fun combinations. You’ll be proud when visitors get to see your embroidery skills! Gather your supplies and follow along with our tutorial to start stylishly showing your hospitality today!
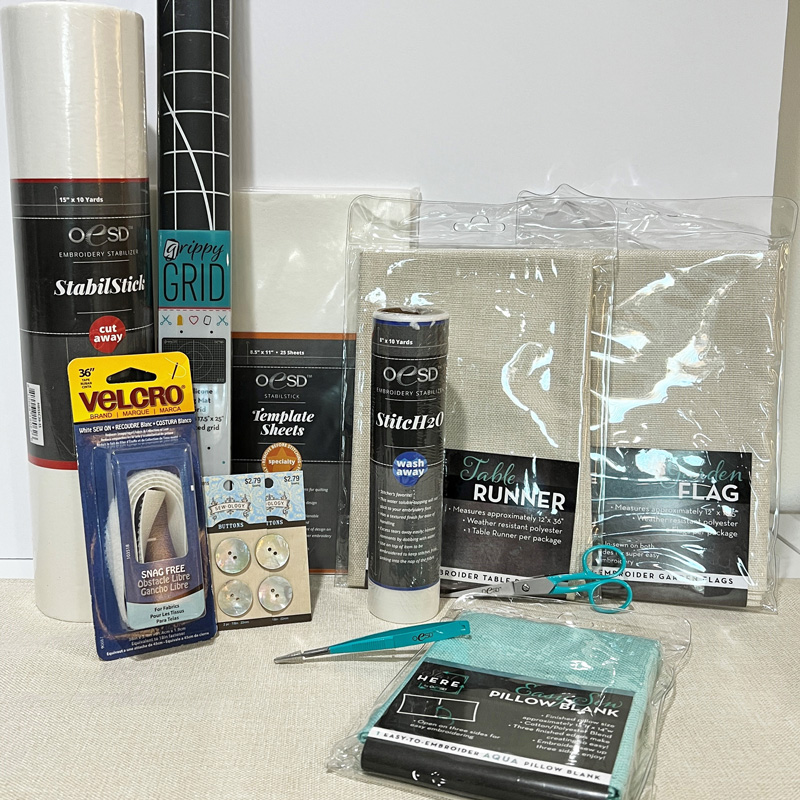
Supplies
- PK10025 Welcome to Our
- OESD StabilStick CutAway
- OESD StabilStick Template Sheets
- OESD StitcH2O Topping
- Start Here by OESD Garden Flag – Linen
- Start Here by OESD Easy Sew Pillow Blank – Aqua
- Start Here by OESD Table Runner – Linen
- OESD Expert Embroidery Tape TearAway
- OESD Perfect Embroidery Press Cloth
- OESD Grippy Grid
- Sew-on Velcro
- 7/8″ Buttons
Instructions
Step 1
Gather all supplies.
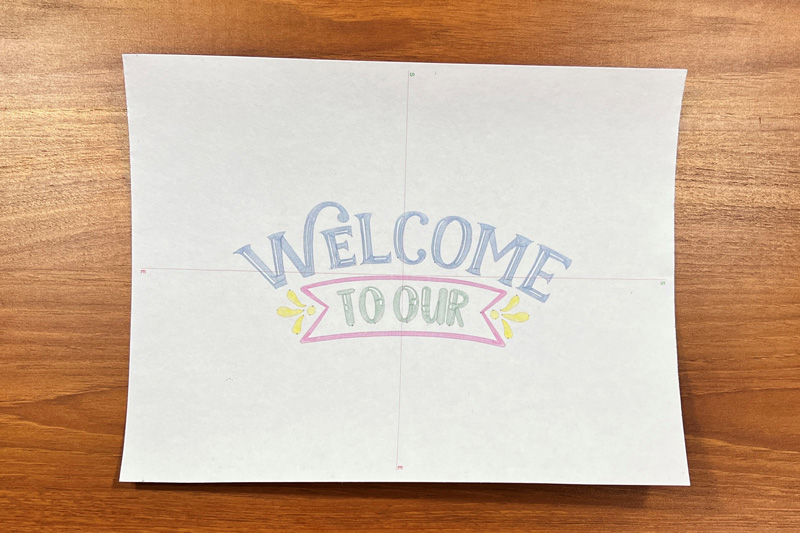
Step 2
Print #PK10025-01 Welcome to on a StabilStick Template Sheet for better placement on the flag and pillow. Set it aside for later.
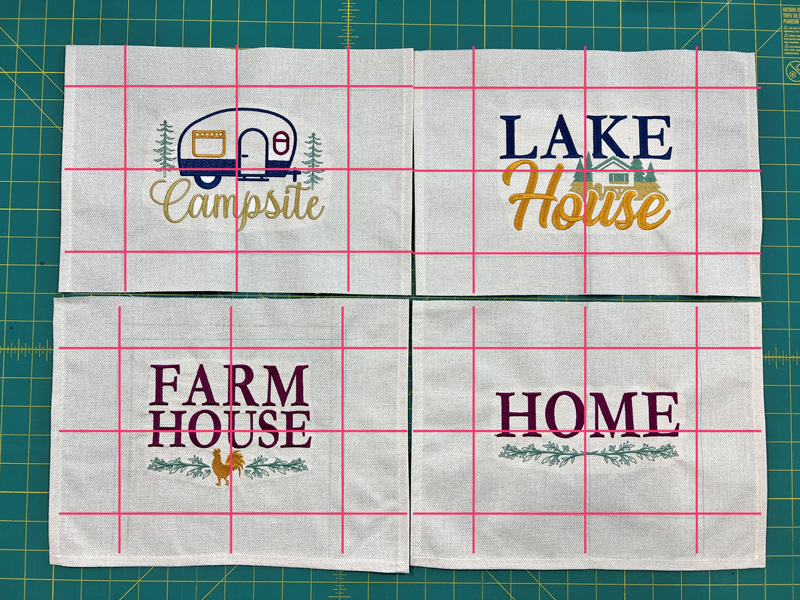
Step 3
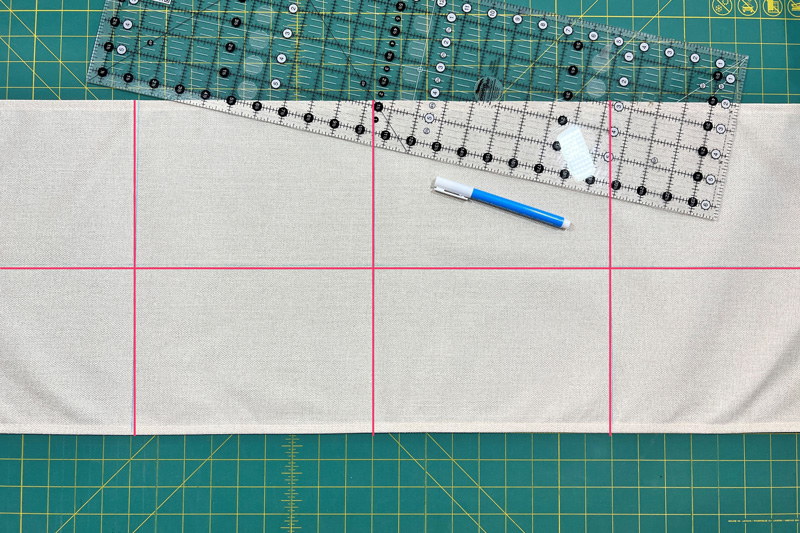
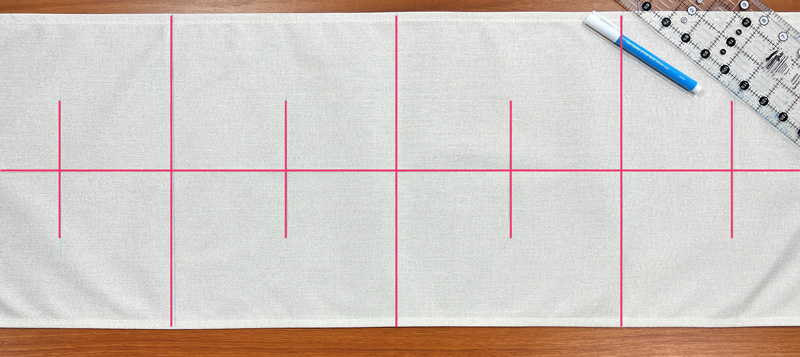
Take the table runner length and divide it into 4. Mark with a with a marker – each section should be around 9” x 12”. These will be cut lines later.
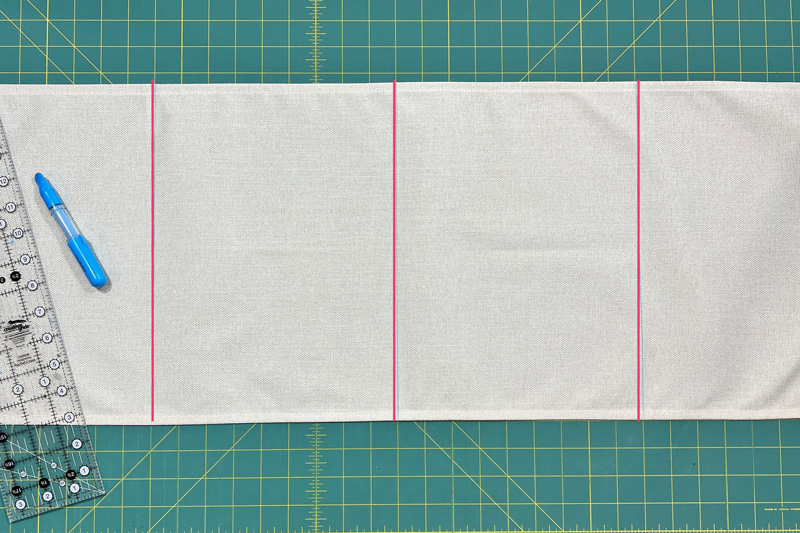
Step 4
Mark the center of the width of the table runner, making 6″ sections.
Step 5
Mark the center of each section – about 4 ½” from your vertical “cut lines”.
Step 6
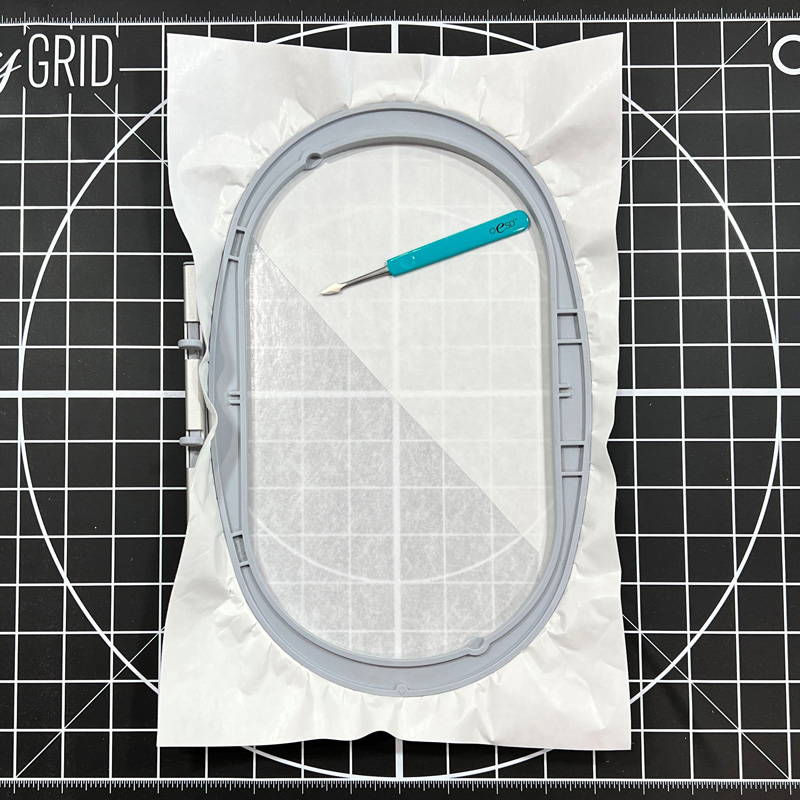
Place the hoop on the Grippy Grid and hoop StabilStick CutAway with the shiny side up. Score the paper and peel it away.
Step 7
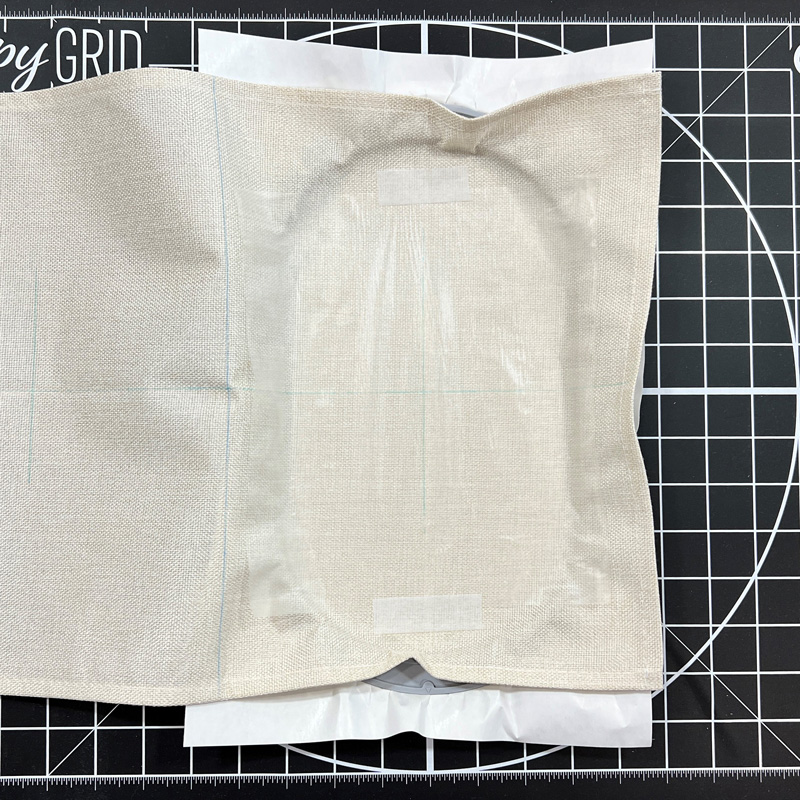
Align the center of the first section of the table runner to the center of the hoop and press in place. Use the Expert Embroidery Tape TearAway to hold a piece of Stitch2O in place.
Step 8
Using the placement tools on your embroidery machine, find the center of the design.
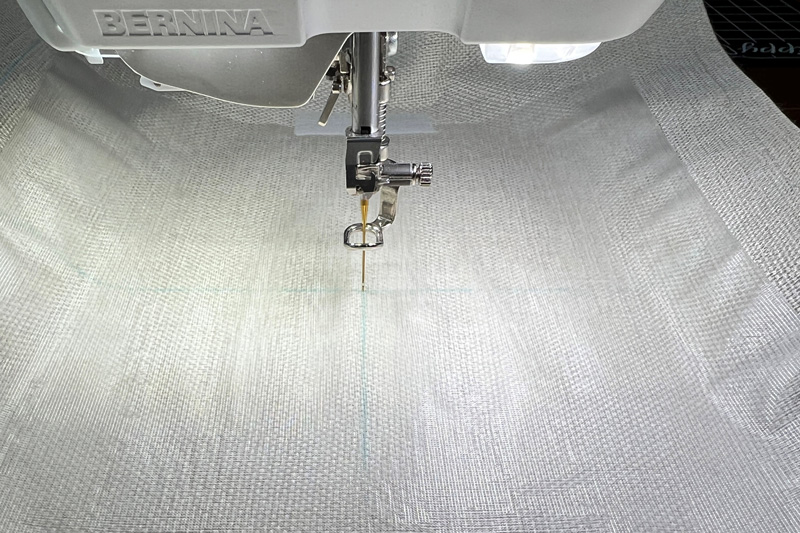
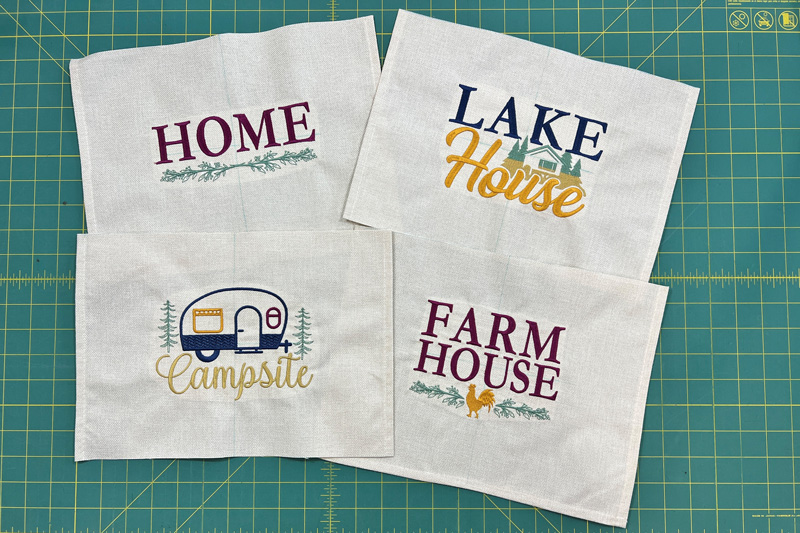
Step 9
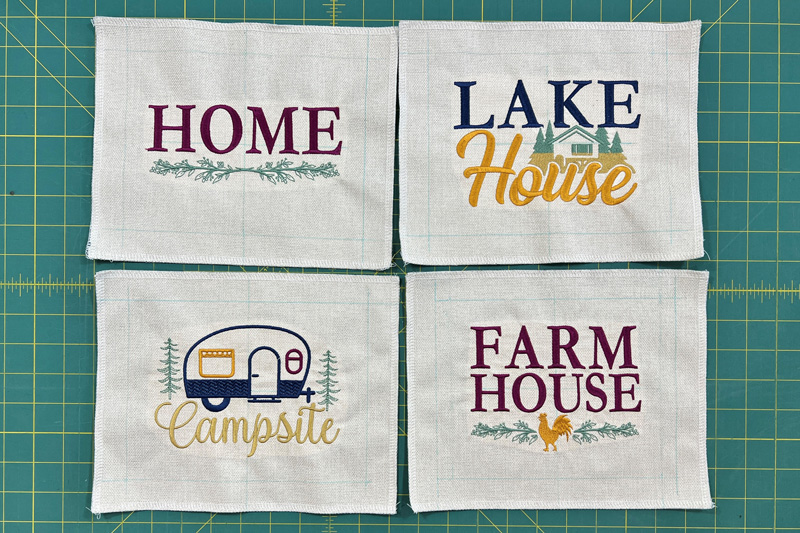
Stitch the design. Remove the table runner from the hoop.
Step 10
Gently cut away the stabilizer from the back and tear away the Stitch2O from the front.
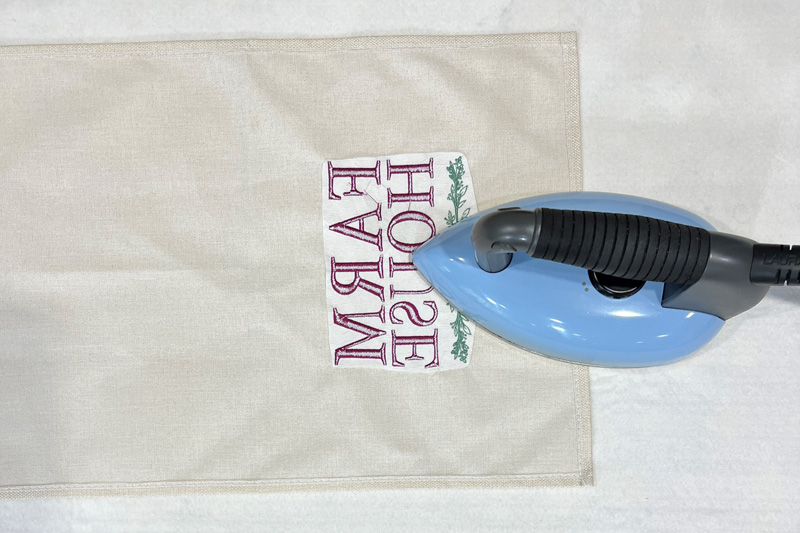
Step 11
Place the table runner face down onto the Perfect Embroidery Press Cloth and press the design.
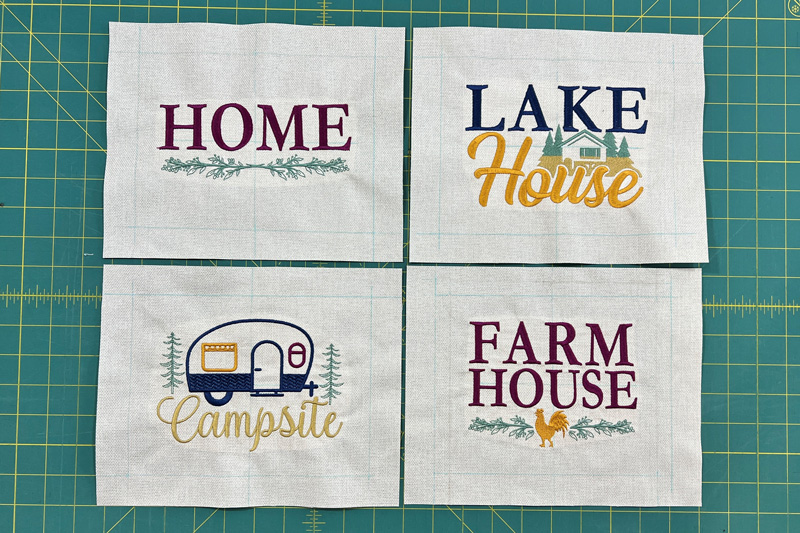
Step 12
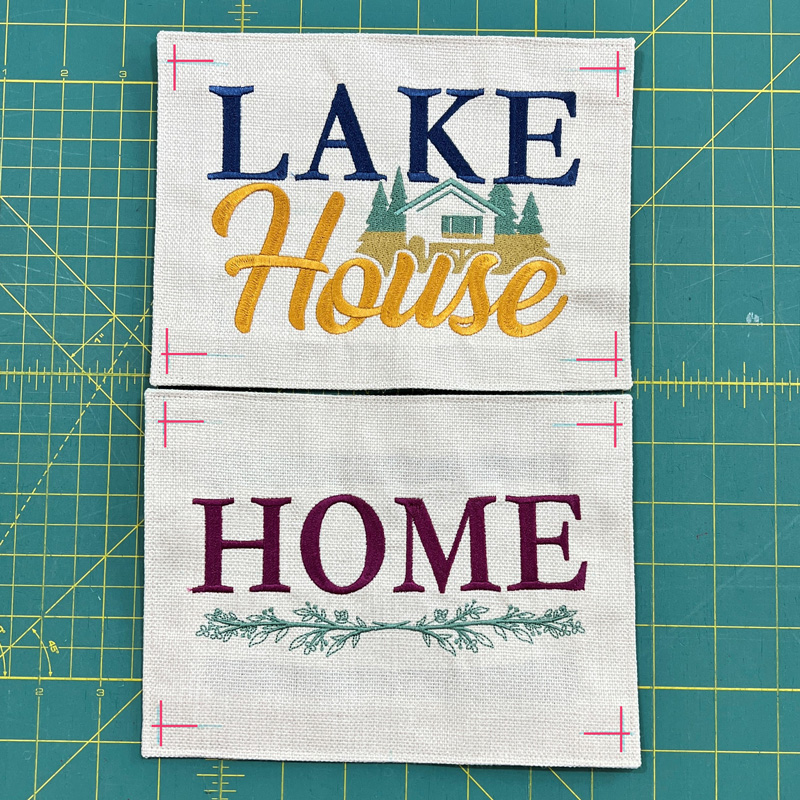
Repeat steps 5-13 for designs 03-05. Cut the table runner into 4 pieces using the marked lines you made previously.
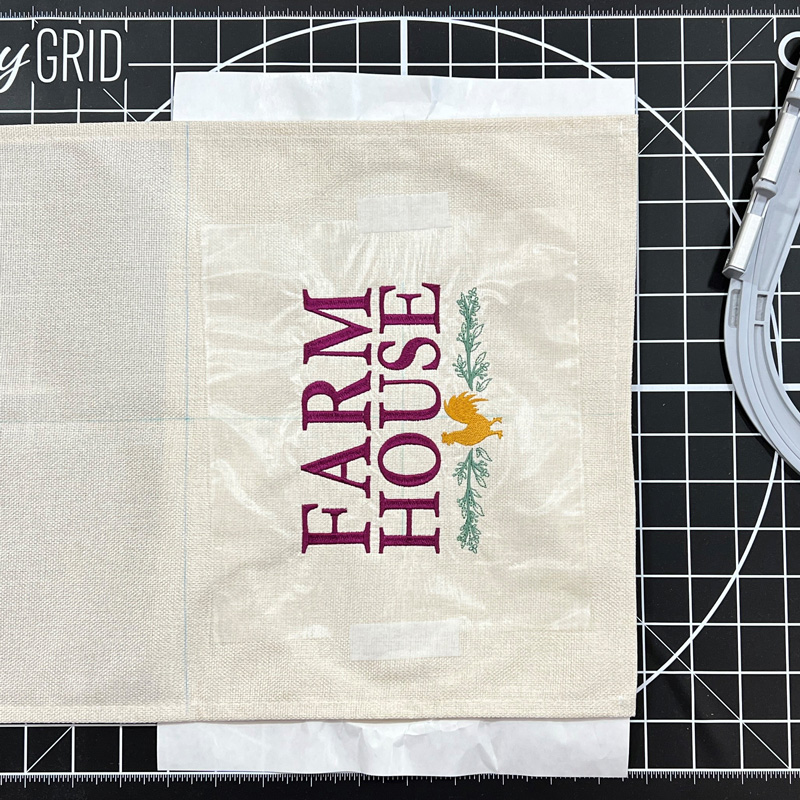
Step 13
Measure your rectangles (8” wide and 6” high). Mark the sides 4” from the center of the design on both sides. Mark the top and bottom 3” from the center of the design on top and bottom.
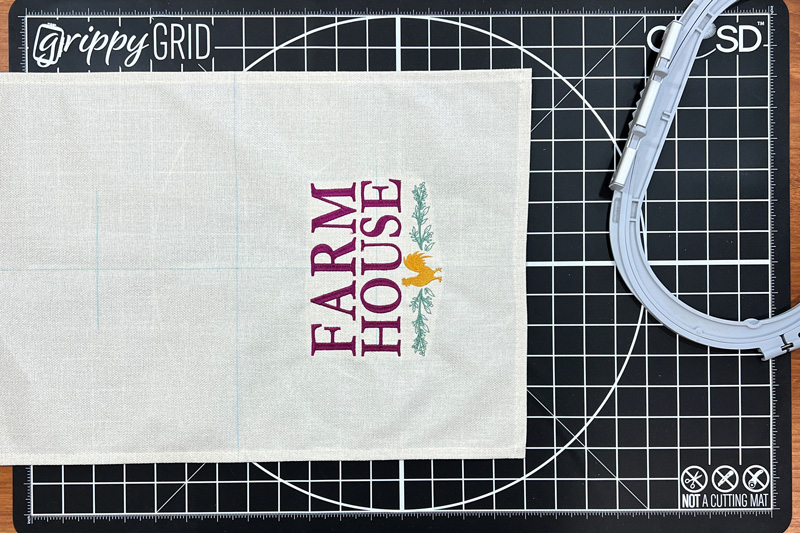
Step 14
Cut 1” away from the marked lines.
Step 15
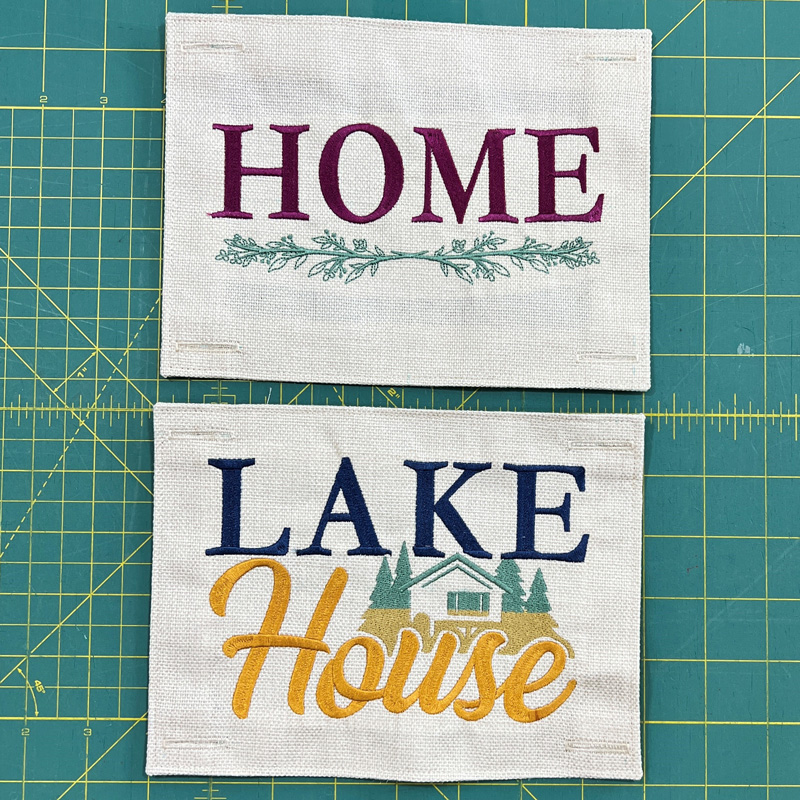
Zig Zag or serge the edges to prevent the fabric from unraveling.
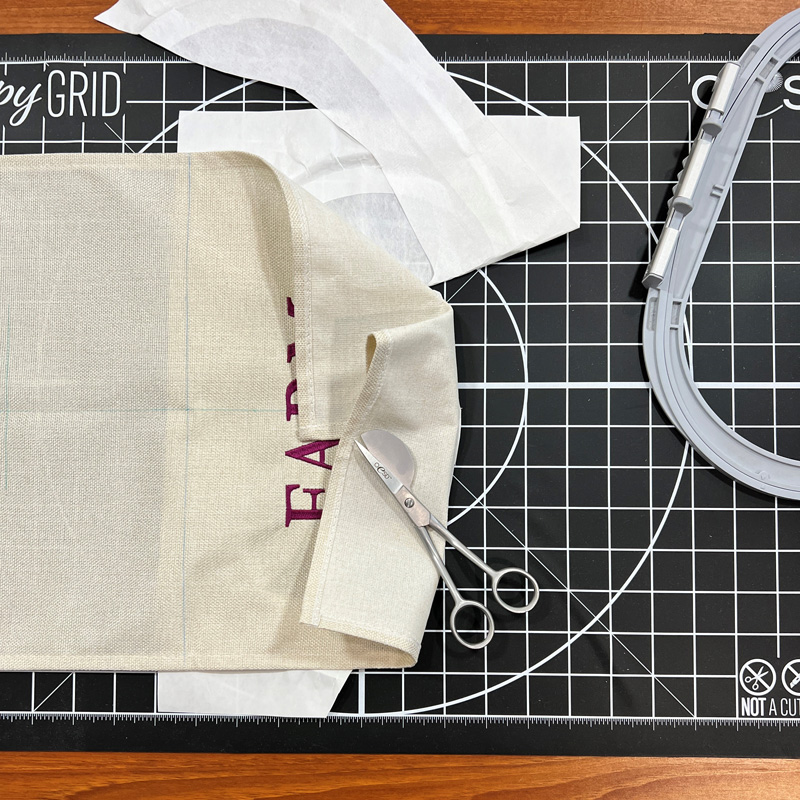
Step 16
Turn under the hem on the marked lines and pin it in place.
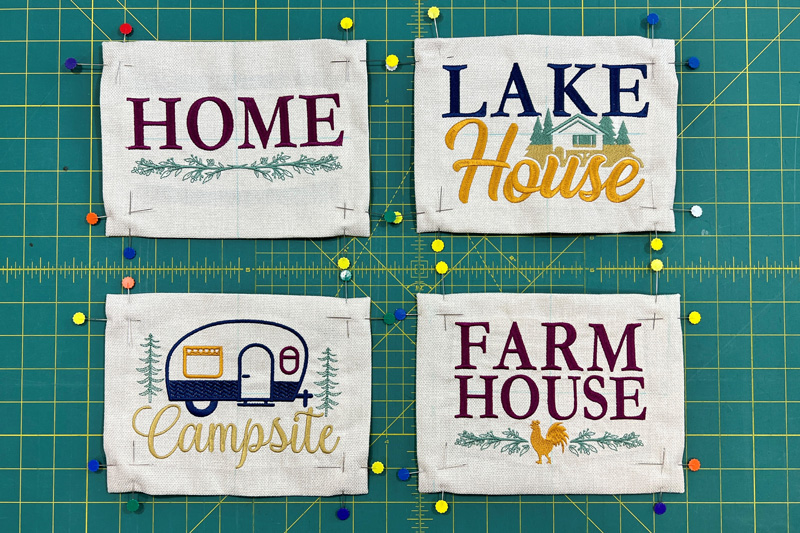
Step 17
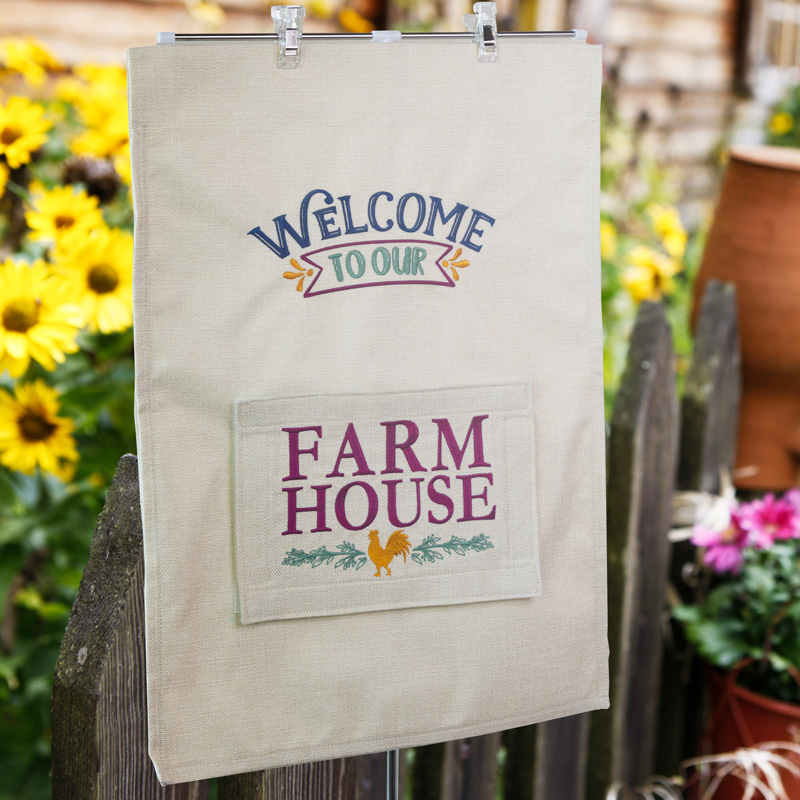
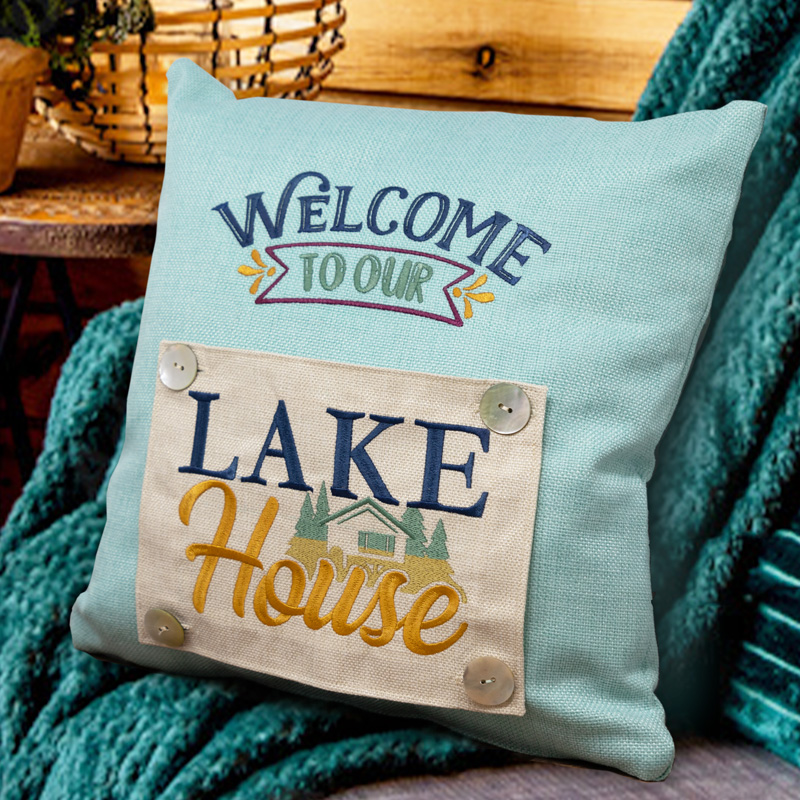
In this example, we chose 2 rectangles to add to the garden flag with velcro and 2 to add to the pillow with buttons. For the garden flag, baste the hems of the rectangles. For the pillow, edgestitch.
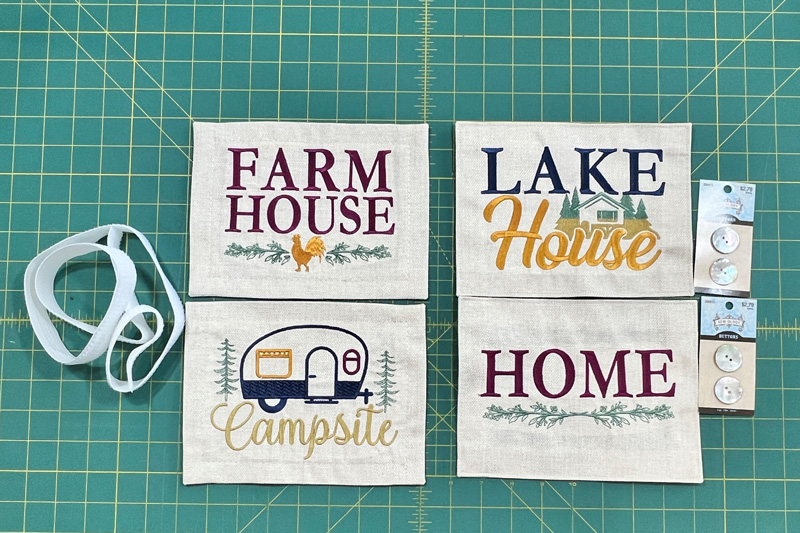
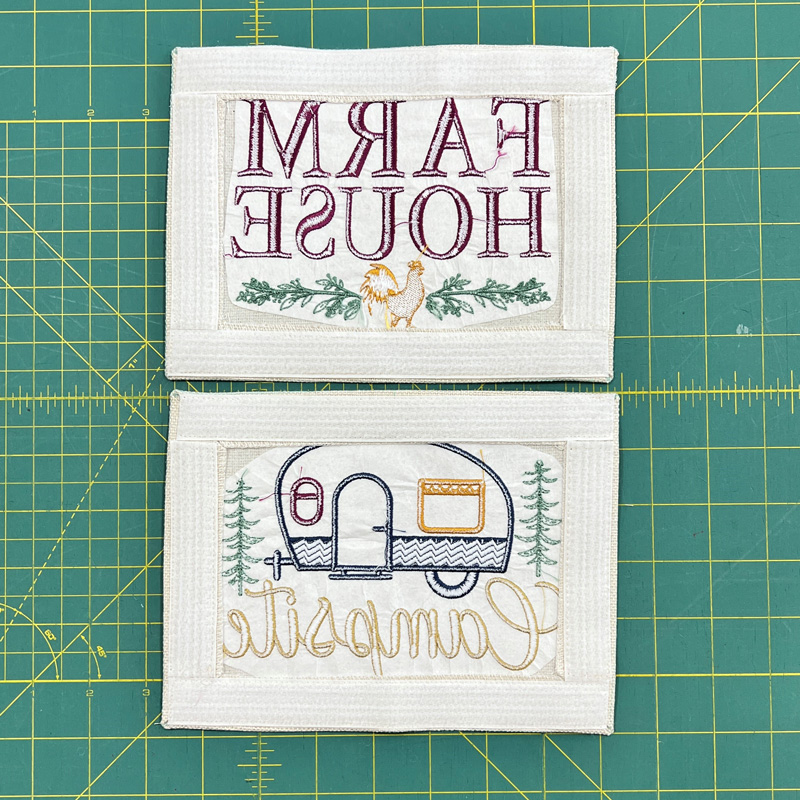
Step 18
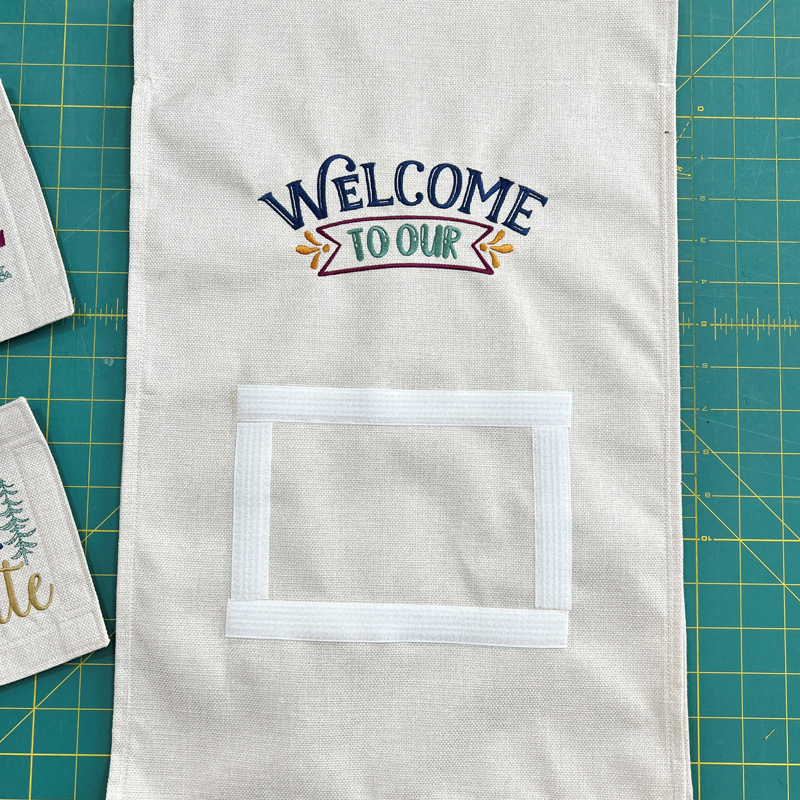
Cut strips of sew-on velcro for all sides of the garden flag rectangles and sew in place. Put the rectangles aside for later.
Step 19
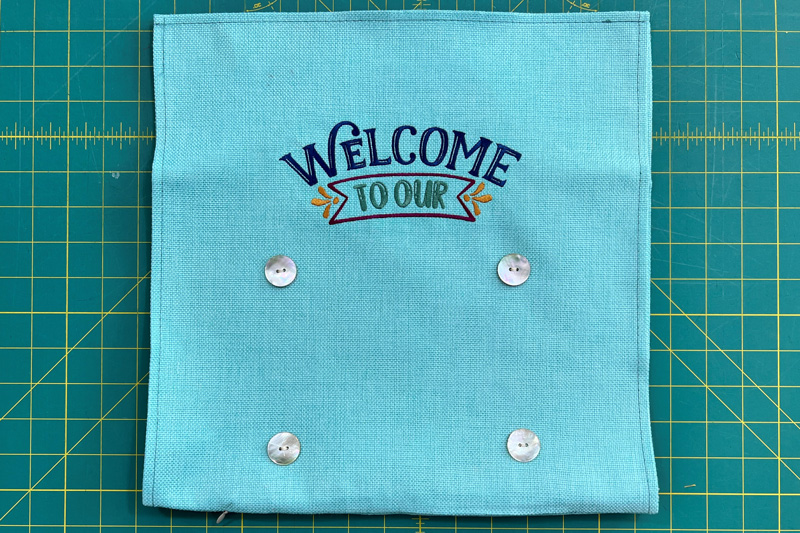
For the placement of the 7/8” buttons on your pillow rectangles, mark ½” vertically from the top and bottom. Then mark ¼” from the sides.
Step 20
Use your machine to create buttonholes and open them.
Step 21
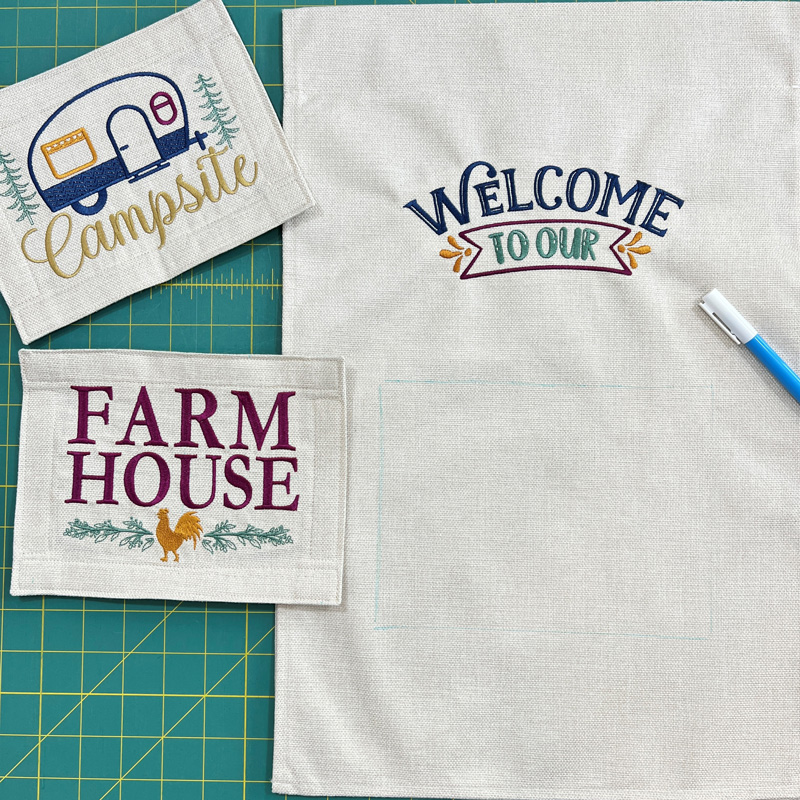
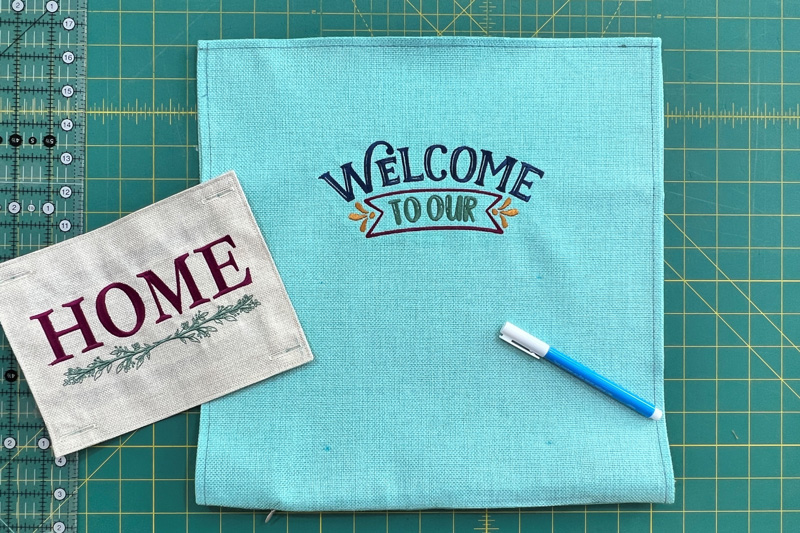
To create the garden flag and pillow, use the same steps above to place design 01 (“Welcome to Our”). Be sure to include your rectangles in the placement so you can see how the two elements will be spaced. Stitch your design according to the above steps.
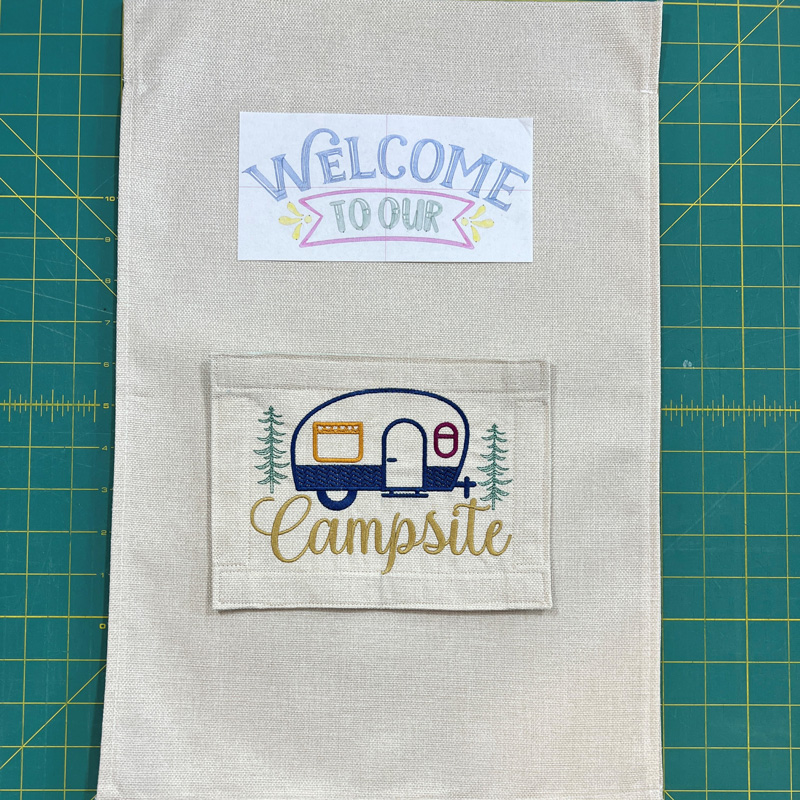
Step 22
Once you’ve figured out where you’d like to place your rectangle and sew the velcro pieces to the flag.
Step 23
Sew the sides of the flag together.
Step 24
For the pillow, put a marker in the buttonhole for placement.
Step 25
Sew the buttons in place. Unzip the pillow and put the right sides together. Stitch the 3 open sides. Turn right side out and stuff.
Step 26
Enjoy your new garden flag and pillow!

JOIN US IN THE OESD COMMUNITY!
We hope you enjoyed this machine embroidery tutorial! Have you stitched your very own Welcome to Our House Pillow? Or maybe you chose to create the garden flag version? Come show off your work in our private Facebook group, The Perfect Stitch!