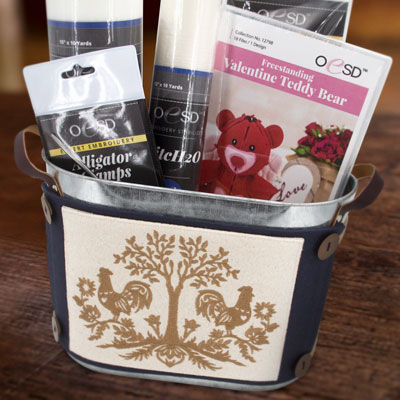
Dress up a functional bucket with this easy to make wrap using designs from Swiss Country Silhouettes.
Supplies
- OESD’s Swiss Country Silhouettes #12804
- StabilStick CutAway or StabilStick TearAway
- Isacord thread
- OESD Bobbin Thread
- ¼ yd of 45” – 60” wide Navy Canvas
- ¼ yd of 45” – 60” wide Cream Canvas
- Organ 80/12 Sharp Embroidery Needle
- Rotary Cutter and Ruler
- Fabric Marking Pen/Pencil (Recommend Heat Erase or Chalk)
- Pins
- Isacord Thread to match the Navy and Cream Canvas
- 1 Metal Bucket (Fresh Picked Container #1641-3775 from Joann’s shown in the pictures)
- 8 – ¾” Buttons
- 4 Large Thin Elastic Hairbands
- OESD Perfect Embroidery Press Cloth (optional)
- Loop and Tail Wand Tool (optional)
Instructions
• Cut 4 pieces of the navy canvas 7″ x 11″ and 2 pieces of the cream canvas 7″ x 11″ for the embroidery background. (If desired, prewash the canvas in hot water twice with no fabric softener. Dry on High Heat. Iron.)
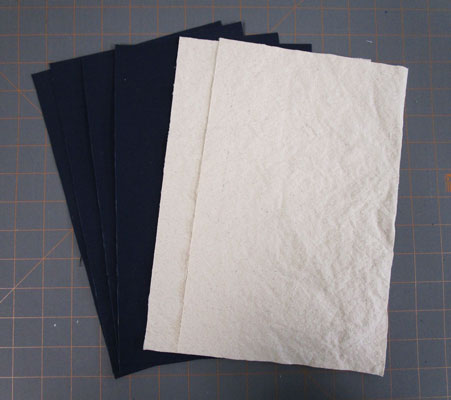
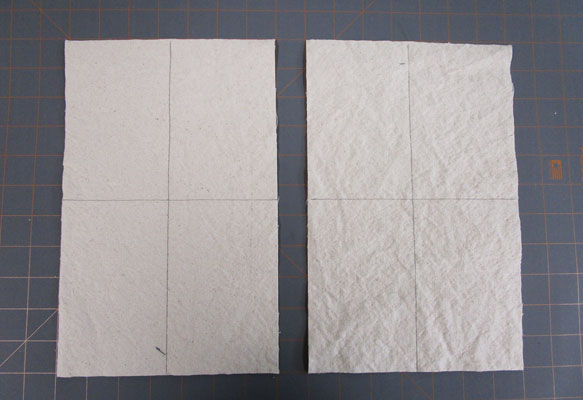
• Lay the cream canvas pieces out flat with the short ends as the top and bottom. Mark a vertical line 3½” from the left or right edge. Mark a horizontal line 5½” from the top or bottom edge. Set one piece to the side.
• Hoop Stabilstick CutAway paper side up. Score with Loop and Tail Wand Tool. Remove paper to expose the tacky surface. Center design area of one of the cream canvas pieces in the hoop. Press with the palm of the hand to secure the canvas to the exposed tacky surface. Place the hoop on the machine.
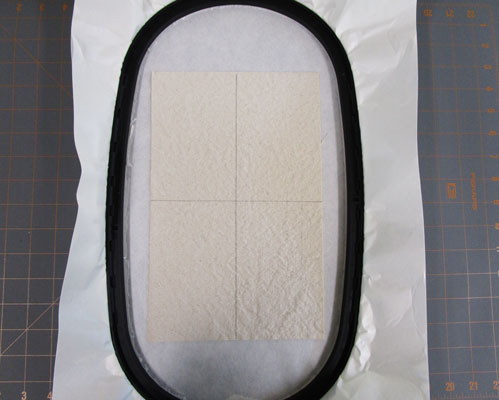
• Follow machine manufacturer’s directions to baste a box around the design area. Keep this stitching after the embroidery is complete. The stitching is needed when trimming and pressing seam allowances in Step 6 of the project directions.
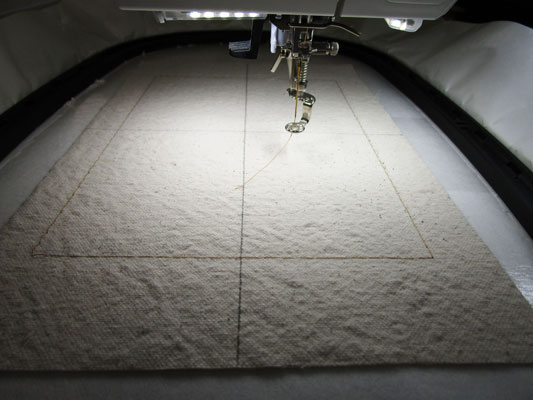
• Select Design: #12804-03S. Embroider the design. Remove the hoop from the machine when the design is complete. Carefully unhoop the design without disturbing the basting stitches.
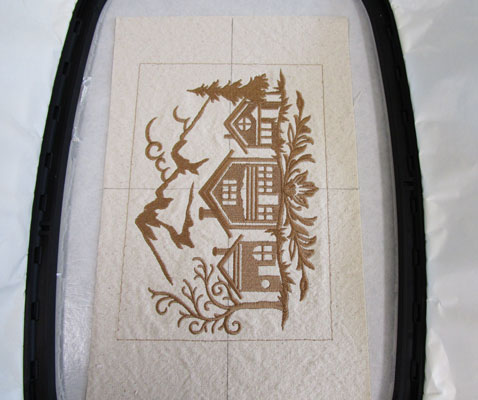
• Using a rotary cutter and ruler, trim seam allowances ½” to 1” from the basting box stitches on all four sides of the embroidery area. Fold side seam allowances on the basting line toward the wrong sides and press. Repeat for the top and bottom seams. Remove basting stitches if desired. Tip: Reduce bulk in the seams by carefully removing the stabilizer from the seam area.
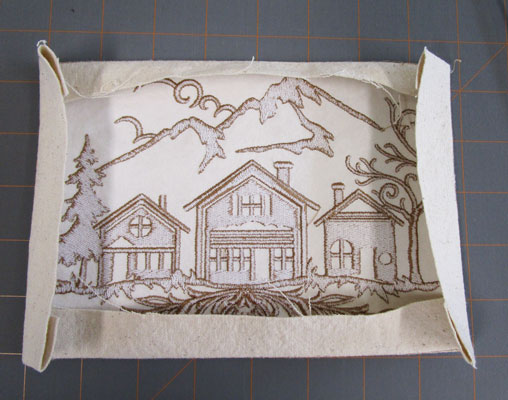
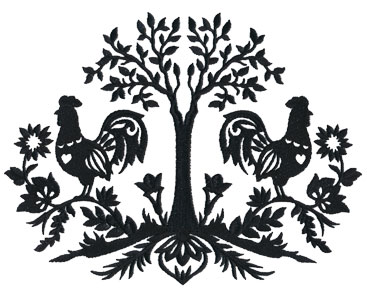
• Repeat Steps 3 and 6 on the second piece of cream canvas using the Second Design: #12804-01S
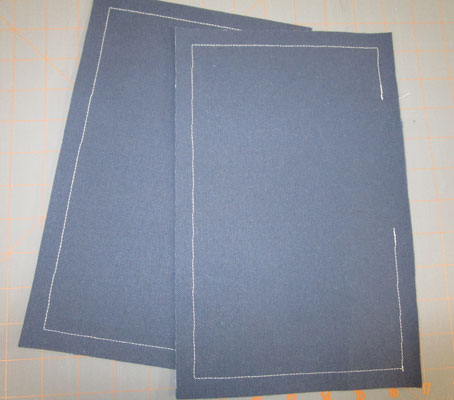
• Pin two navy rectangles right sides together. Stitch a ½” seam allowance around all edges leaving a 4” opening on one side. Clip corners, turn, and press. Top stitch ¼” around the perimeter. Repeat with the other two navy rectangles.
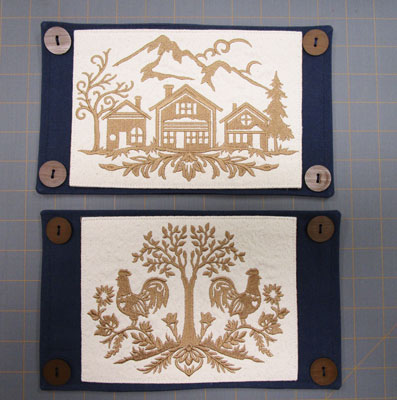
• Center one embroidered design on each of the navy base rectangles. Top stitch in place 1/8” away from the outside edges of the embroidered area. Hand or machine sew buttons in the corners as desired.
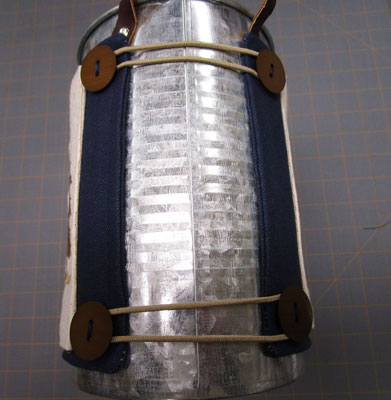
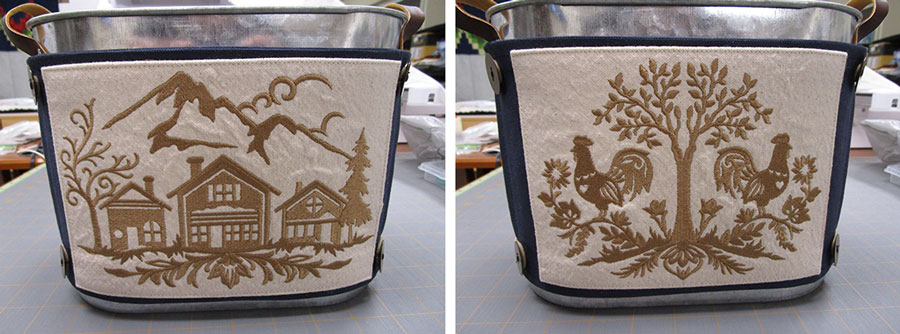
• Use hairbands around the buttons to hold the designs to the metal bucket. Fill and enjoy!
This material is © OESD, LLC and may not be reproduced or published without permission.
