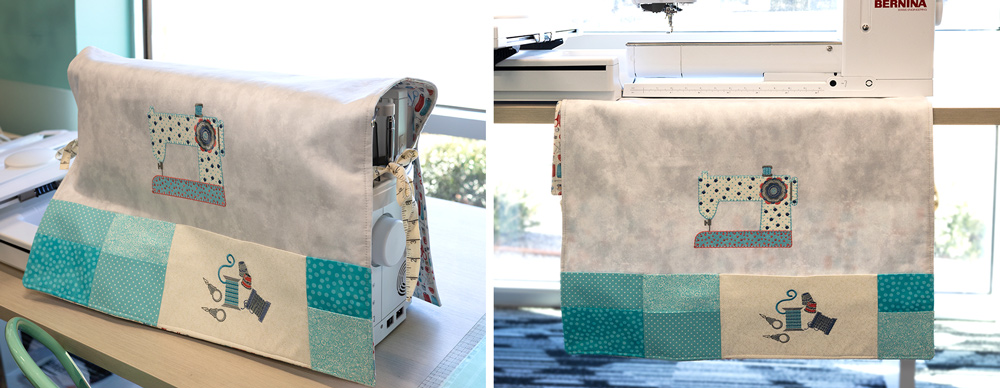
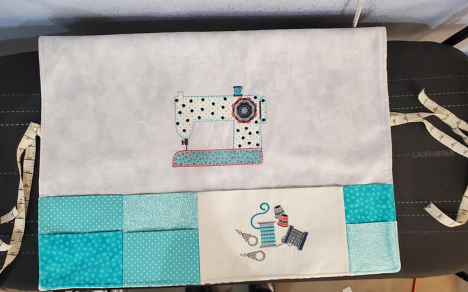
When it comes to taking care of your beloved embroidery machine, a stylish and functional cover is a must-have! Not only does it keep it safe from dust, but it also adds a touch of fun style to your sewing room. In this tutorial, we will explore the art of machine embroidery to create a beautiful Stitched Sewing Machine Cover using the Stitch Garden collection by Cherry Guidry. It’s a quick and easy project that can be adapted to fit any machine!
The added pockets will help organize your sewing supplies, and you can even use this as a mat underneath your machine to keep track of your tools as you sew. It’s the perfect blend of creativity and practicality, elevating your embroidery experience to a whole new level!
Supplies:
- Stitch Garden by Cherry Guidry 80370
- OESD Applique Fuse and Fix
- OESD Fuse and Fleece
- OESD StabilStick TearAway
- OESD Fusible Woven
- OESD StabilStick Template Sheets
- OESD Expert Point and Press Tool
- OESD Perfect Embroidery Press Cloth
- OESD Perfect Snip
- Main Fabric, Lining Fabric, Fat Quarters and Scraps, Ribbon
Cutting Fabric:
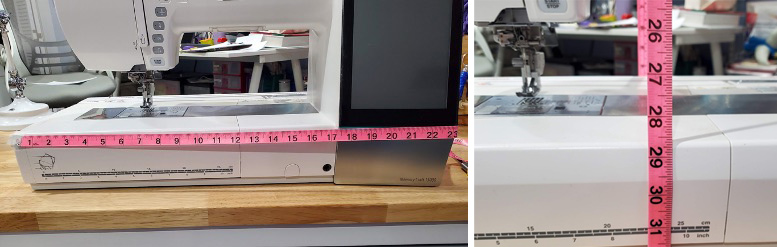
For the main body of the cover:
Measure your machine’s width. Add 1″. Measure the height of the front, the top, and the back. Add these together and add 1″. Cut a piece of your main fabric following these measurements. Cut a piece of your lining fabric the same size. Cut enough Fuse and Fleece Add Cut 1 main fabric measuring the width of your machine + 1″ and the , 1 lining fabric 24 ½ x 36, Fuse and Fleece to cover the back of both the lining and main fabric – 4 pieces of Fuse and Fleece 20” x 24 ½ (Two pieces each for main fabric and lining)
Pocket 1 (the pocket with embroidery):
Cut 1 piece of fabric and 1 piece of Fusible Woven 13” x 10 ½”
Pockets 2 and 3:
Cut 2 pieces of fabric and 2 pieces of Fusible Woven 5 ½” x 13” for back pocket. Cut 2 pieces of fabric and 2 pieces of Fusible Woven 5 ½” x 8” for front pocket.
Pocket 4:
Cut 1 piece of fabric and 1 piece of Fusible Woven 6 ½” x 13” for back pocket. Cut 1 piece of fabric and 1 piece of Fusible Woven 6 ½” x 8” for front pocket.
Instructions:
Step 1
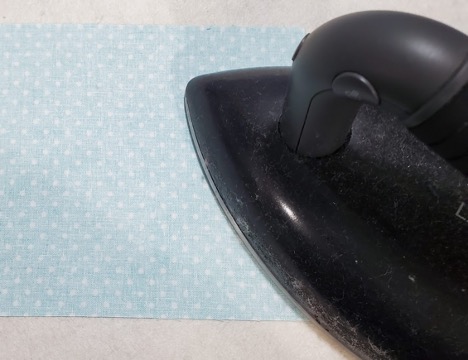
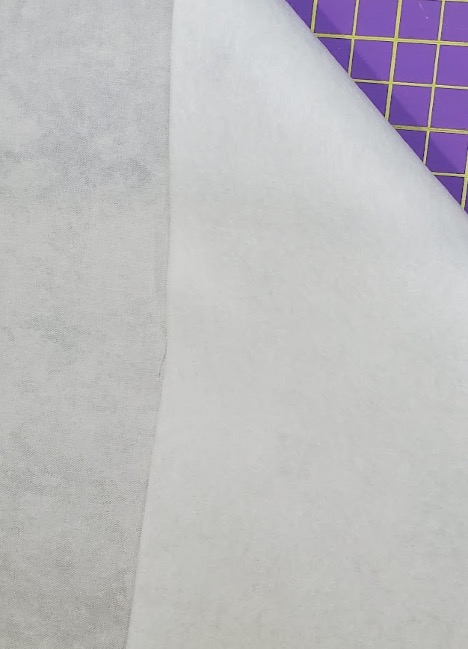
Apply Fuse and Fleece to back of main fabric and lining. Apply Fusible Woven to the back of the pocket pieces.
Step 2
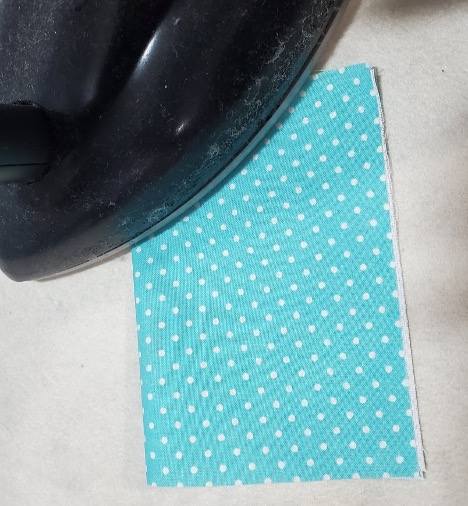
Fold pockets in half widthwise. Press.
Step 3
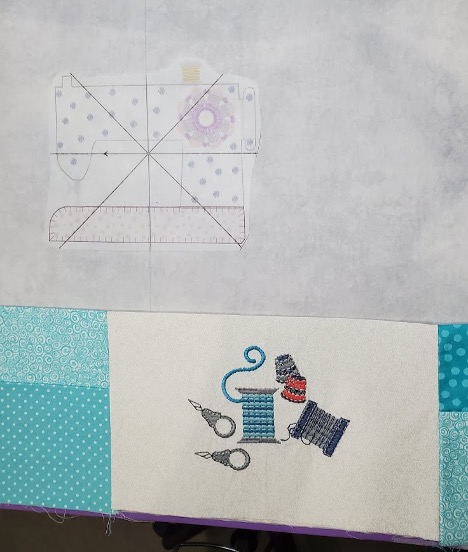
Using StabilStick Template Sheets, determine the placement on Pocket 1 for embroidery.
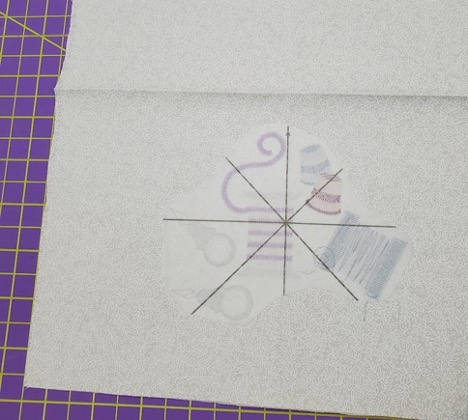
Step 4
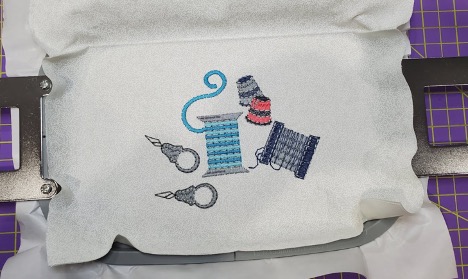
Hoop StabilStick TearAway and your fabric. Embroider your chosen design on Pocket 1.
Step 5
Create Pockets 2-4: Baste the small pocket to the large pocket.
Step 6
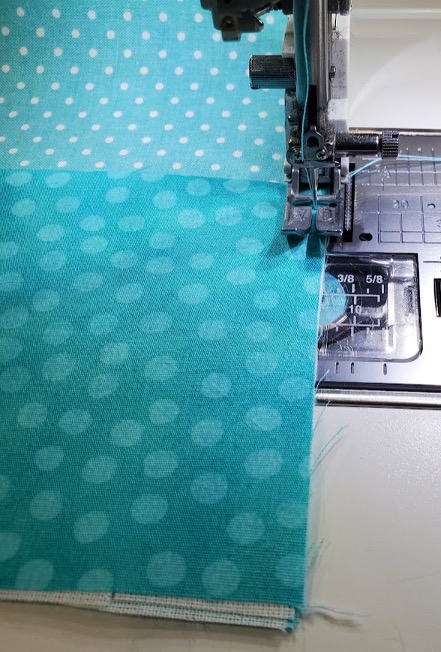
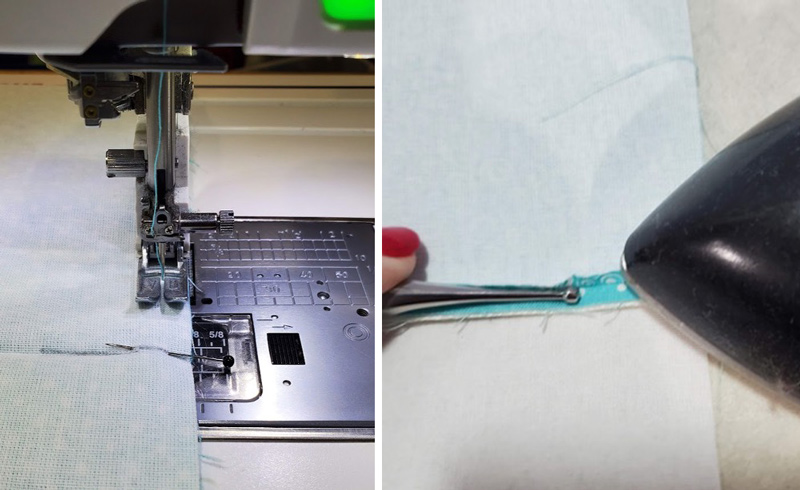
Arrange the pockets on the cover in the locations you prefer. Open the pockets, match the pressed fold, and stitch with a ¼” seam allowance. Press the seams open. Open the seams with the Point and Press tool. You now have the pocket piece ready to attach to the cover. Set aside.
Step 7
Apply the Fuse and Fleece to both the main fabric and the lining.
Step 8
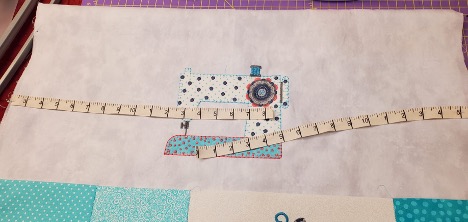
Set the finished pocket on one of the short ends to aid in placement of the embroidery design. The pocket is slightly longer than the main fabric. This is to give you a little room to help you with placement. Use the template sheet to place the design. Hoop the StabilStick TearAway. Embroider the design.
Step 9
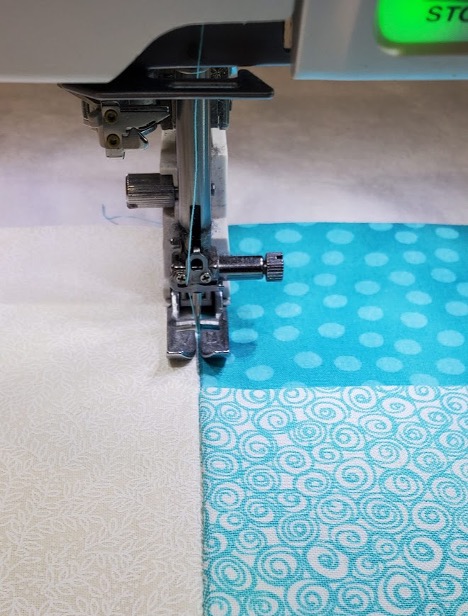
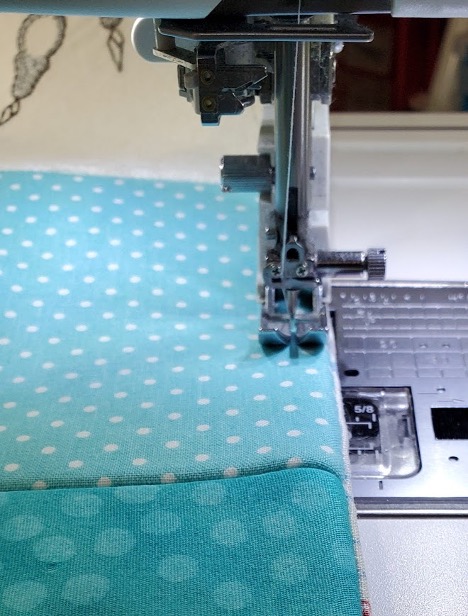
Place the pockets on the bottom of the main fabric. Stitch in the ditch to create the pockets.
Step 10
Cut (4) 18” pieces of ribbon for the ties. Measure down 6 ½” from center on both sides, front and back, for ribbon tie placement. Pin the ribbon to outside edge of cover as well as the other ends to the inside so those ends do not get caught in the seam.
Step 11
Place the lining on top of the front, right sides together. Stitch the lining to the front with a ½” seam, leaving a space for turning.

Step 12
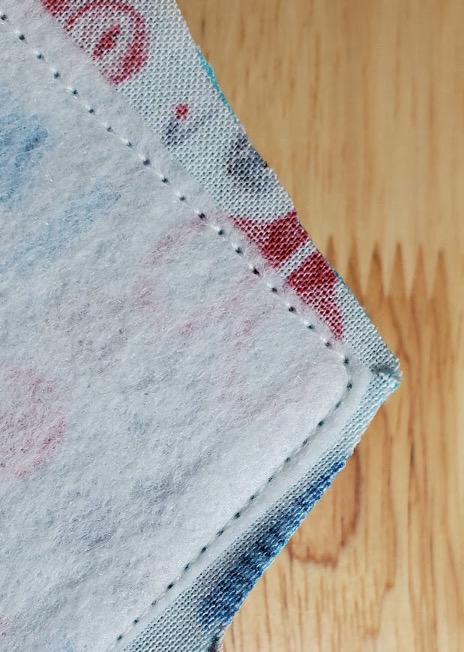
Trim corners and turn right side out. Press.
Step 13
Top stitch around the cover.
Step 14
Enjoy your new sewing machine cover!

JOIN US IN THE OESD COMMUNITY!
We hope you enjoyed this machine embroidery tutorial! Have you created your own Stitched Sewing Machine Cover? Come show off your work in our private Facebook group, The Perfect Stitch!