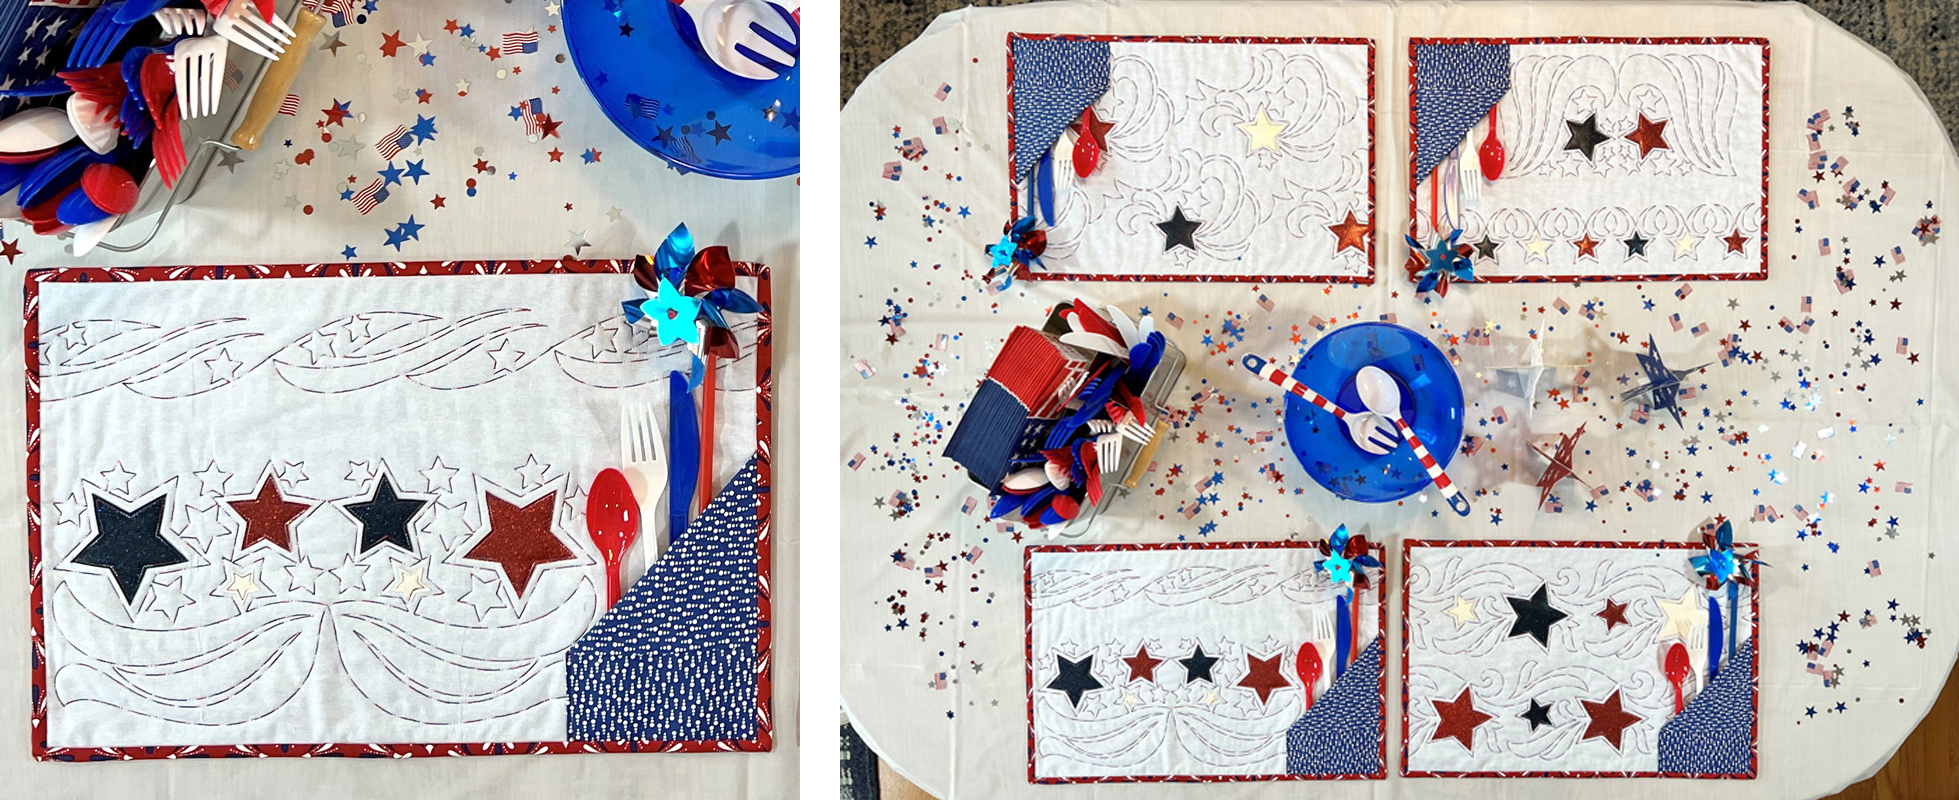
This summer, showcase your machine embroidery skills when you create a set of these patriotic Stars and Stripes Quilted Placemats. Check out this step-by-step tutorial to see how easy it is to use our Stars & Stripes Quilting Collection (#12943) and our StabilStick Template Sheets to create continuous quilted patterns right in your embroidery hoop! You’ll turn fabric and fun variegated thread into stunning showpieces for your Fourth of July or Memorial Day party’s tablescape. From selecting favorite fabrics, to mastering stitch placement, you’ll learn to stitch this project, then be proud to show off your creations to your guests!
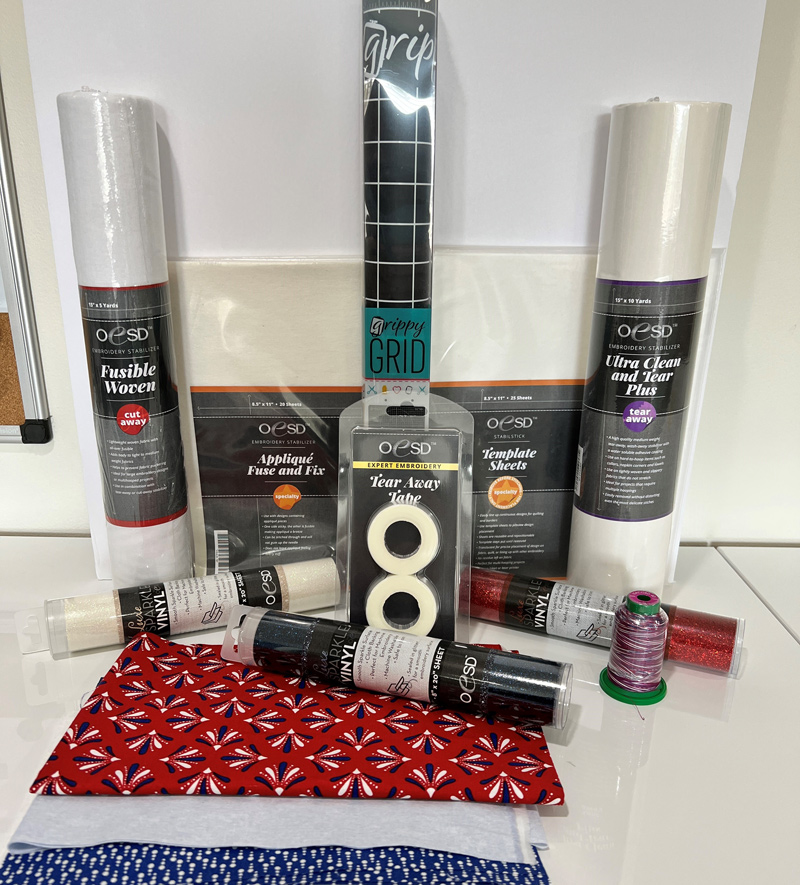
Supplies:
- Stars & Stripes Quilting Collection #12943
- Ol’ Glory Isacord Variegated Thread 9918
- OESD Applique Fuse and Fix
- OESD Fusible Woven White
- OESD StabilStick Template Sheets
- OESD Ultra Clean and Tear Plus
- OESD Luxe Sparkle Vinyl in Red, White, and Blue
- OESD Expert Embroidery Tape TearAway
- OESD Perfect Embroidery Press Cloth
- OESD Embroidery Essentials Tool Kit
- OESD Grippy Grid
- 505 Temporary Adhesive Spray
- Front Fabric – 14″x20″ rectangle for each placemat
- Back Fabric – 14″x20″ rectangle for each placemat, additional 7 ½” x 10” rectangle for pocket
- Batting
- Fabric for Binding
Instructions:
Step 1
Gather your supplies
Step 2
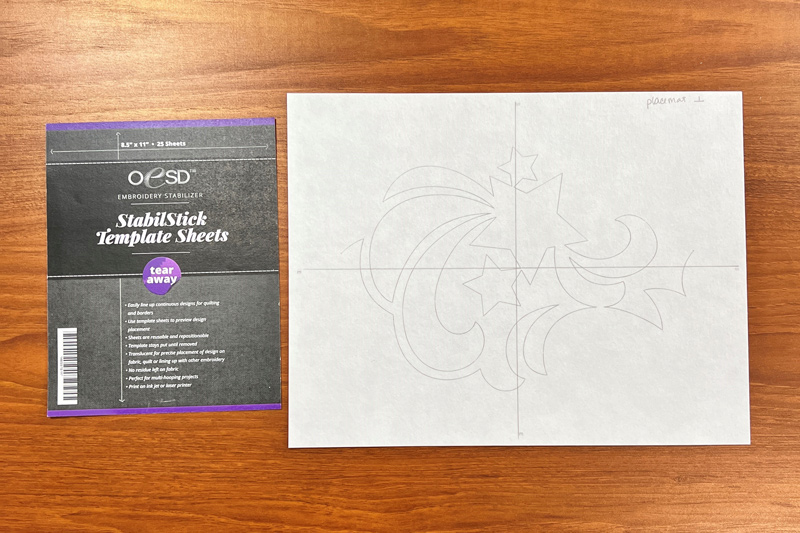
Using the templates included in your PDF instrutions, print the designs on paper and save them for the applique stars that come later in the project. Then, enlarge the designs by 20% and print on StabilStick template sheets.
Step 3
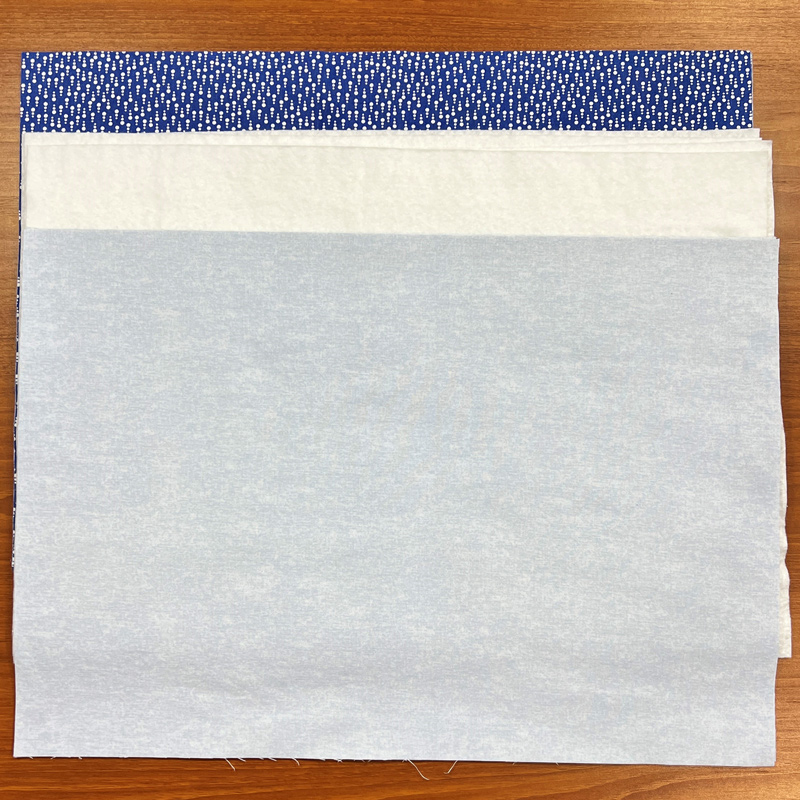
Gather your fabric and batting rectangles.
Step 4
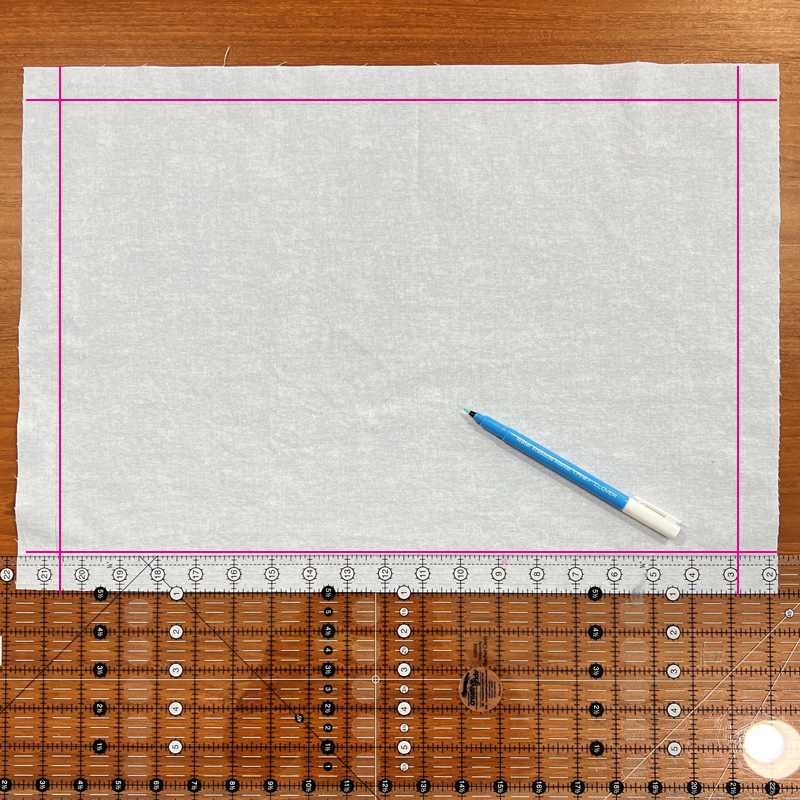
Mark 1″ from each edge of the fabric rectangle. This will be the edge of your placemat.
Step 5
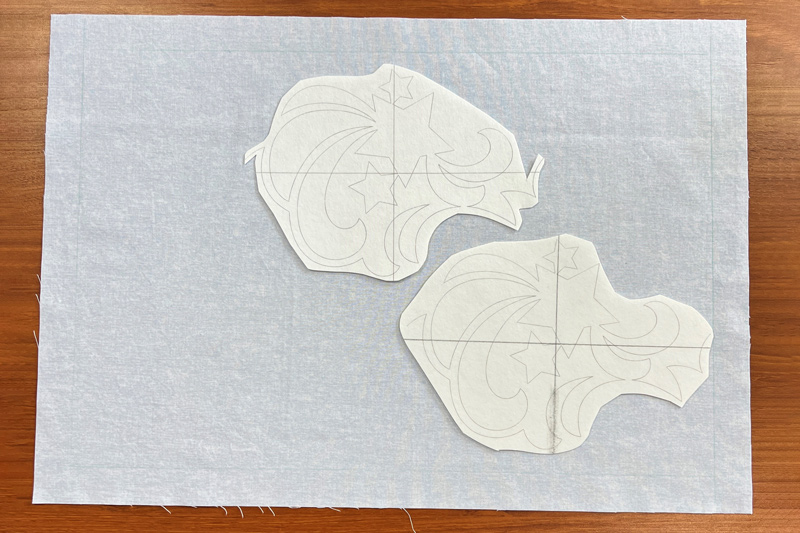
Trim the StabilStick Template sheets close to the designs. Position them on the front fabric and plan where you’ll stitch. The Stars & Stripes Quilting designs are continuous. In this example, the first design is placed about 5″ from the lower right corner.
Step 6
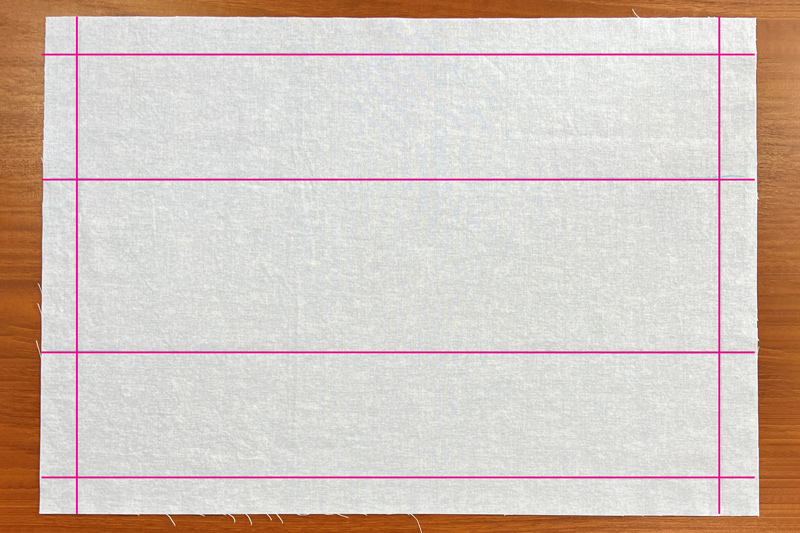
Once you’re happy with your design placements, make horizontal marks to line up with their centers.
Step 7
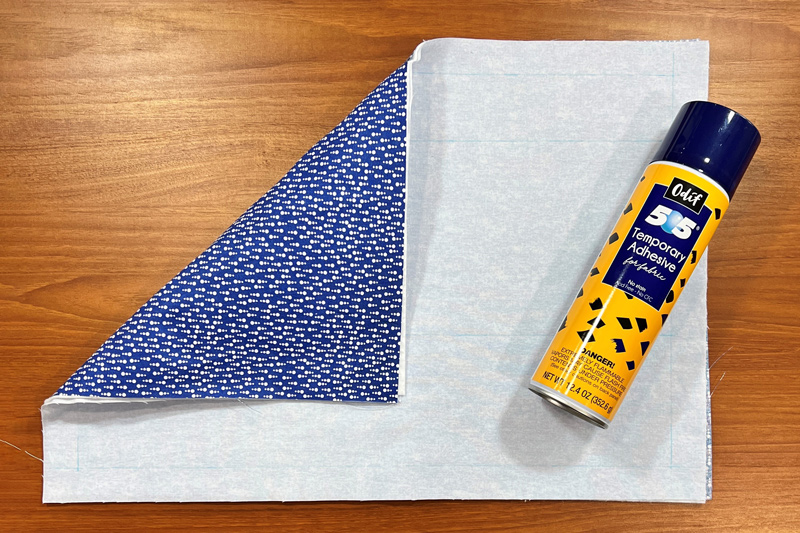
Use 505 Adhesive Spray to attach all layers of your placemat: front, batting, and backing.
Step 8
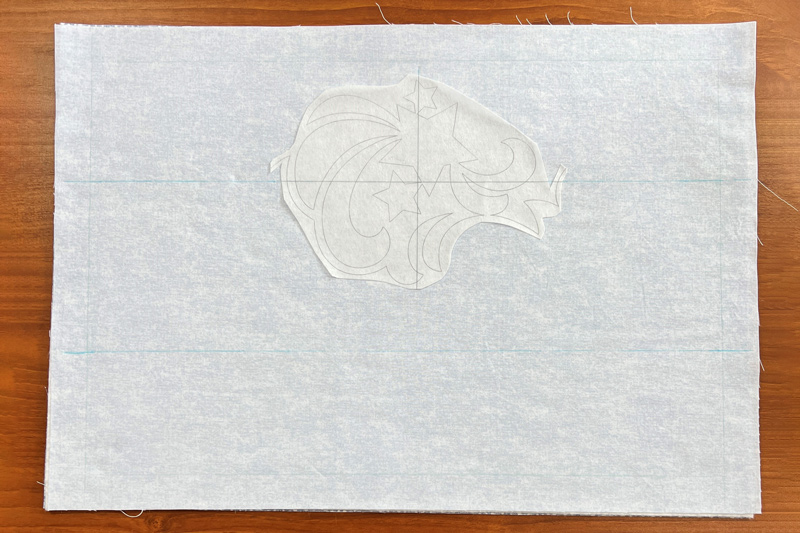
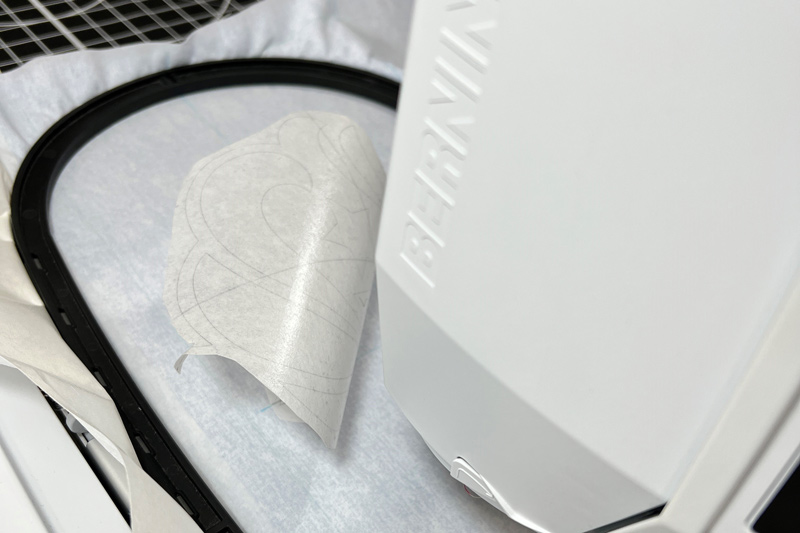
Peel the paper from the template sheet and stick it down on the placement line. Do not discard the paper backing – this template is reusable!
Step 9
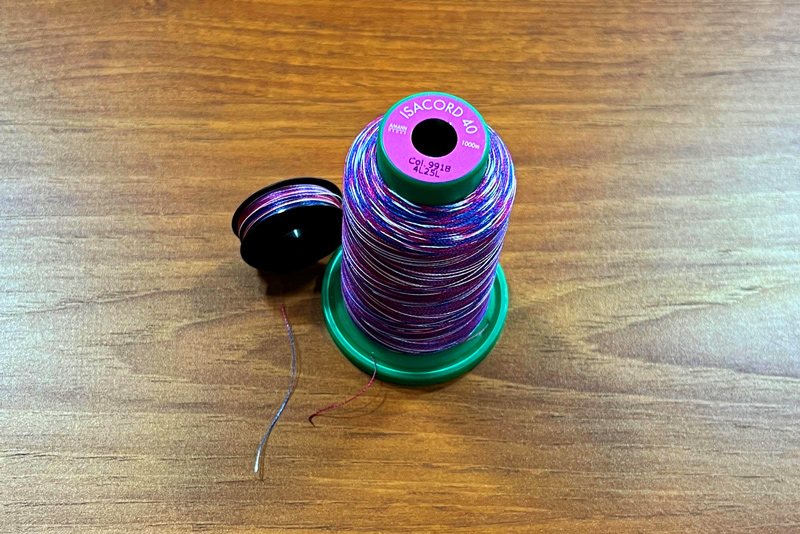
Wind a bobbin with matching thread – we used 9918 Ol’ Glory Isacord Variegated.
Step 10
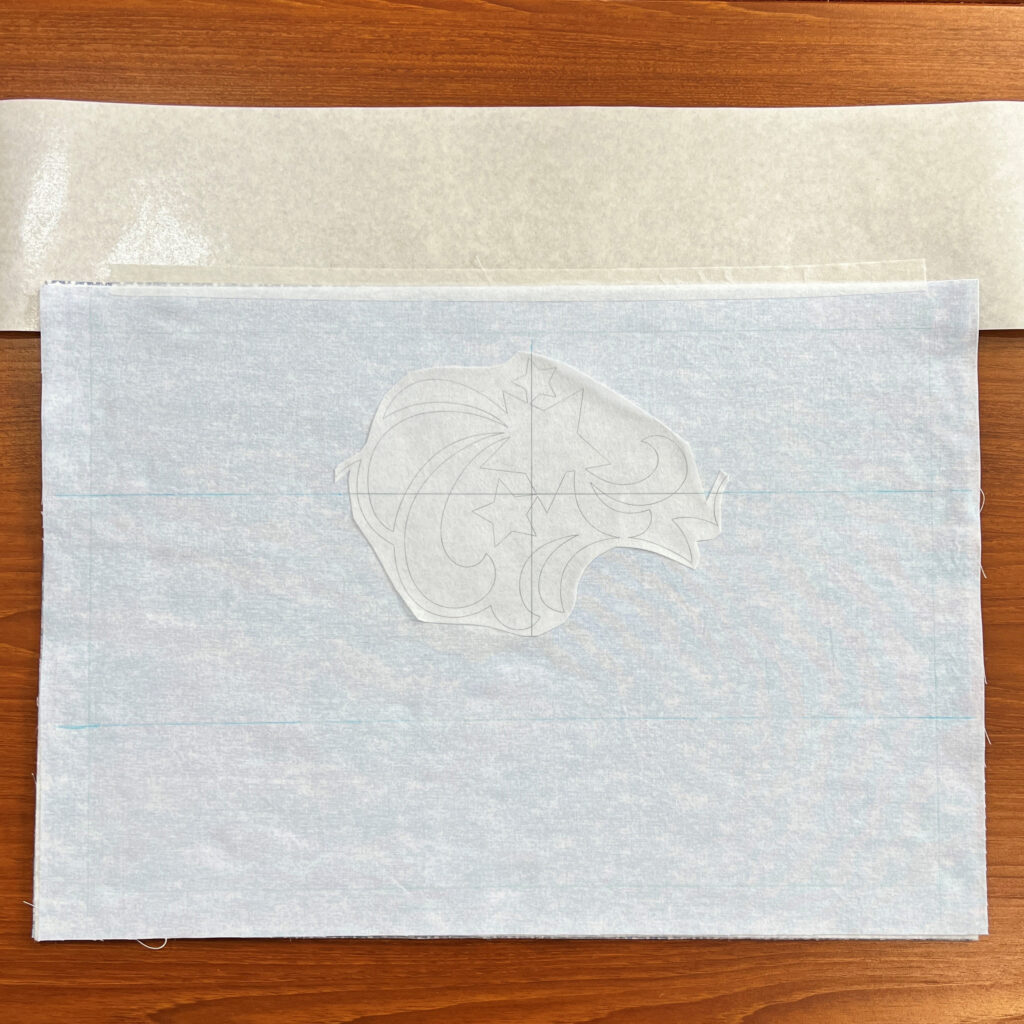
Your embroidery will be close to the edge, so you’ll need to add Ultra Clean and Tear Plus to the 1″ edges of the placemat. Cut (3) 5″x24″ pieces of Ultra Clean and Tear Plus. Tape the bottom edge of the placemat to one of the strips of Ultra Clean and Tear Plus with TearAway Tape.
Step 11
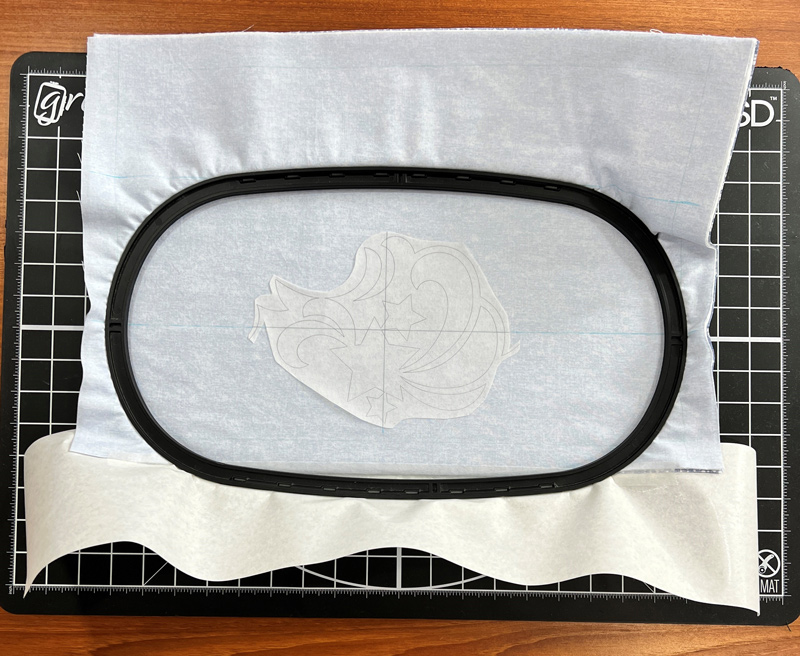
Use the Grippy Grid to keep your hoop in place while you hoop the quilt sandwich.
Step 12
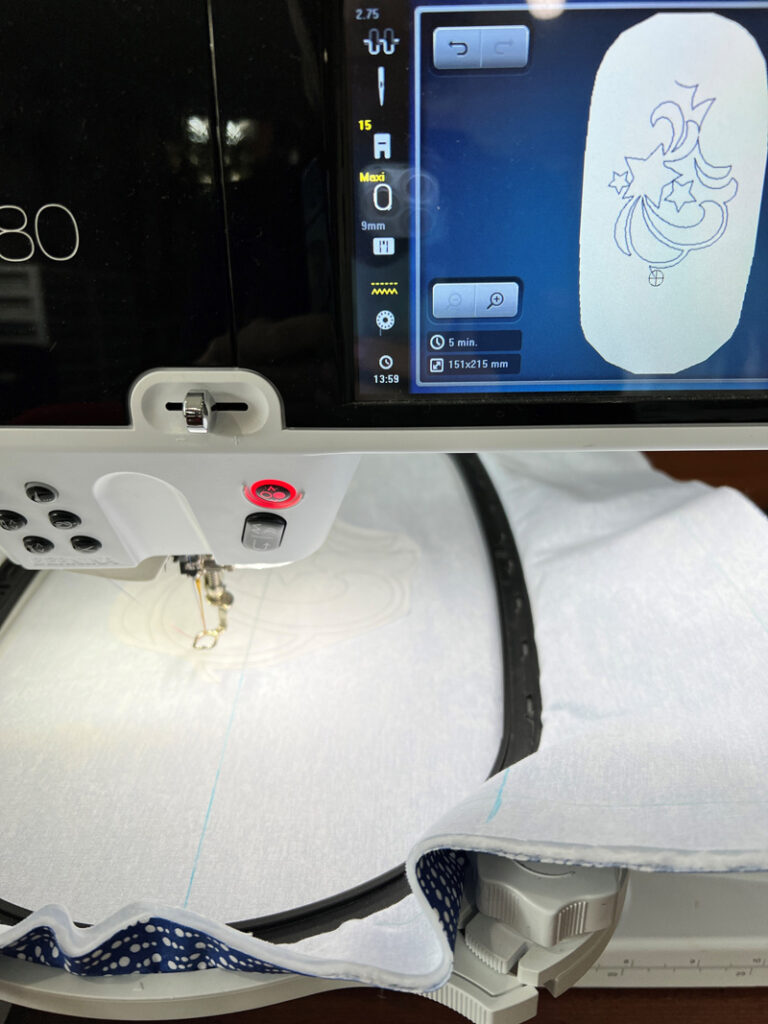
Bring up the design and get ready to stitch. Turn off the knotting setting for the beginning and end of the design – it’s already built in
Step 13
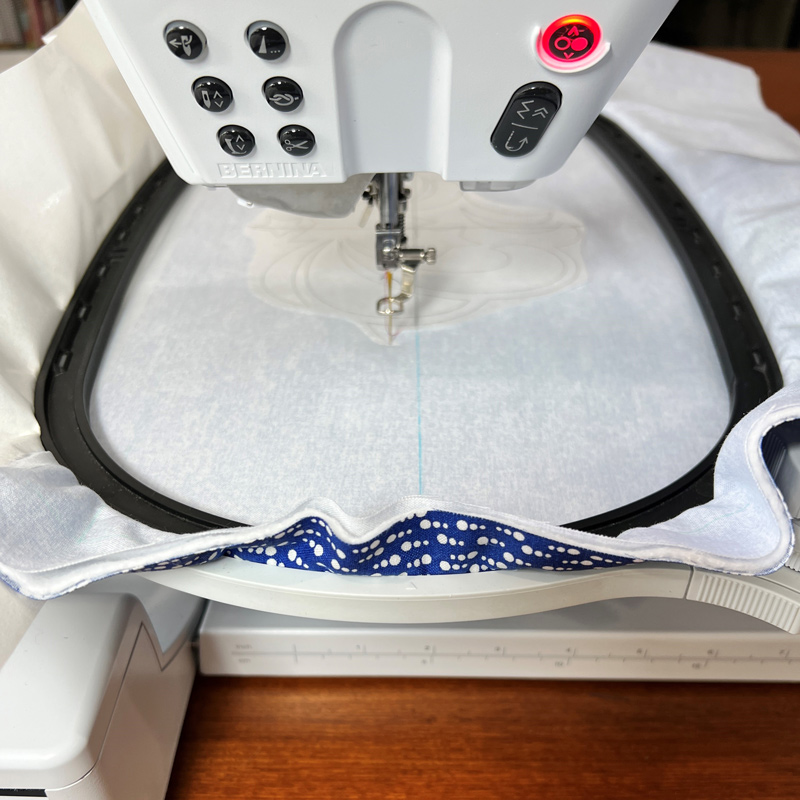
Use the placement tool on your embroidery machine to find the center of your design
Step 14
Once you’ve found your placement, remove the template sheet and return it to its paper backing.
Step 15
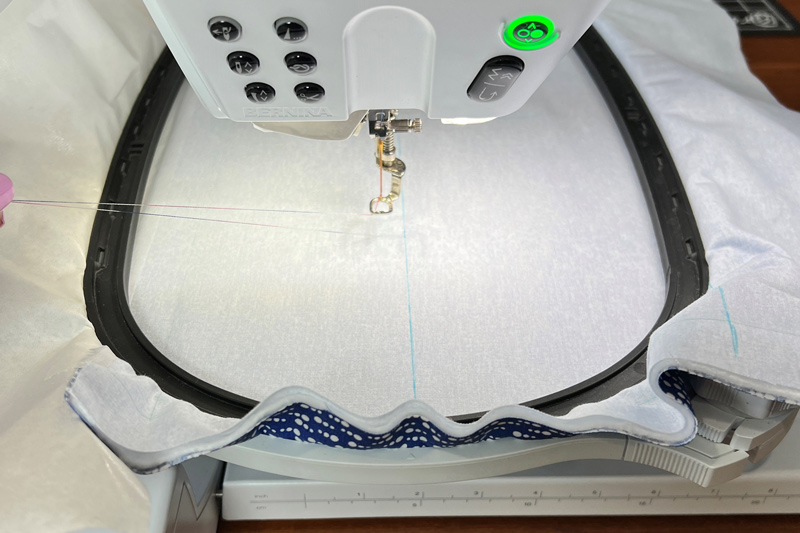
Bring up the bobbin thread and hold the threads gently while you stitch the first few stitches. Trim threads.
Step 16
Stitch the design.
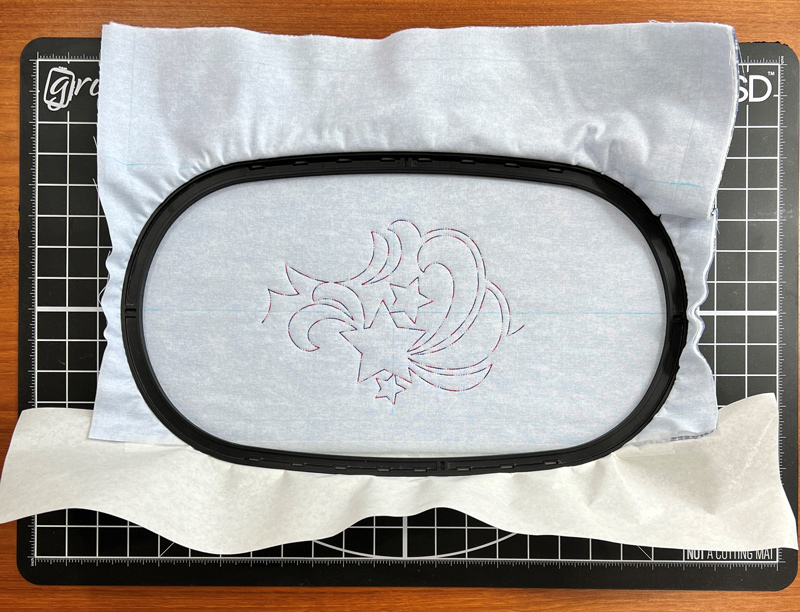
Step 17
Cut one of your long strips of Ultra Clean and Tear Plus in half to measure 5″x12″ and tape to the left side of the placemat with TearAway Tape.
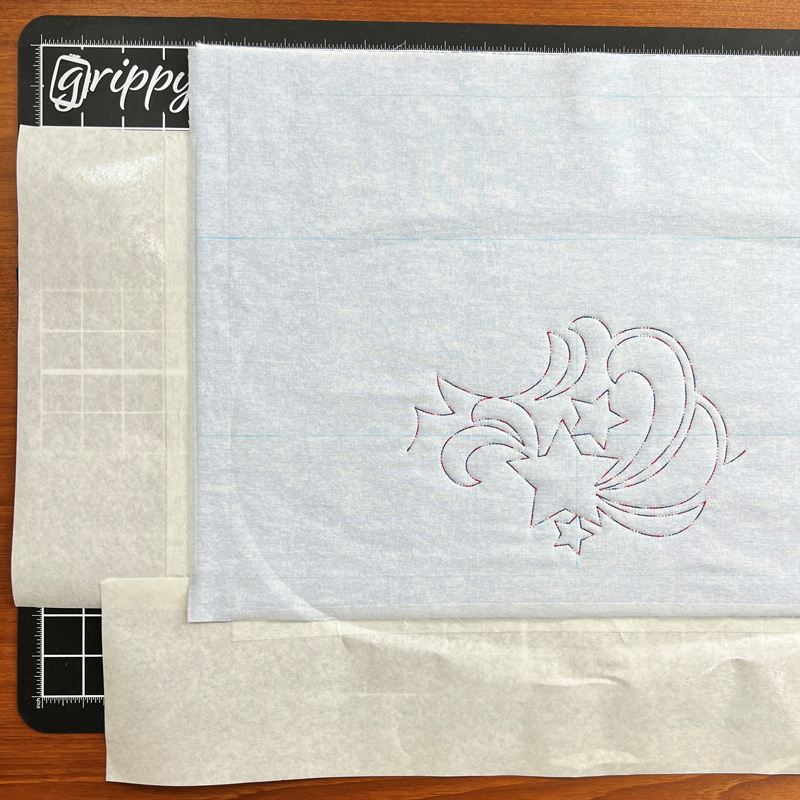
Step 18
Line up the template sheet with the previous design.
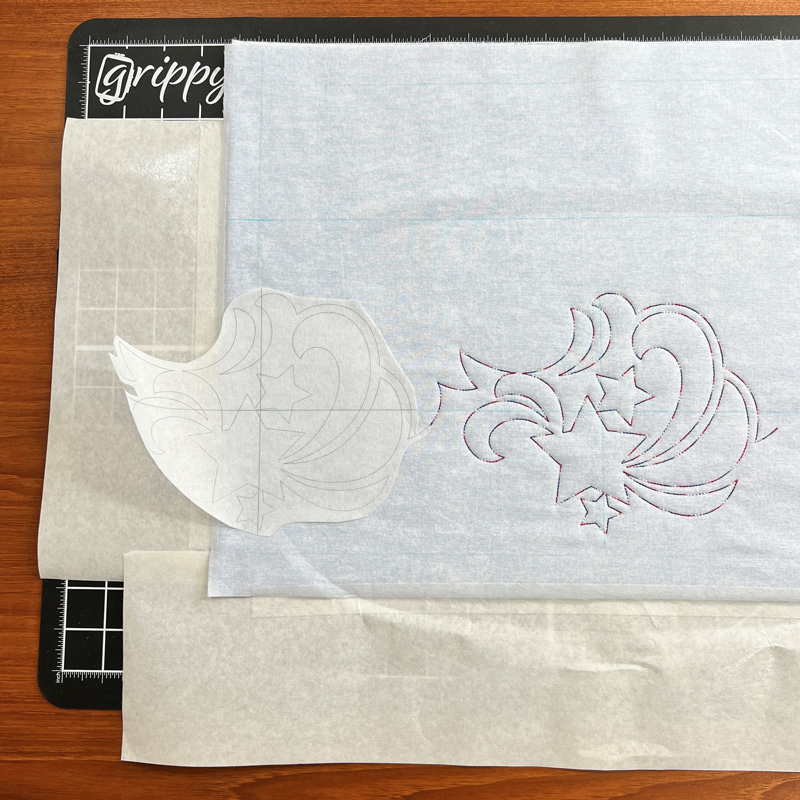
Step 19
Re-hoop, then use the placement tools on your machine to line up the next design and stitch.
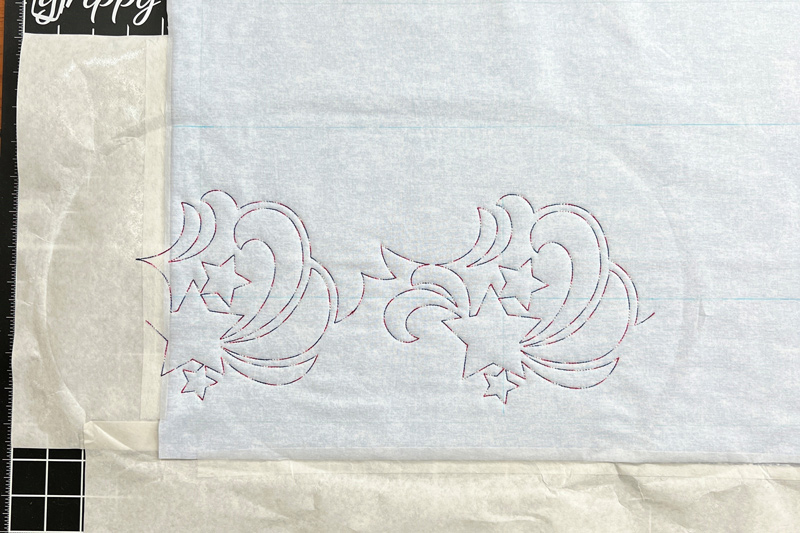
Step 20
Repeat on the other side (adding stabilizer, then stitching) until the top row is completed.
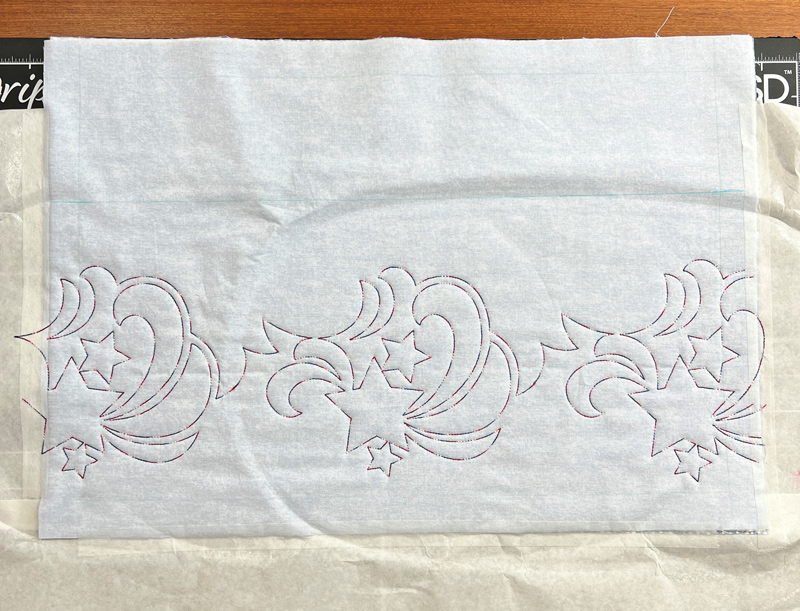
Step 21
For the second row, place your template where you’d like the first design to be stitched in relation to the first row. We offset ours to nest between the previous row’s designs with about ½” space.
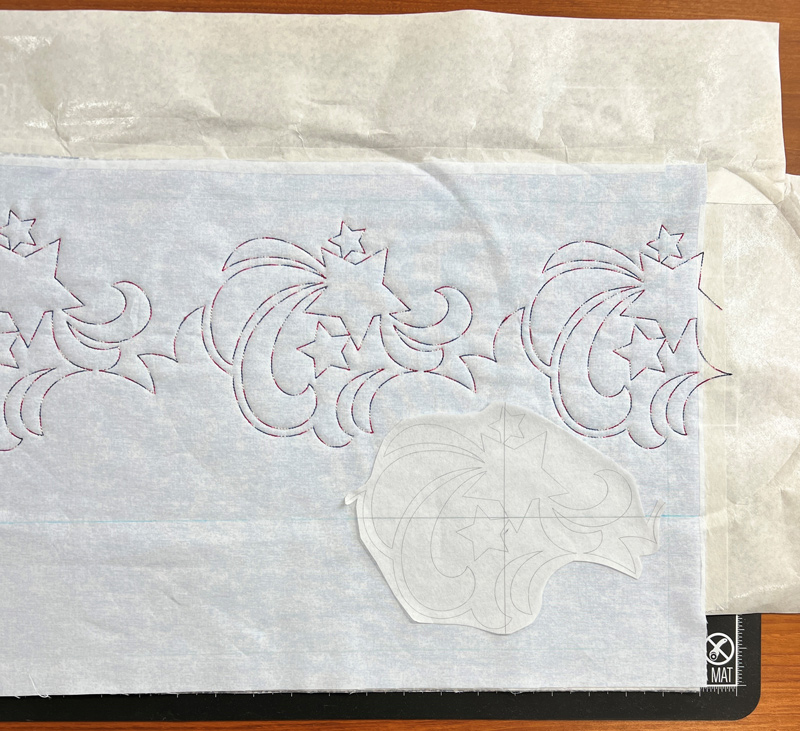
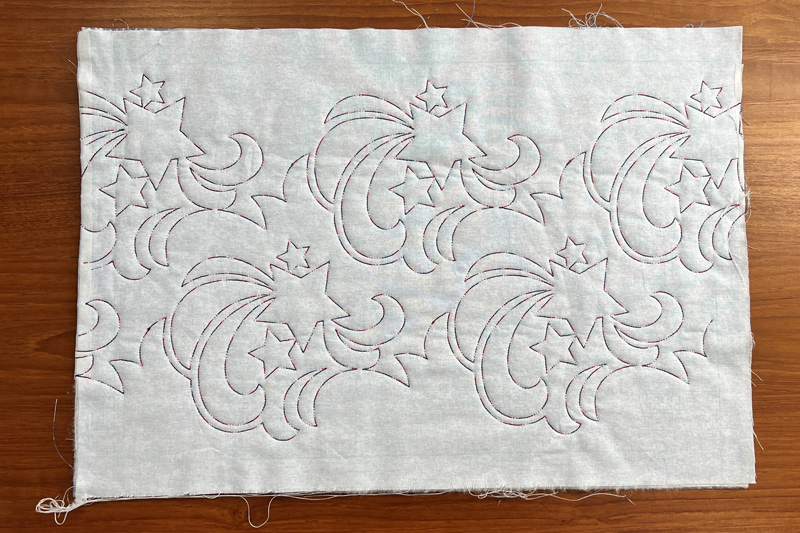
Step 22
Add your Ultra Clean and Tear Plus, then stitch until the entire row has been completed in the same way as the first row. Remove excess stabilizer.
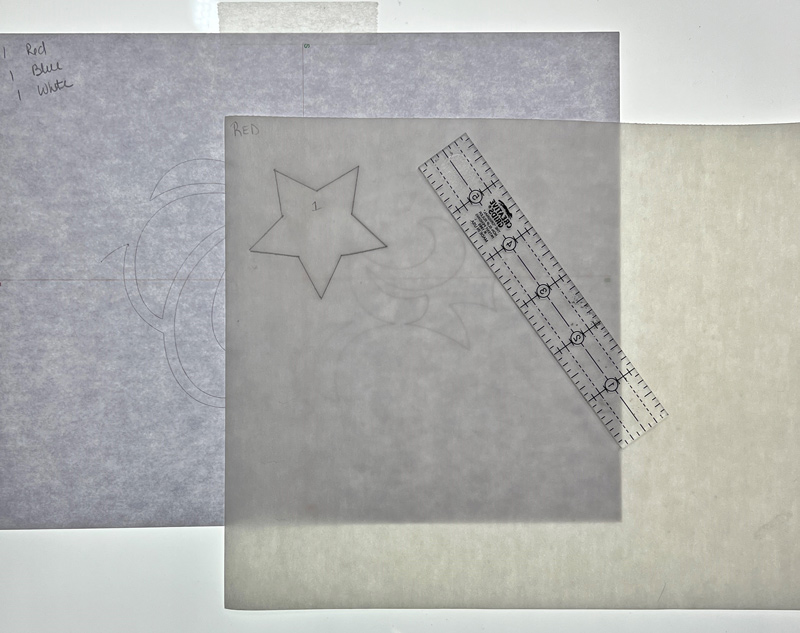
Step 23
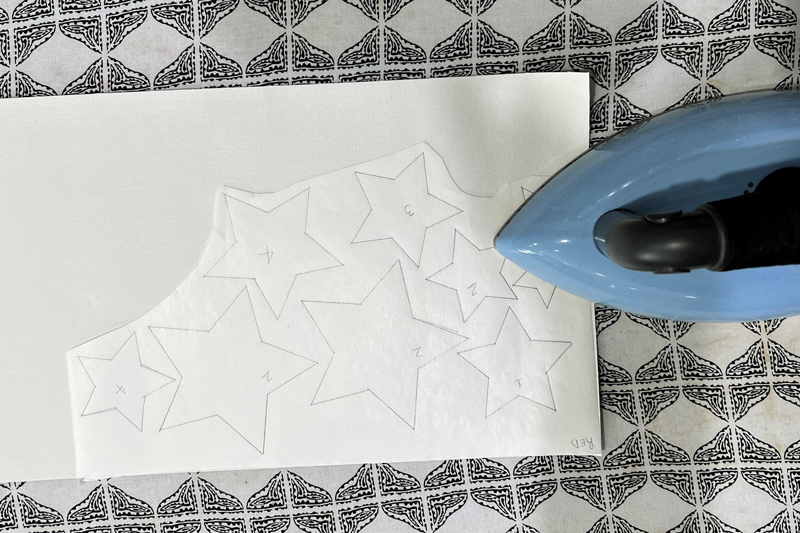
Grab your printed designs from Step 2 (at actual size). Tape the printed design to your lightbox or a window, then place a sheet of Applique Fuse and Fix over top. Darkening the star with pencil can make the design easier to see. Trace however many stars you’d like to add to your placemats, keeping in mind which ones will be red, white, or blue. This allows you to get as many stars as possible onto one page and save material!
Step 24
Press the fusible side of Applique Fuse and Fix to the wrong side of the Luxe Sparkle Vinyl.
Step 25
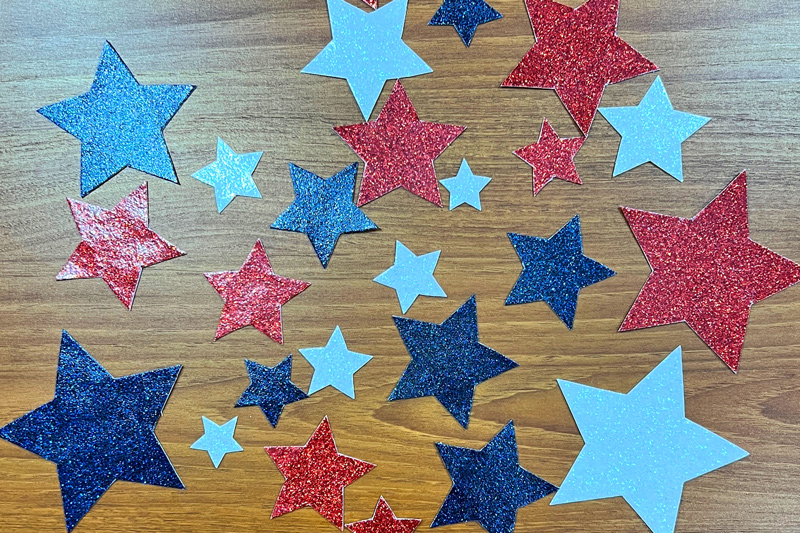
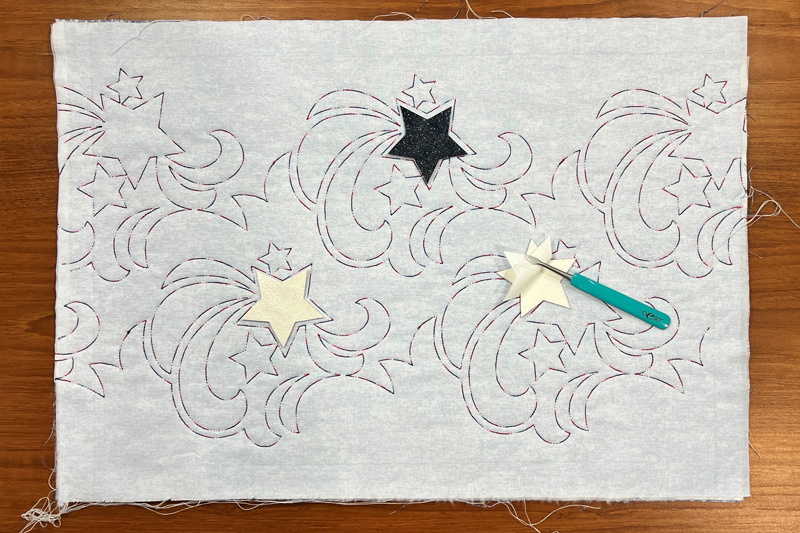
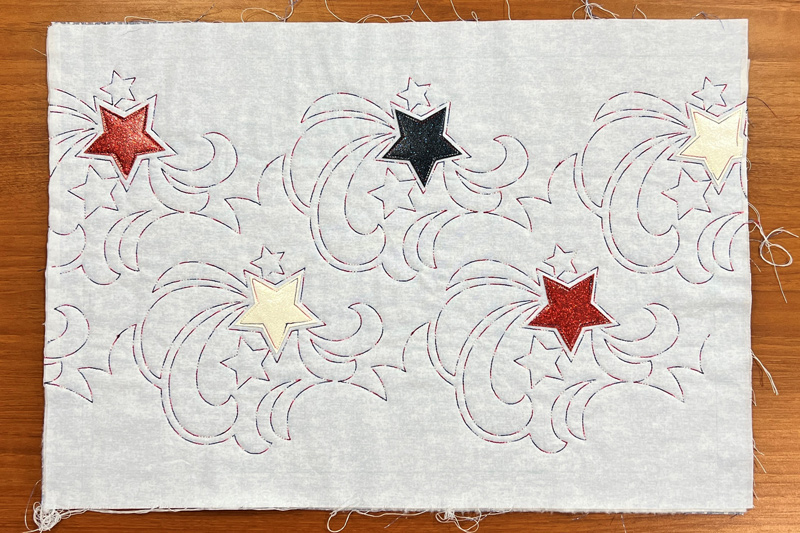
Cut out all of your stars and position them on your placemat. Use the scoring tool in the OESD Embroidery Essentials Tool Kit to remove the paper backing.
Step 26
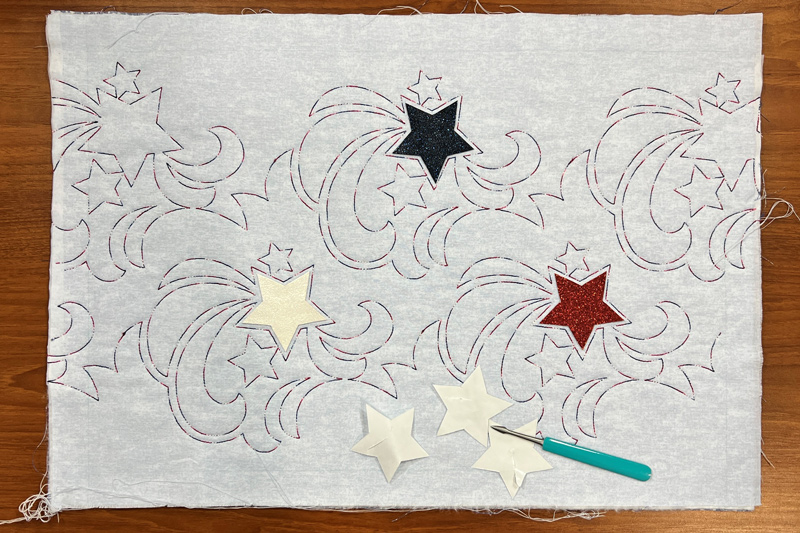
Stick the stars in place – Applique Fuse and Fix is re-positionable, so you can try out some different options.
Step 27
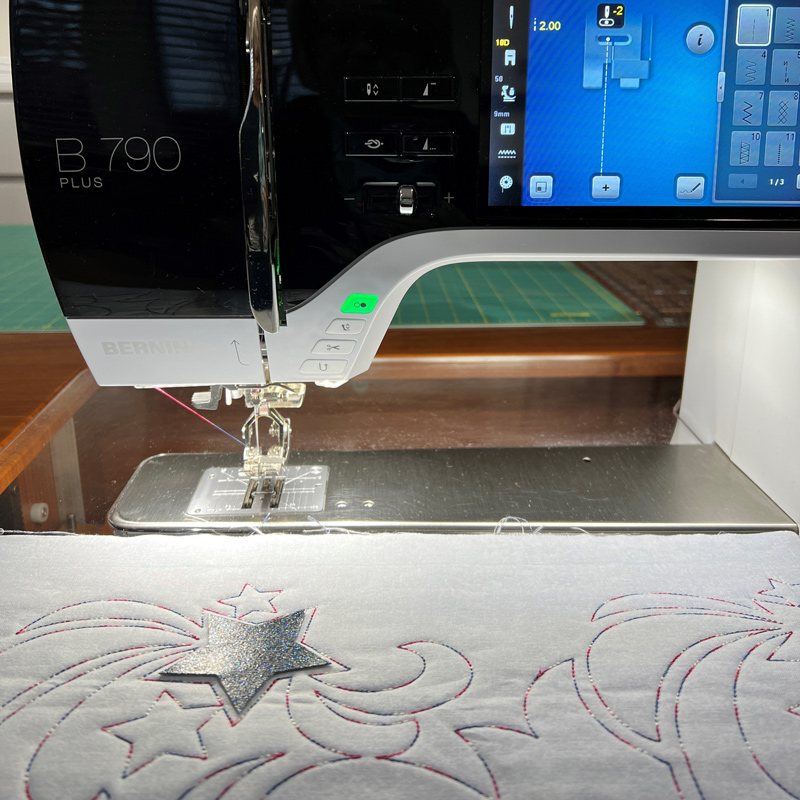
Attach an edgestitch foot to your sewing machine, move the needle over 2 to the left, make sure your bobbin matches the upper thread, then use a 2mm straight stitch to attach the stars.
Step 28
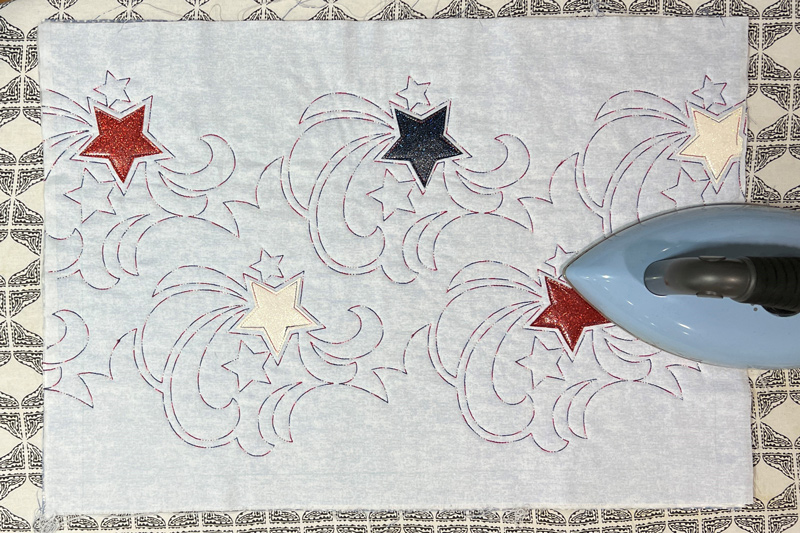
Press the placemat.
Step 29
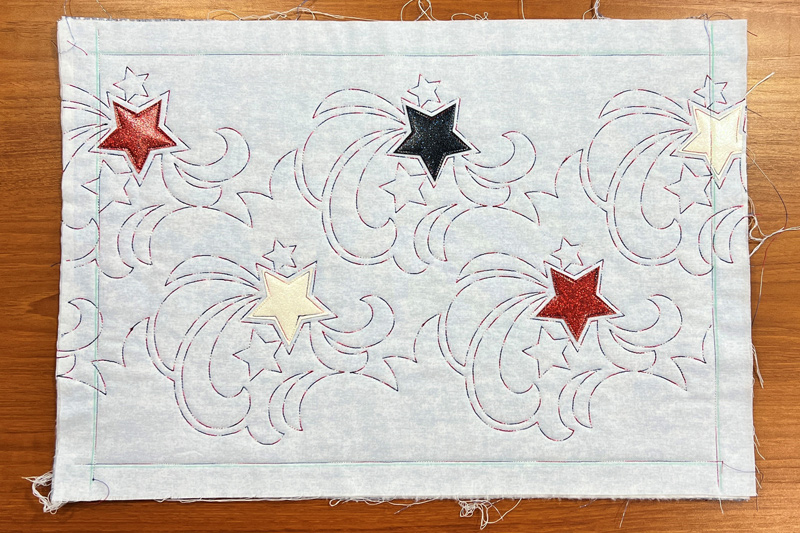
Stitch through all layers just inside your 1″ marked lines.
Step 30
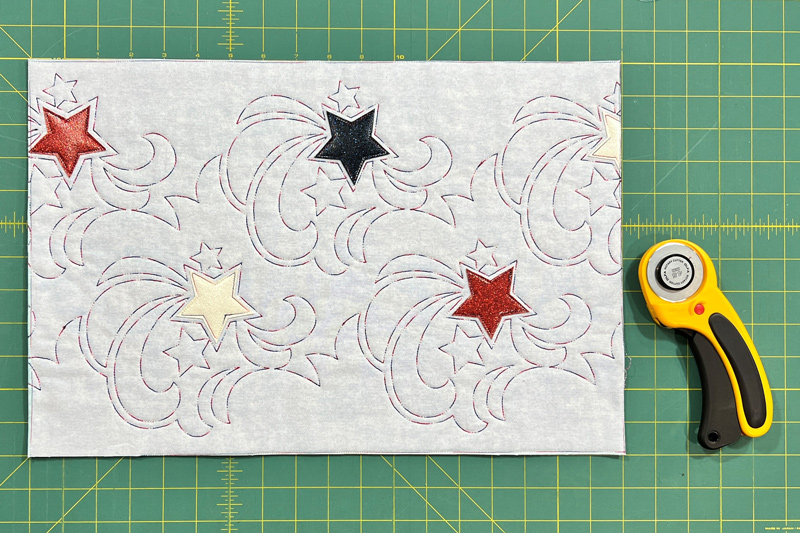
Neatly trim your placemat down to 12″x18″
Step 31
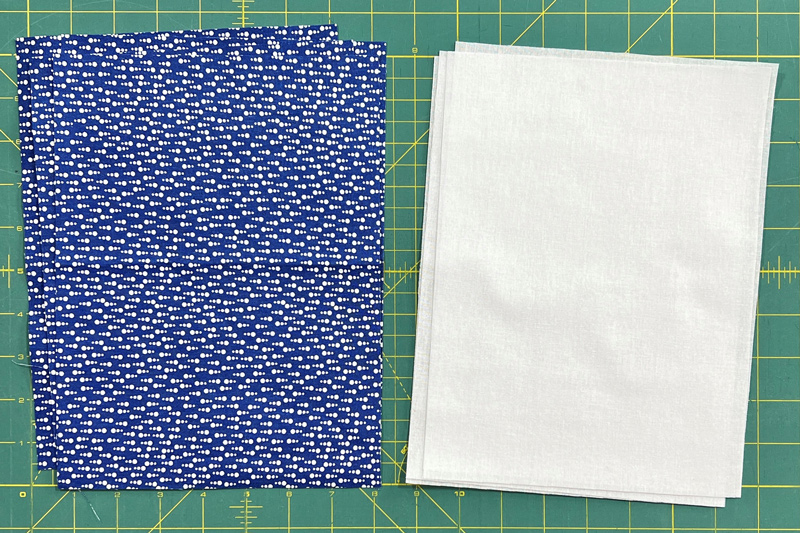
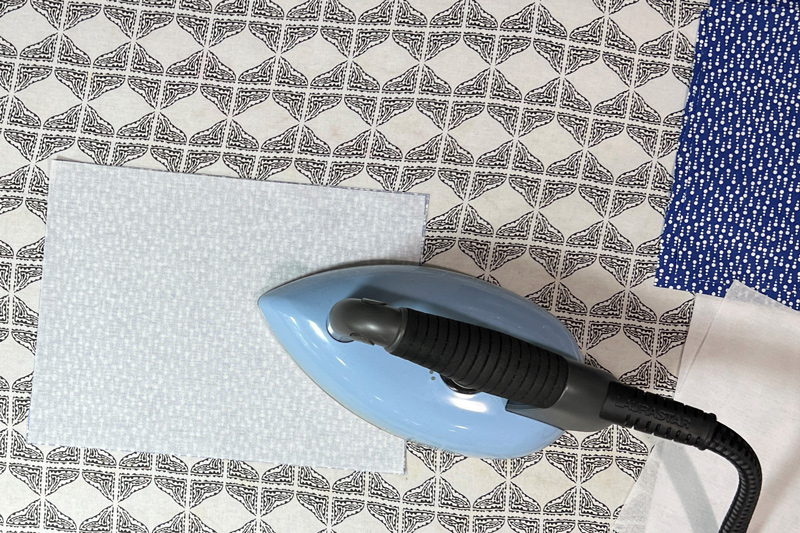
Cut a piece of Fusible Woven 7 ½” x 10” and press to the wrong side of your smaller rectangles of pocket fabric.
Step 32
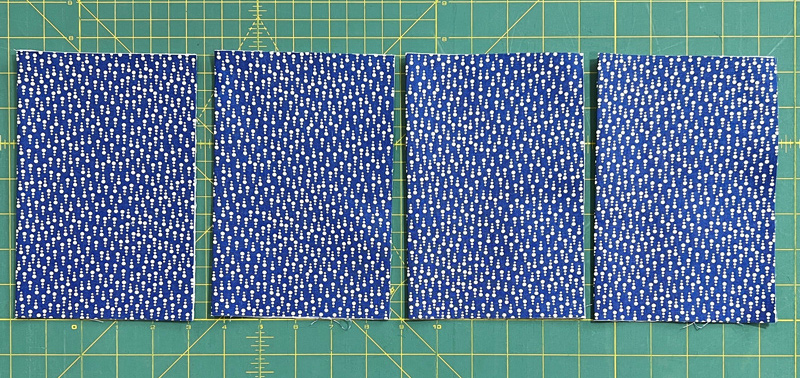
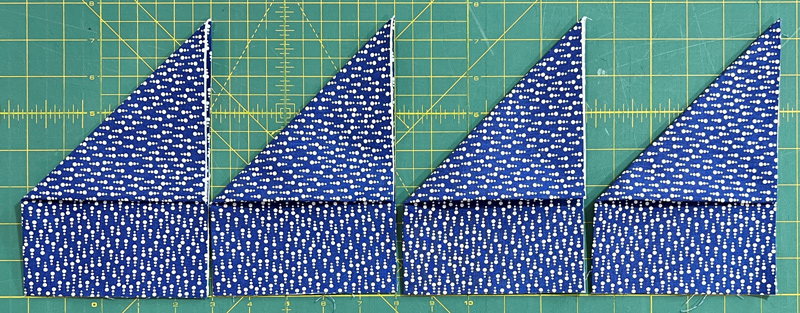
Fold the wrong sides together, then take the upper left corner of your pocket and fold it over at an angle. Press. Tape the fold in place with TearAway Tape.
Step 33
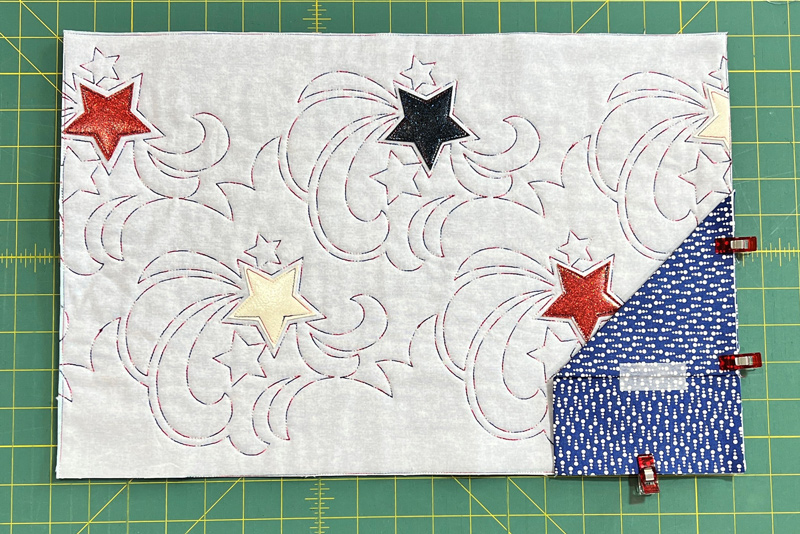
Clip the pocket to the bottom right corner of the placemat. Edgestitch the left side of the pocket to the placemat and baste the raw edges to the placemat. Remove the TearAway Tape.
Step 34
Add binding around the edges of the placemat.
Step 35
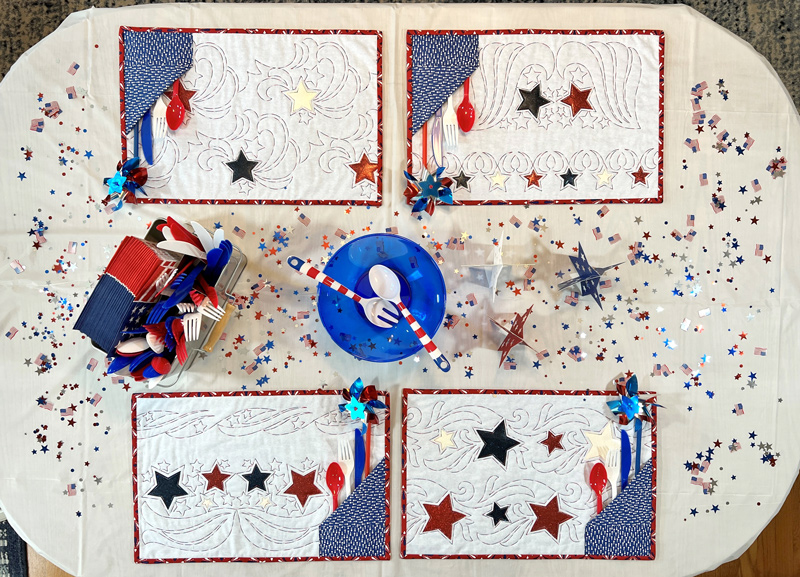
Repeat to create your desired number of placemats. Make them all match, or vary the designs and fabrics for extra fun! Set your party table with new placemats, silverware, and other patriotic decorations. Wait for all the compliments from your guests. Enjoy!
JOIN US IN THE OESD COMMUNITY!
We hope you enjoyed this machine embroidery tutorial! Have you stitched your own Stars & Stripes Quilted Placemats? Come show off your work in our private Facebook group, The Perfect Stitch!
