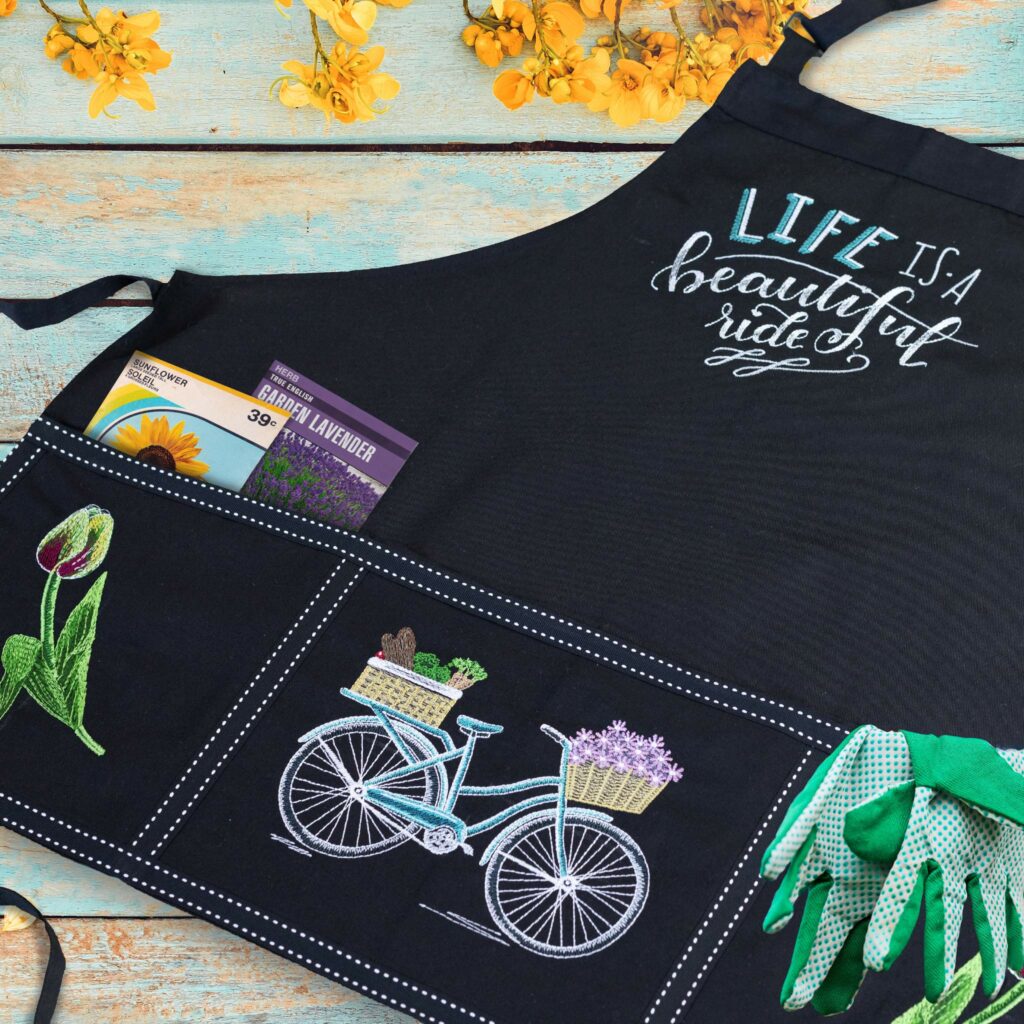
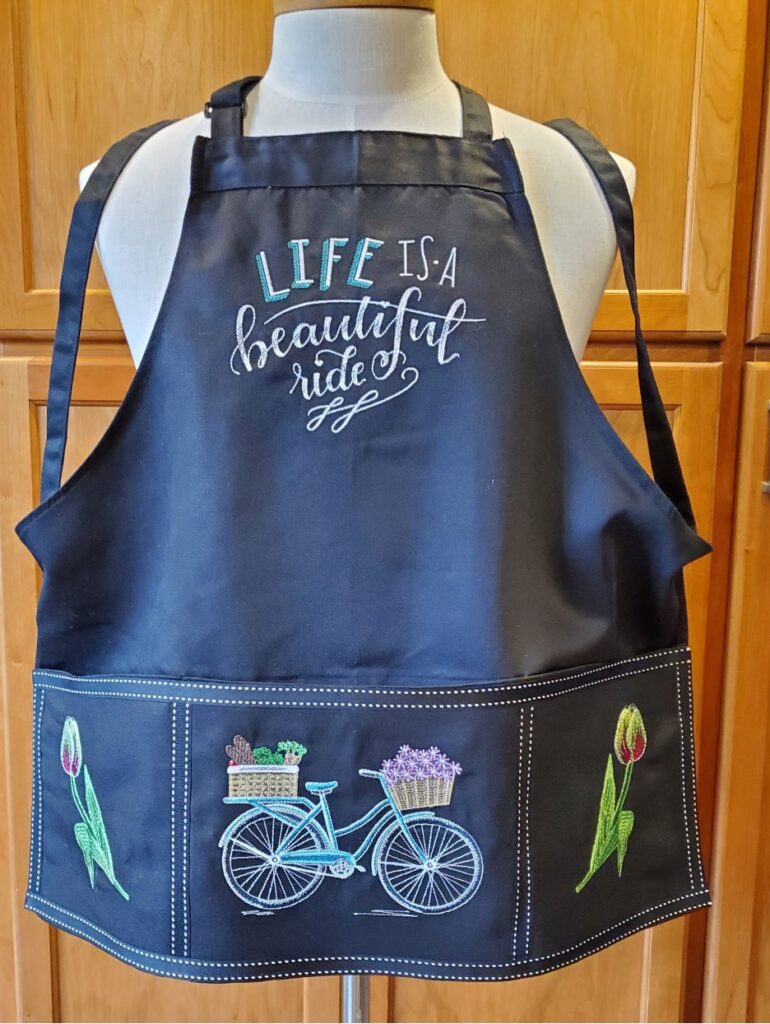
Spring is in the air, and so is the joy of machine embroidery! If you have a passion for gardening, this easy DIY Springtime Garden Apron will be your new best friend! This step-by-step tutorial will show you how to customize your apron with your favorite embroidery designs, useful pockets, and embellishments. Use one of our Start Here Embroidery Blanks – the OESD Easy Apron – to make creating this project so quick and easy! Create a fun garden-themed project with Summer by Shannon Roberts – collection number 80279 – or adapt this tutorial to create a kitchen apron using our Food and Drink designs!
Supplies:
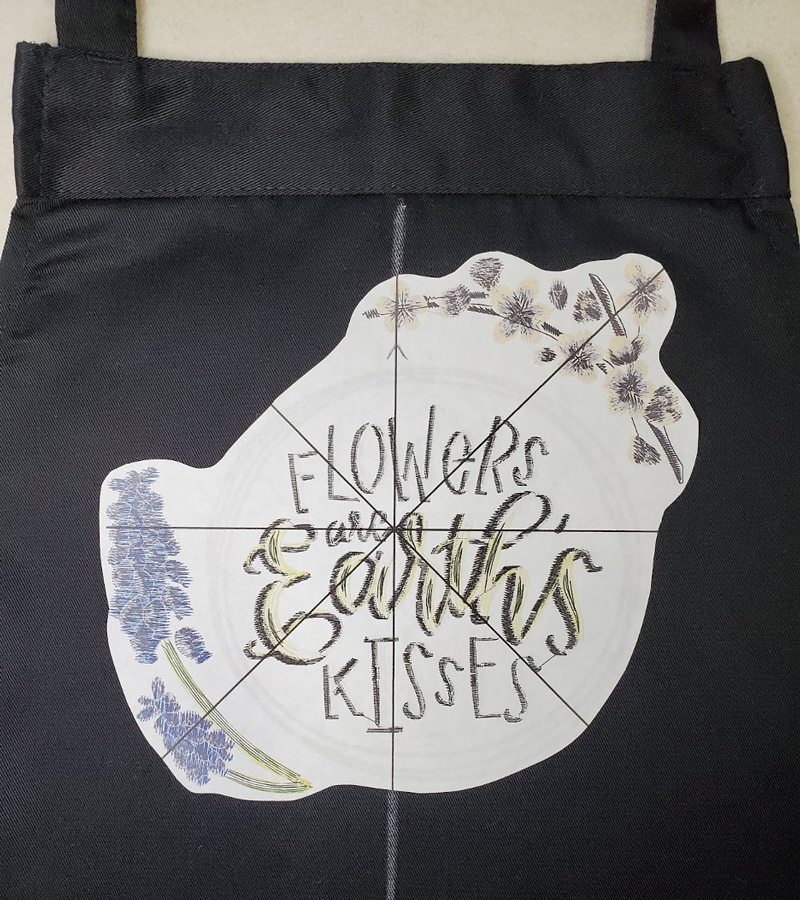
- Summer by Shannon Roberts #80279
- OESD Fuse and Seal
- OESD Fusible Woven
- OESD StabilStick TearAway
- OESD StabilStick Template Sheets
- Start Here by OESD Easy Apron – Black
- 5/8 inch ribbon
- OESD Perfect Pencil
- OESD Grippy Grid
Instructions:
Step 1
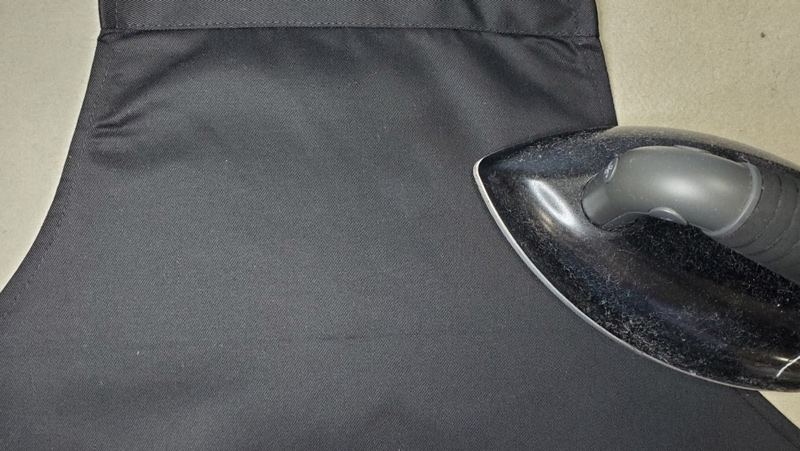
Press apron. Fuse the Fusible Woven to the bib area of the apron.
Step 2
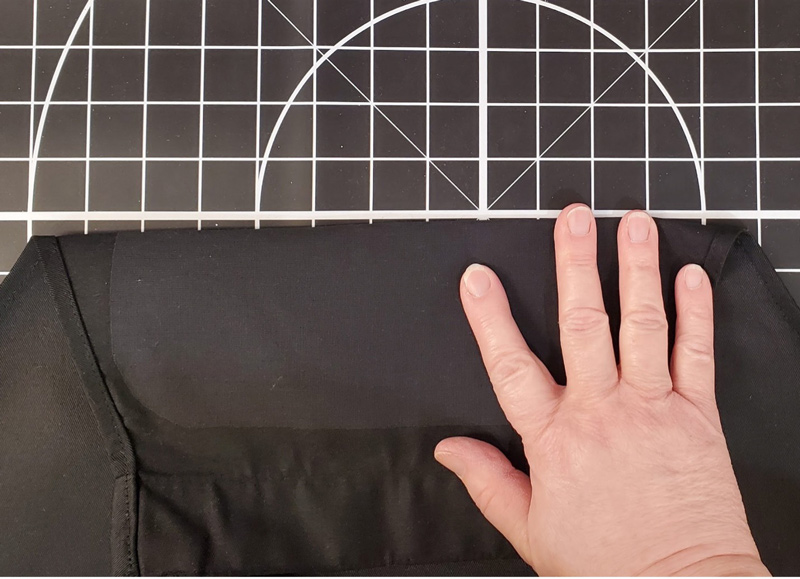
Fold apron in half to find the center.
Step 3
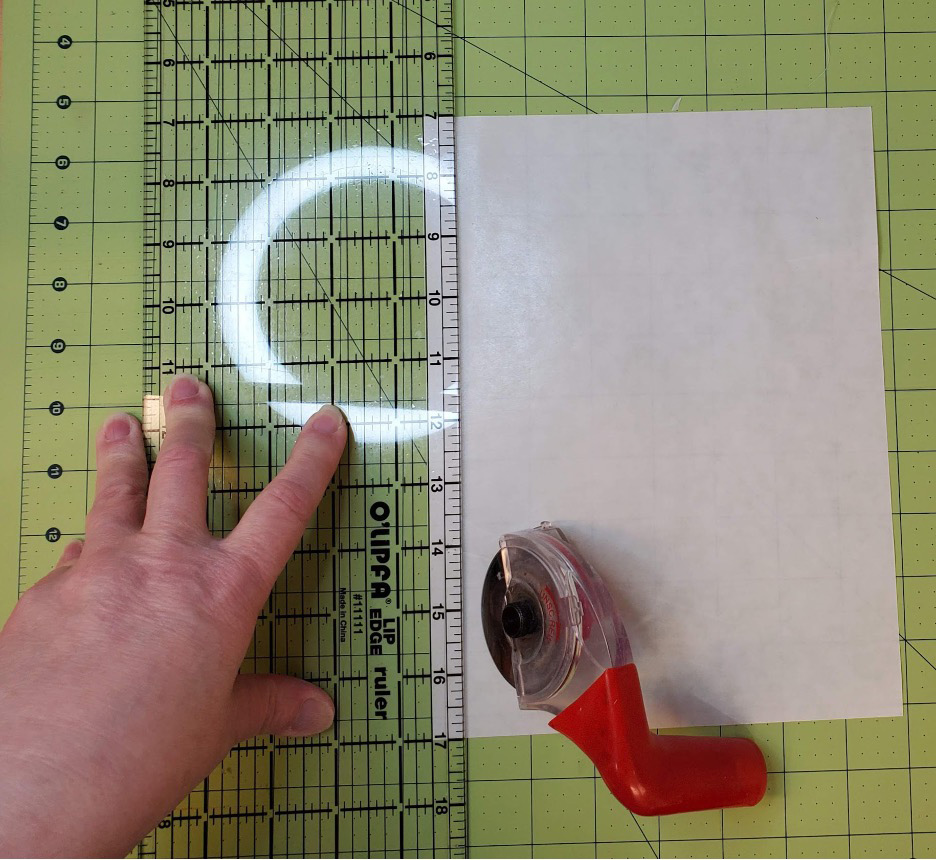
Mark center with the Perfect Pencil to determine placement.
Step 4
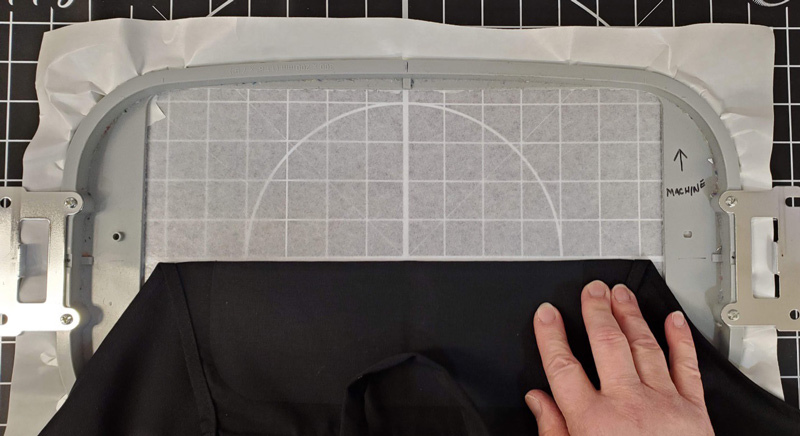
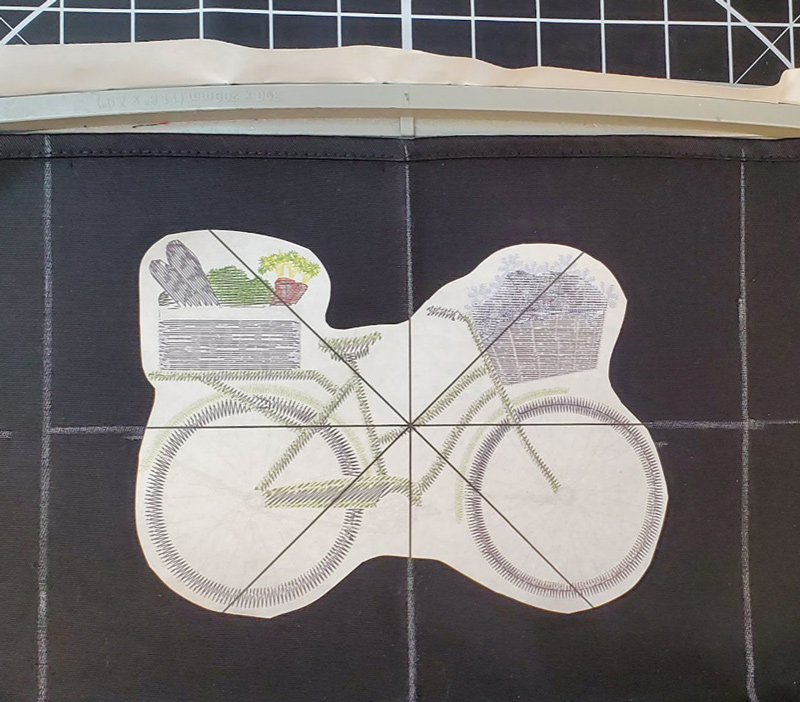
Print the template for the apron bib on a StabilStick Template Sheet. Center the template on the apron. Try on the apron. Change the template’s position if necessary for perfect placement.
Step 5
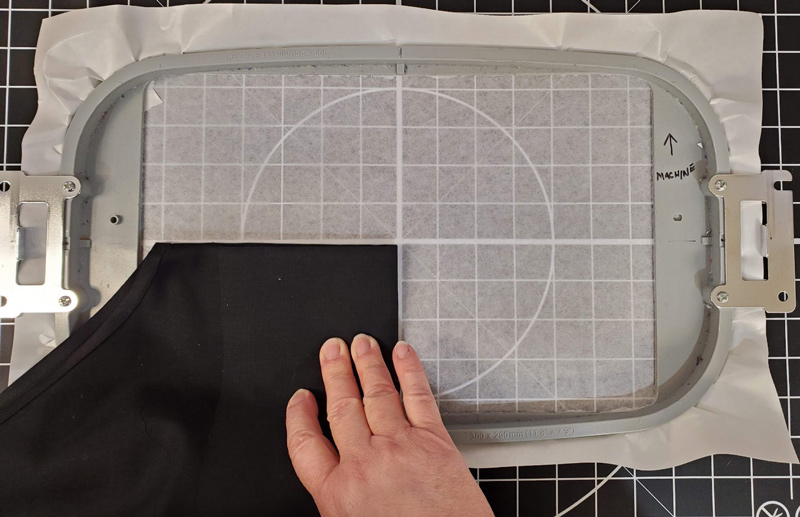
Using the Grippy Grid, hoop StabilStick TearAway. Tear off the release paper.

Step 6
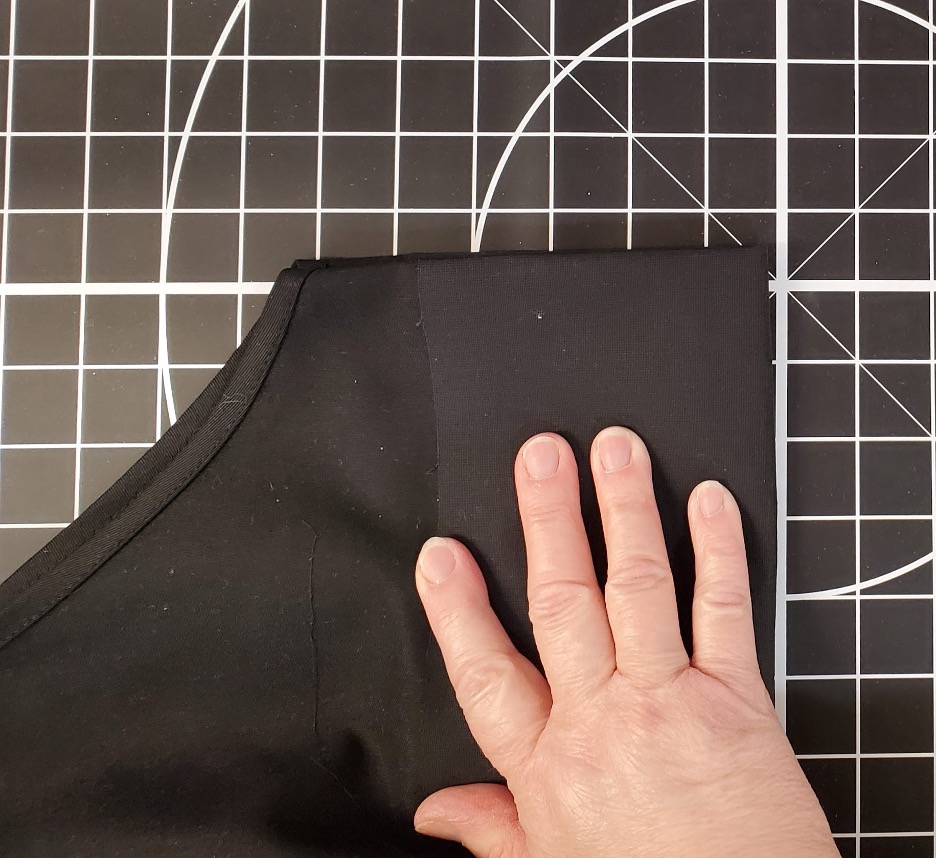
Using the template as a guide, fold the top of the apron down (the template will be on the right side).
Step 7
Fold the apron in half, so now you have quartered the apron bib.
Step 8
Center your hoop on the grid marks of the Grippy Grid. Place the quartered apron on the grid.
Step 9
Unfold the apron and finger press the apron to the stabilizer.
Step 10
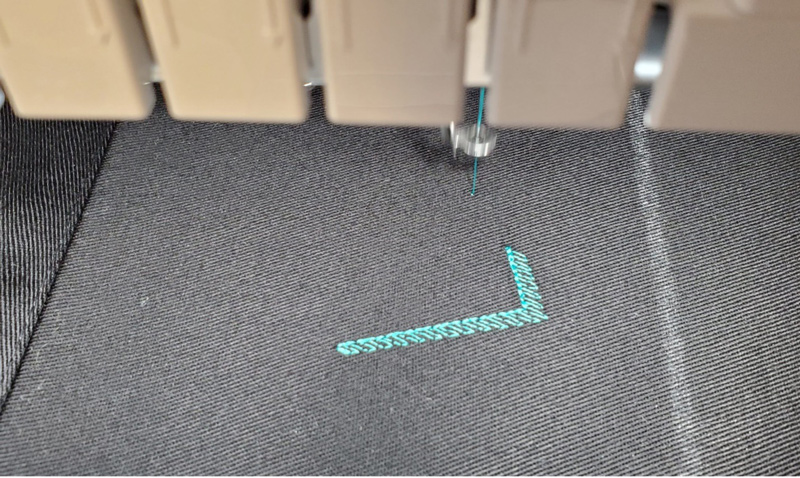
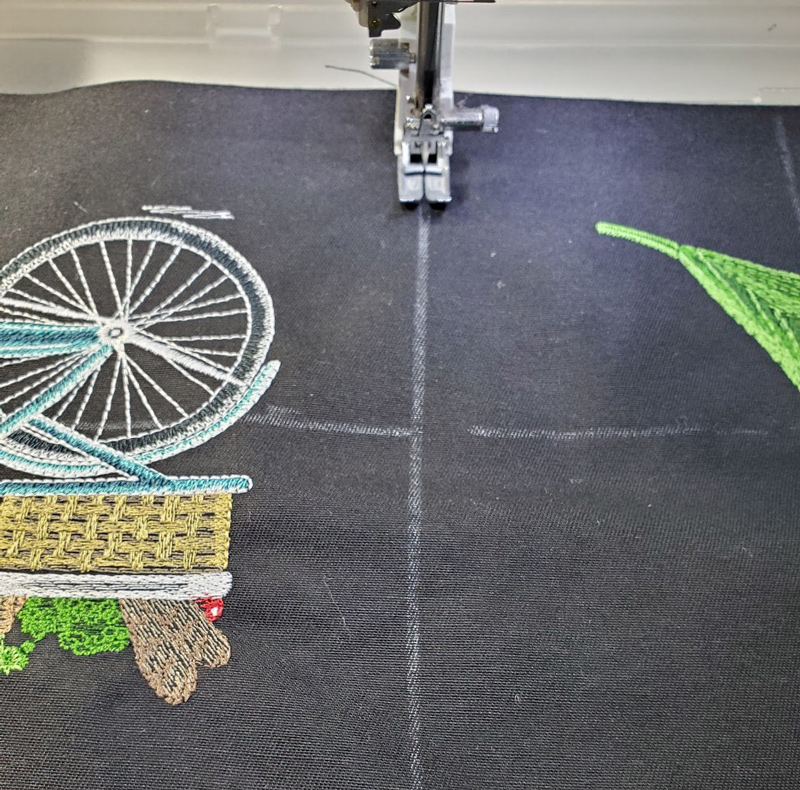
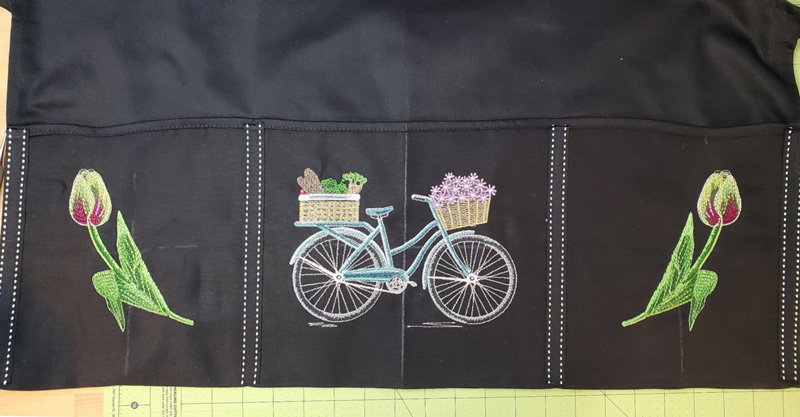
Stitch the design on the bib of the apron.
Step 11
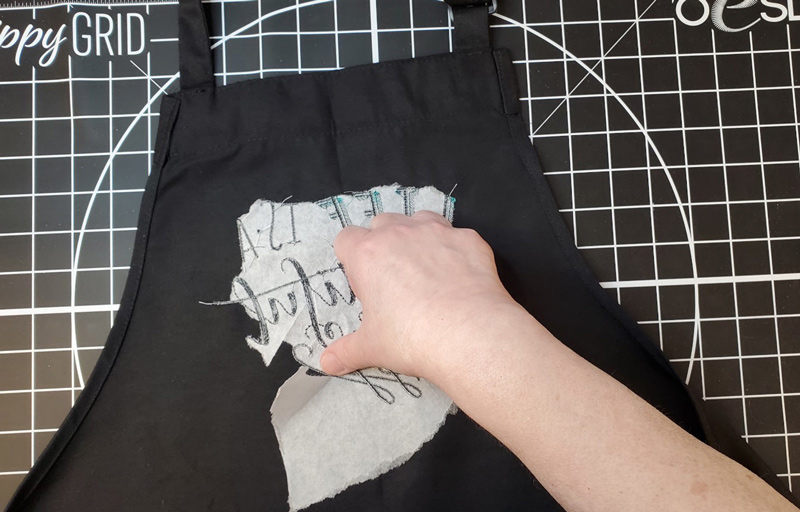
When the design is finished stitching, remove the apron from the hoop. Remember to support the stitches when you remove the stabilizer.
Step 12
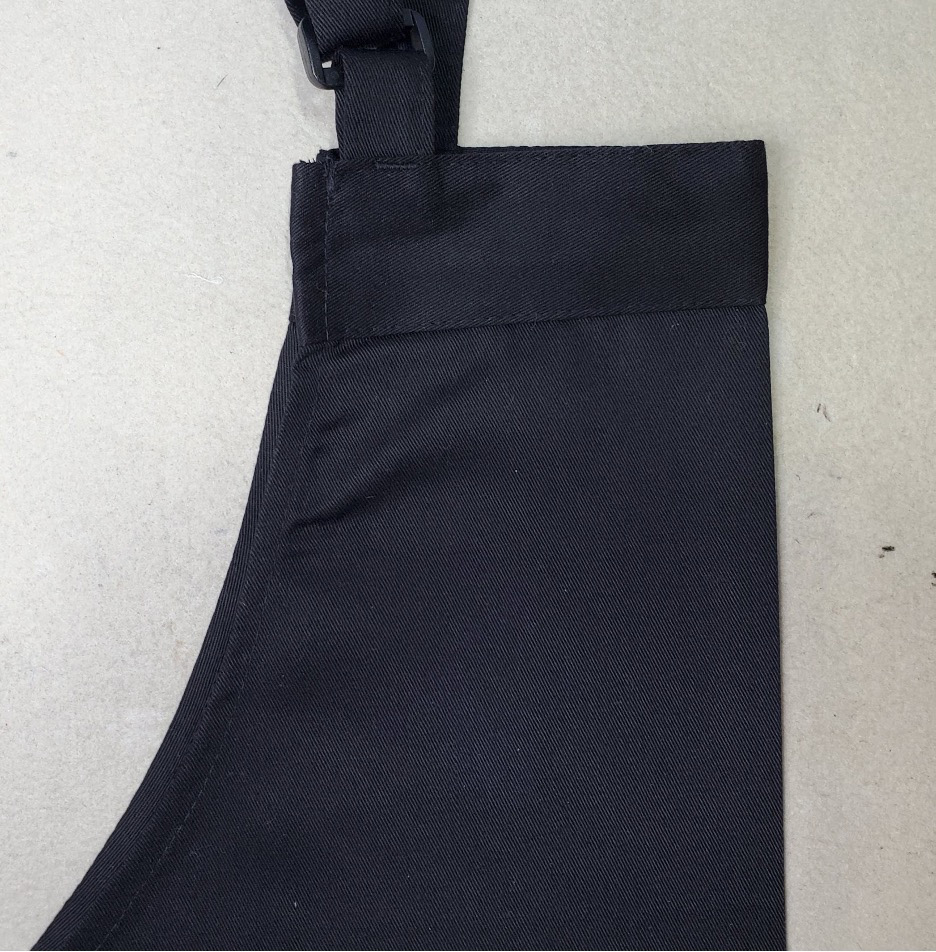
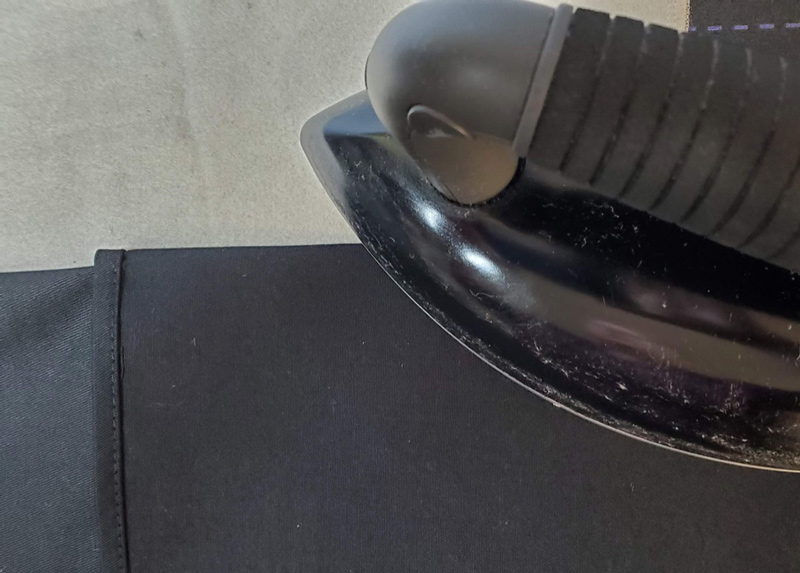
Remove the Perfect Pencil’s placement lines with an iron. Fold the bottom of the apron up 9 inches to form the pocket. Press.
Step 13
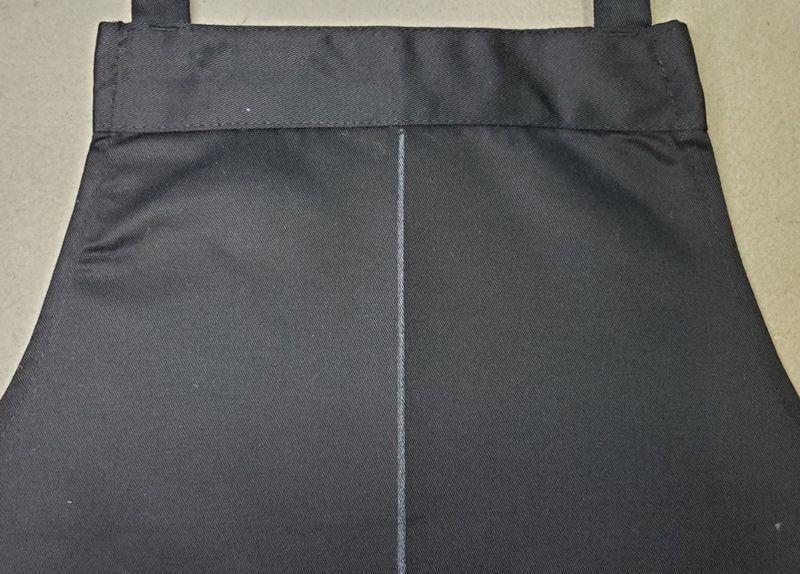
Fold the apron in half to find the center. Press.
Step 14
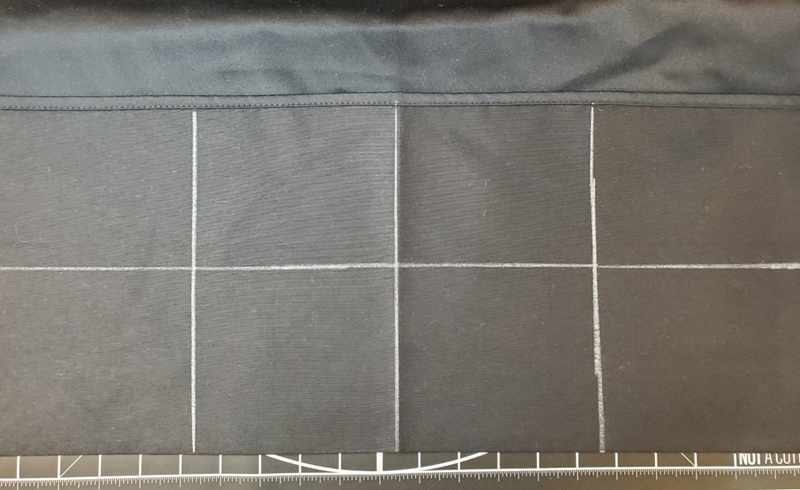
Mark the center line with a Perfect Pencil.
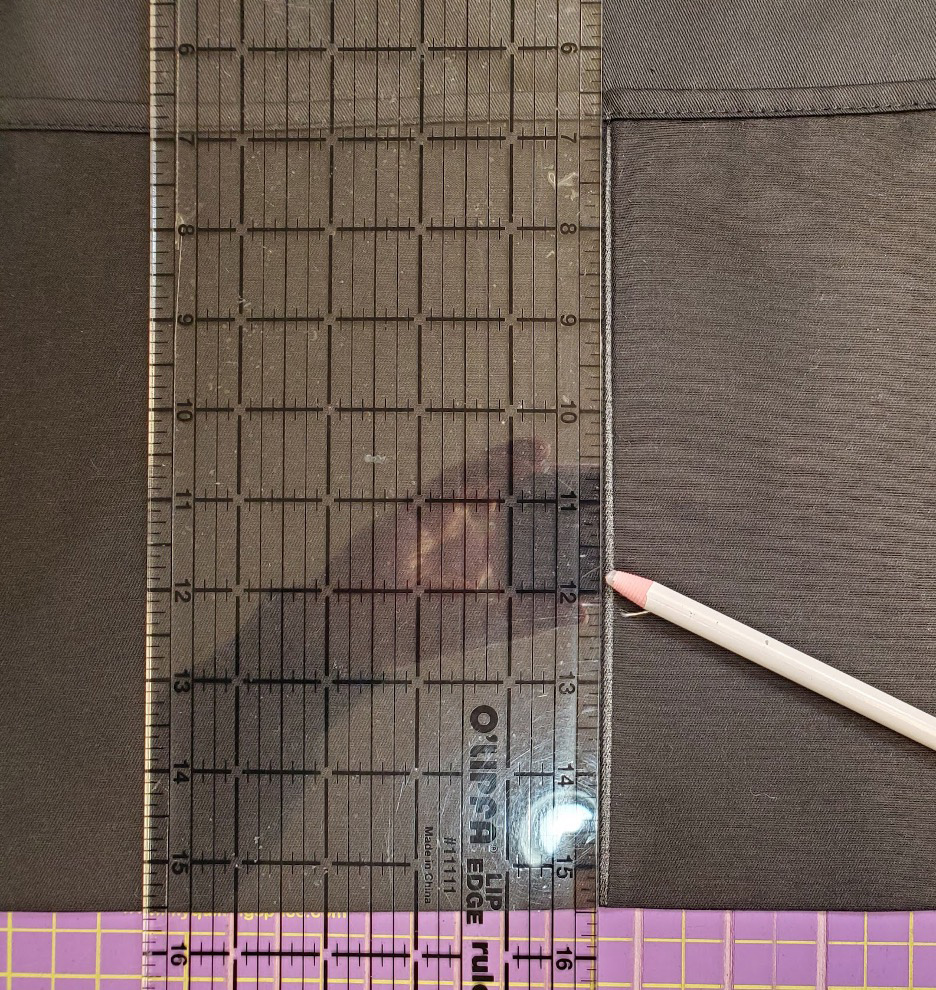
Step 15
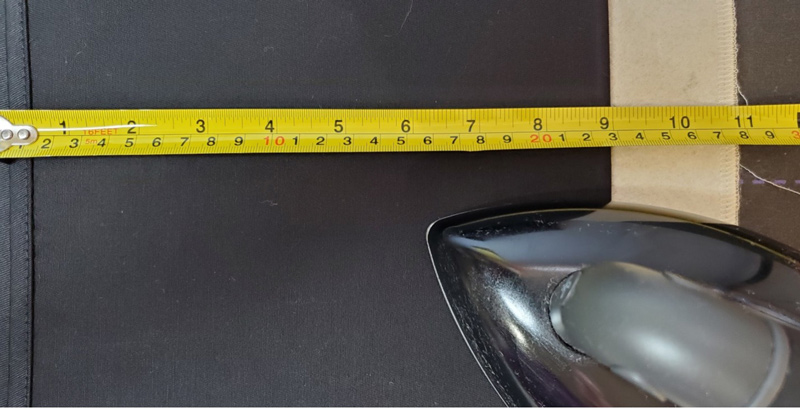
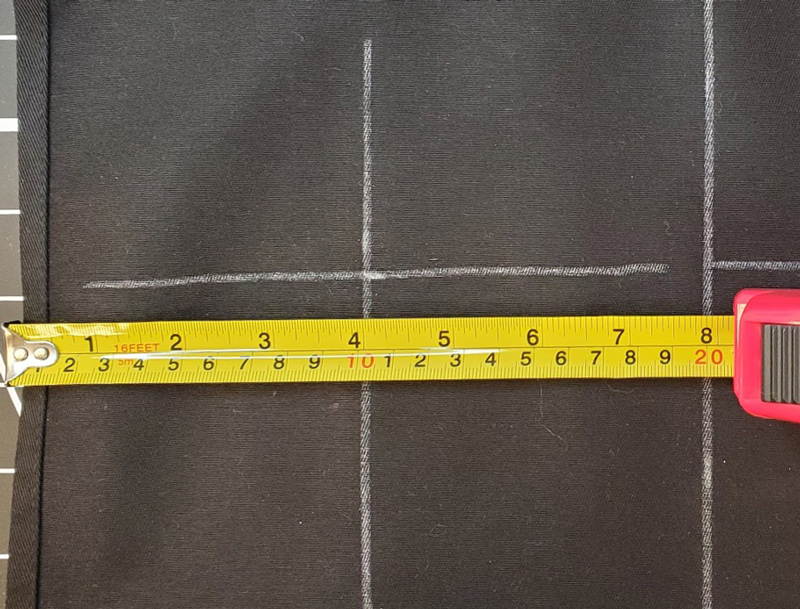
Measure 5 inches on either side of the center mark. The center pocket will measure 10 inches.
Step 16
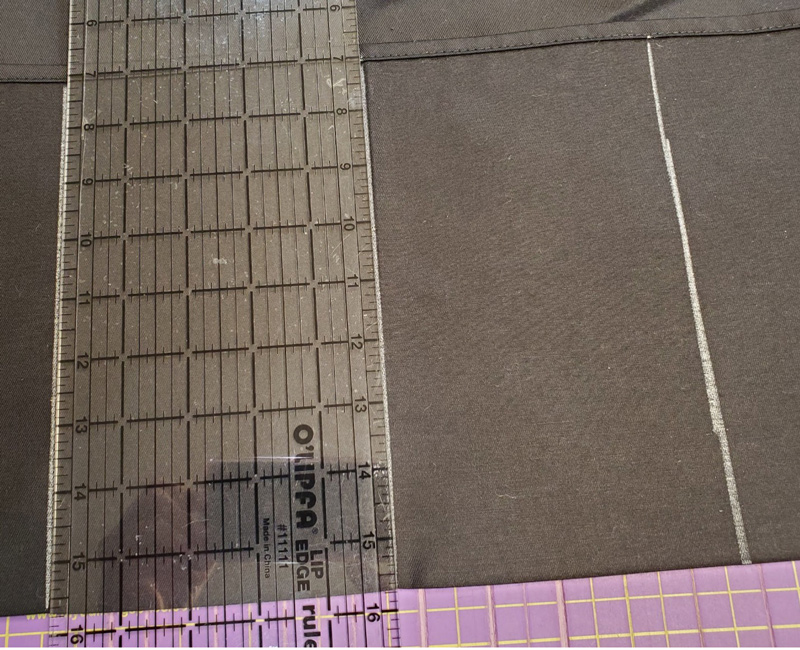
Measure 4.5 inches from the bottom fold and mark a line across.
Step 17
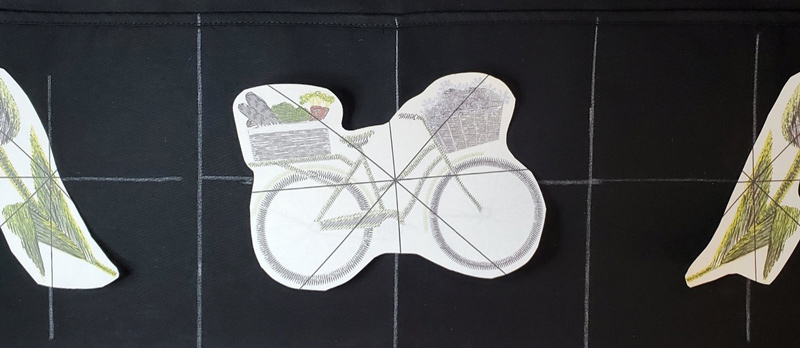
Mark apron 4 inches from each side for correct placement of designs on side pockets.
Step 18
Use the template to center the apron on the stabilizer in the hoop.
Step 19
Repeat for the side pockets. Stitch all 3 designs.
Step 20
Using the vertical lines as a guide, sew the pocket seams.
Step 21
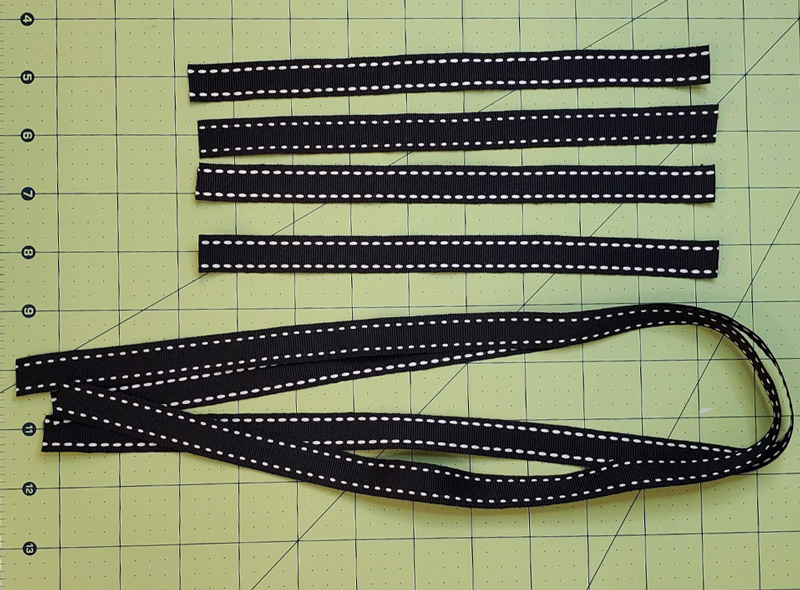
Cut Fuse and Seal into ½ inch strips.
Step 22
Cut 4 pieces of ribbon 9 inches long and 2 pieces of ribbon the width of the apron.
Step 23
Press the strips of Fuse and Seal to the back of the ribbon.

Step 24
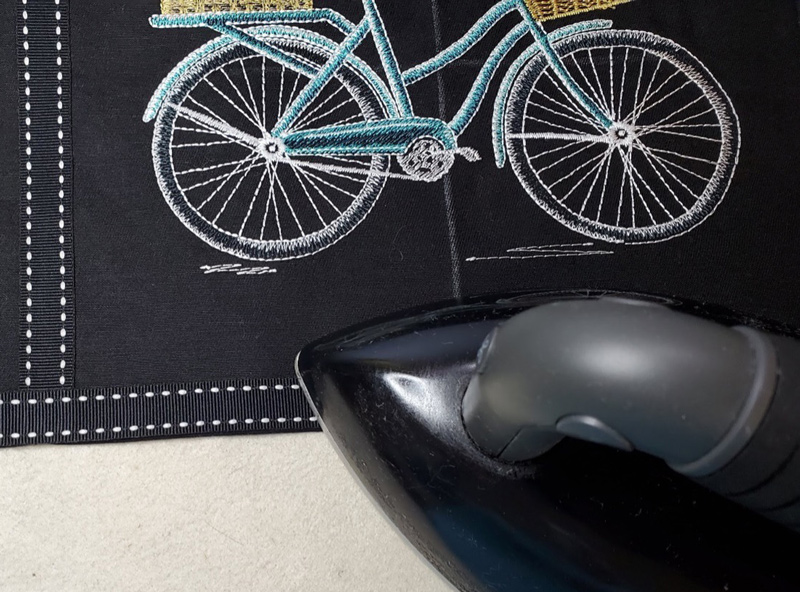
Press the ribbon over the pocket seams.
Step 25
Press the ribbon on the top and bottom of the pocket.
Step 26
Enjoy your finished apron!
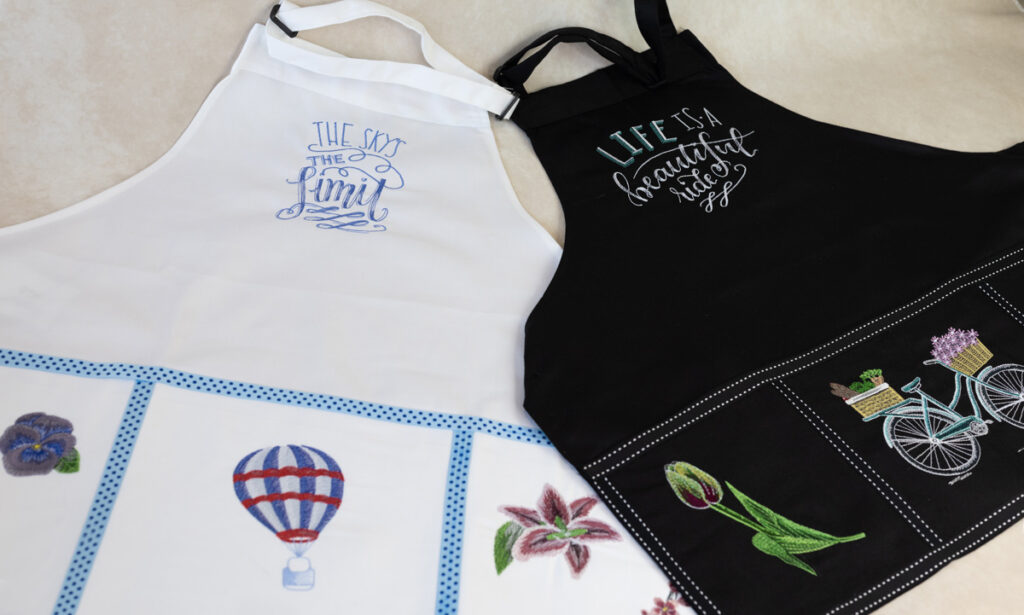
Variations
Use a white OESD Easy Apron for a different look!

JOIN US IN THE OESD COMMUNITY!
We hope you enjoyed this machine embroidery tutorial! Have you stitched your own Springtime Garden Apron? Come show off your work in our private Facebook group, The Perfect Stitch!