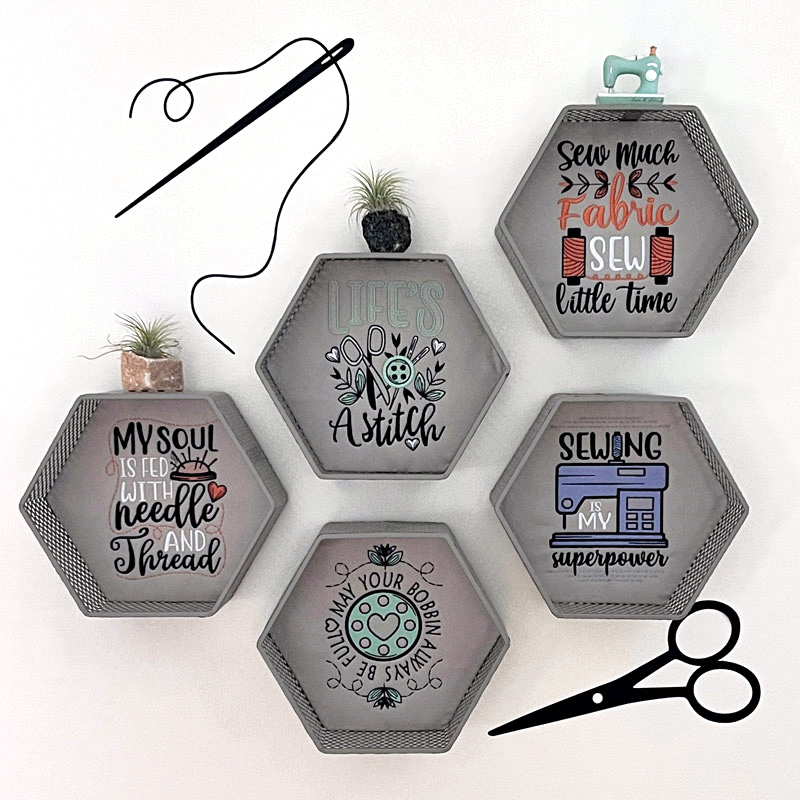
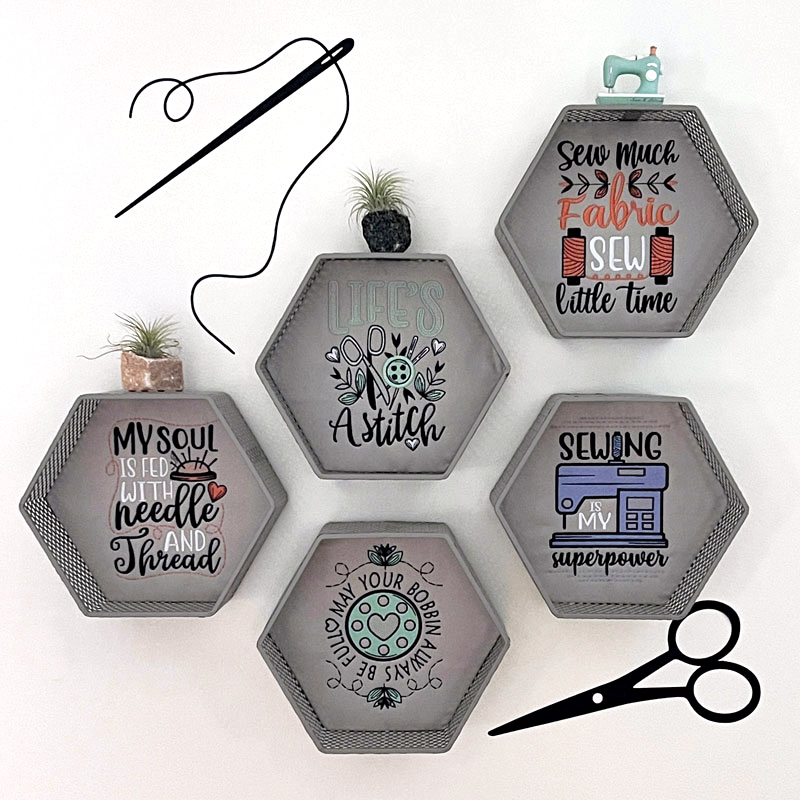
Decorate your embroidery space with these fun Sewing Room Shadow Boxes! Celebrate your favorite hobby with some home decor that’s so quick and easy to make. This machine embroidery tutorial will show you the step-by-step process to stitch this witty wall art using Life’s A Stitch designs.
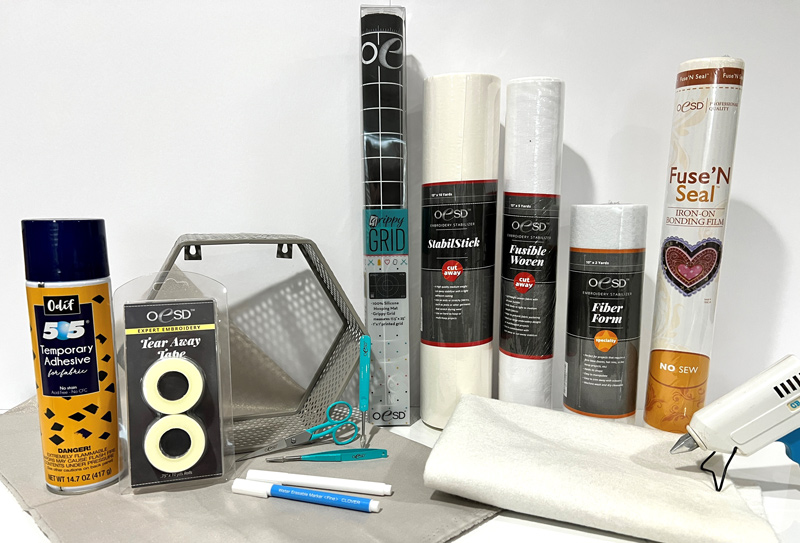
Supplies:
- Life’s A Stitch – PK10014
- OESD Fiber Form – 2 Rolls
- OESD Fuse and Seal
- OESD Fusible Woven
- OESD StabilStick CutAway
- OESD Expert Embroidery Tape
- OESD Perfect Embroidery Press Cloth
- OESD Grippy Grid
- 505 Temporary Spray Adhesive
- Wall Decor Boxes – we found these at Hobby Lobby
- 3/4 yard fabric of your choice
- Marking Pen/Eraser Pen
Instructions:
Step 1
Gather your supplies.
Step 2
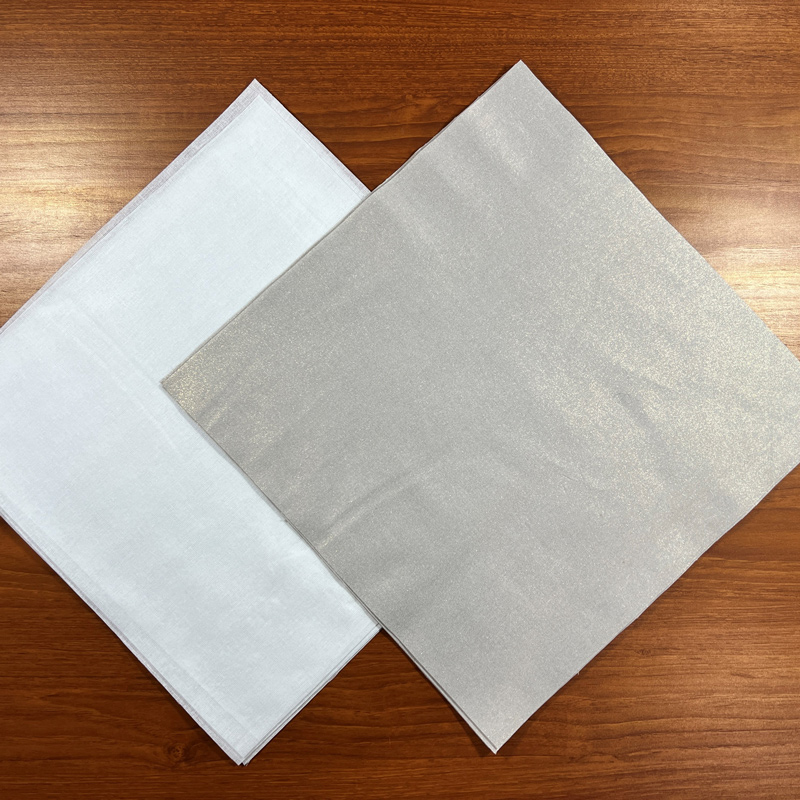
Cut fabric into 12” squares. Cut Fusible Woven into 11 ½” squares.
Step 3
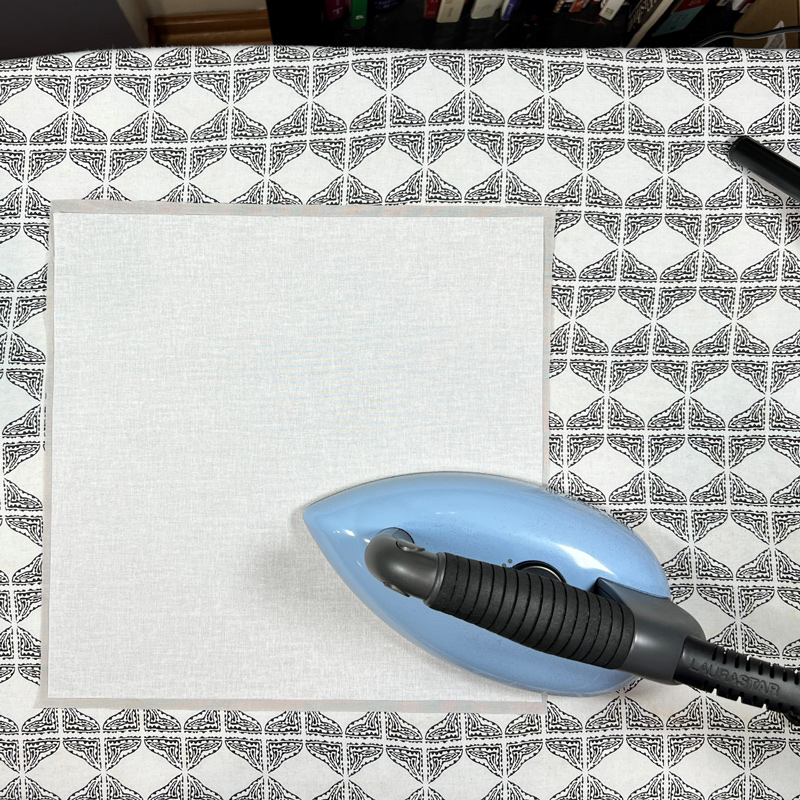
Centering the Fusible Woven on the wrong side of the fabric, press to fuse. Put aside until ready to embroider.
Step 4
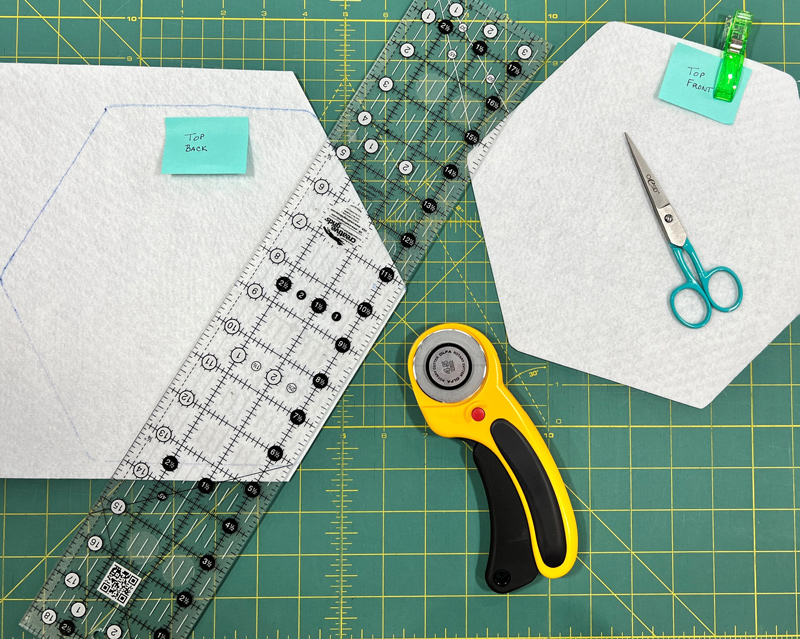
To cut the Fiber Form shapes, trace the outside of your chosen shadow box. Cut 2 pieces for each box – for embroidery and 1 for the back of the shadow box.
Step 5
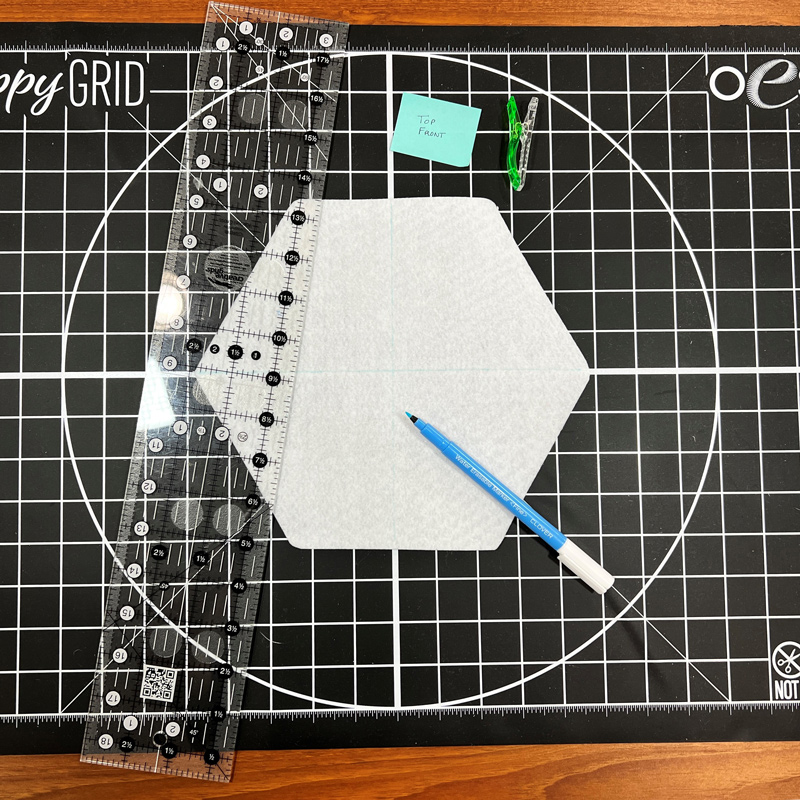
On the Front Fiber Form shape, mark the registration lines using a wash-away marker. The Grippy Grid makes this quick and easy!
Step 6
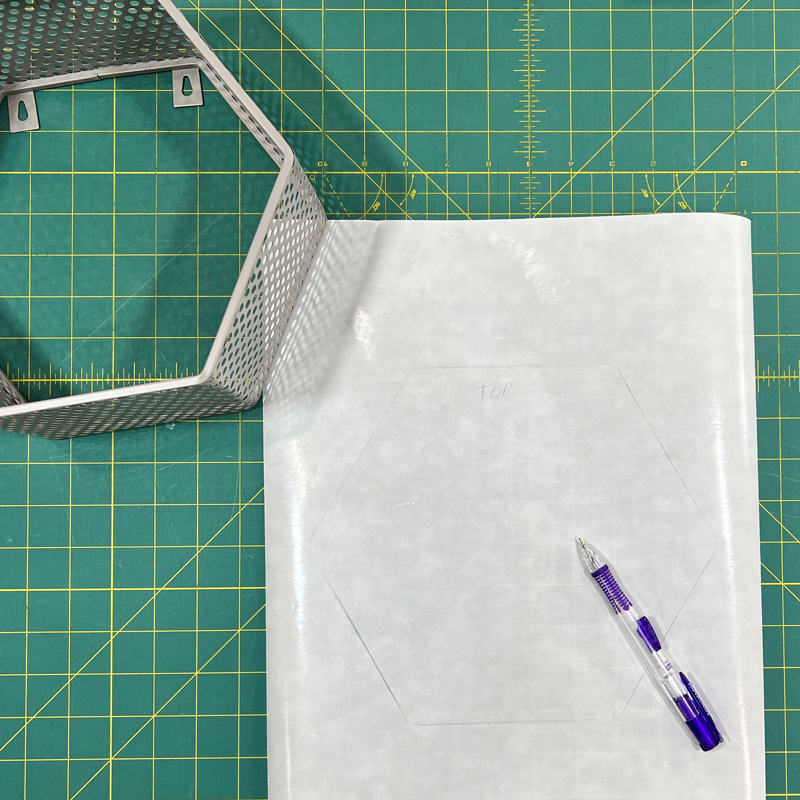
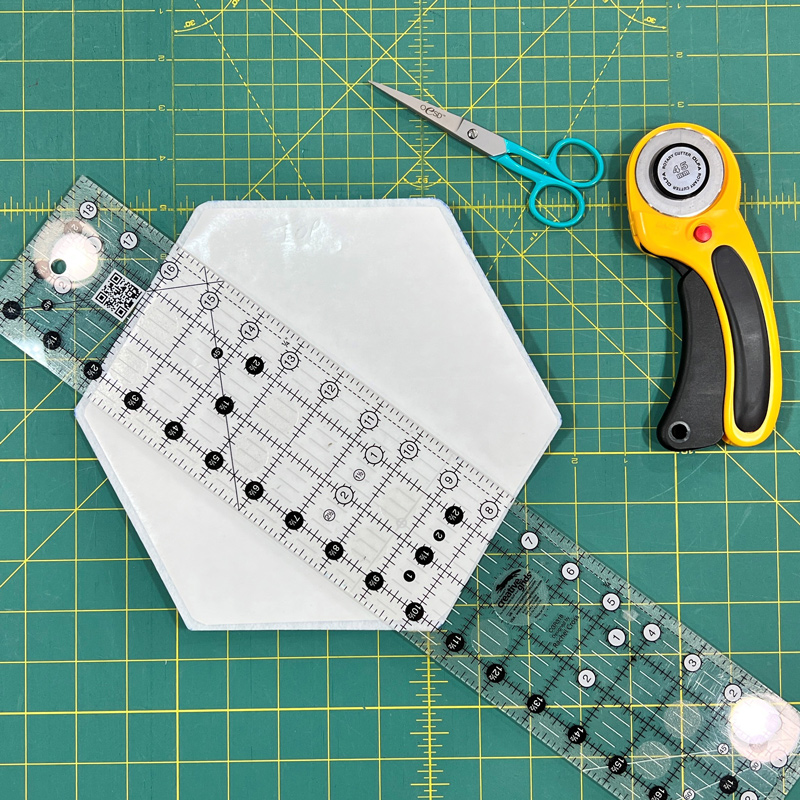
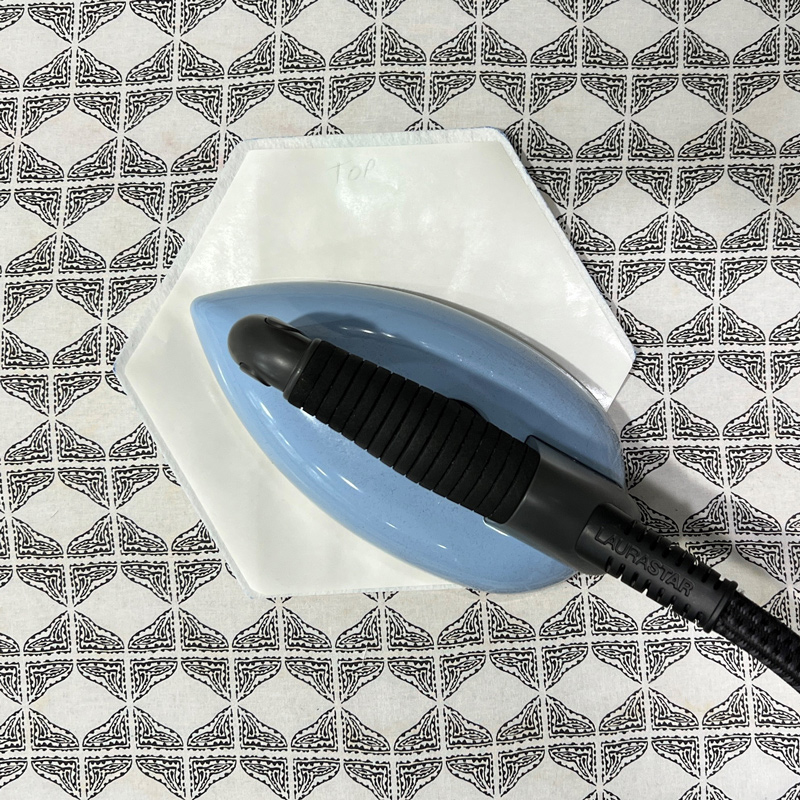
Cut 1 Fuse and Seal piece for the Fiber Form back. Trim 1/8″ inside the Fiber Form outline on all sides. Press and set aside.
Step 7
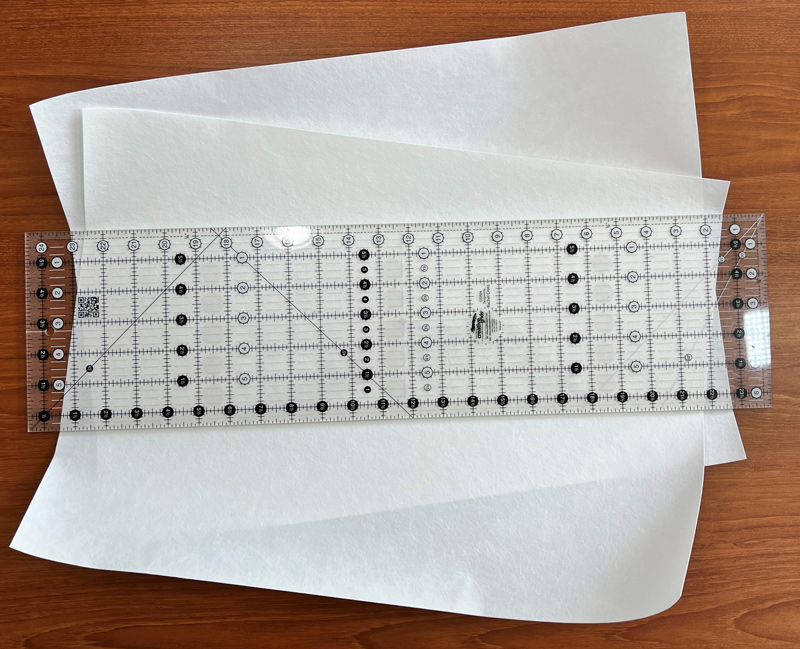
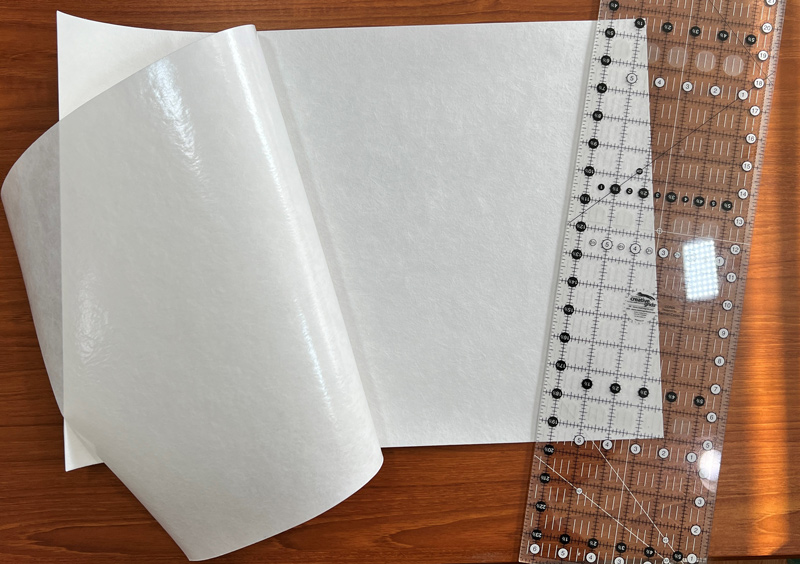
Cut 2 pieces of StabilStick CutAway for each design you’ll embroider. Peel the backing off one sheet and stick it to the stabilizer side of the other (NOT the paper backing)
Step 8
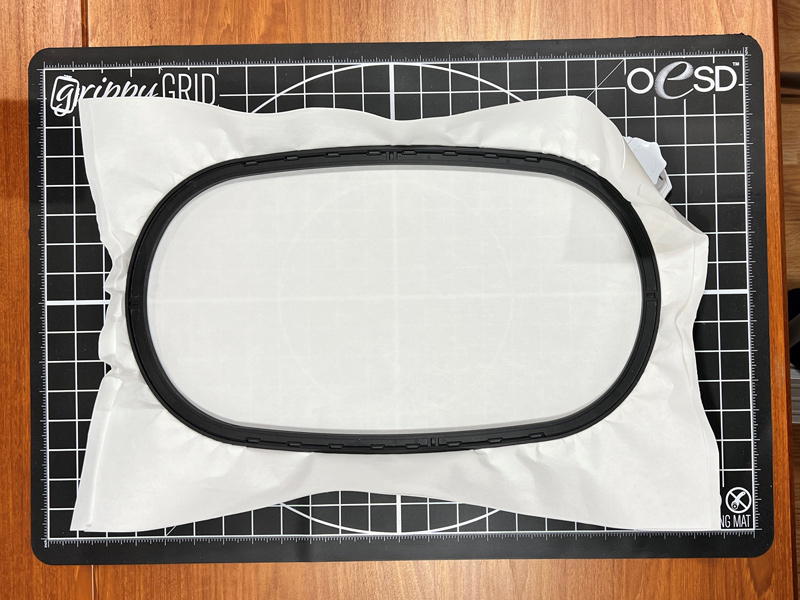
Hoop your stabilizer – the Grippy Grid will help! Hoop the prepared StabilStick CutAway with the shiny paper side up in the hoop. Score the paper and remove the backing from the inside of the hoop.
Step 9
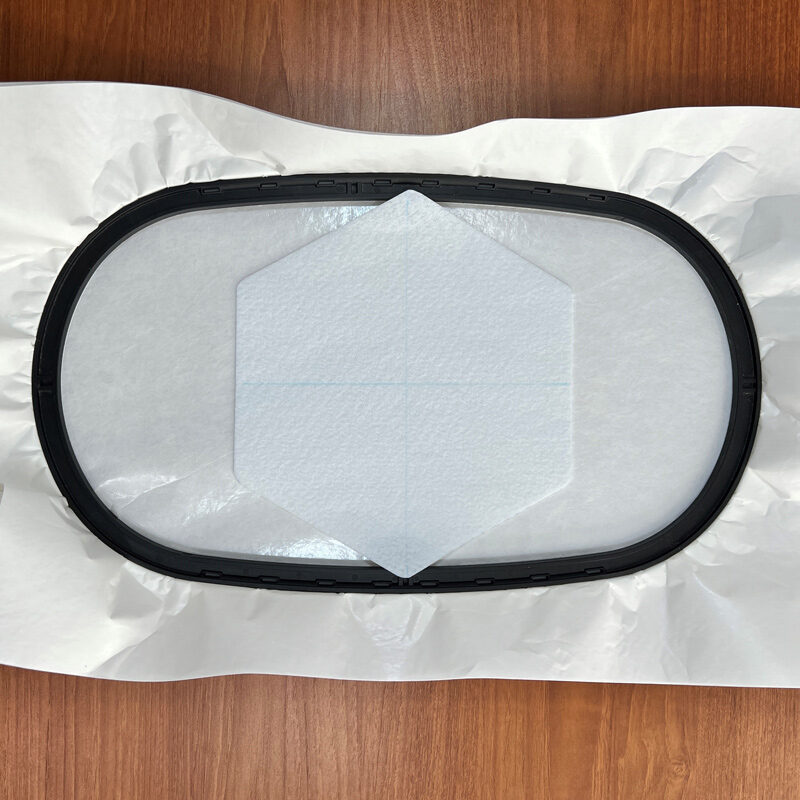
Center the Fiber Form shape with the marking in the center of the hoop.
Step 10
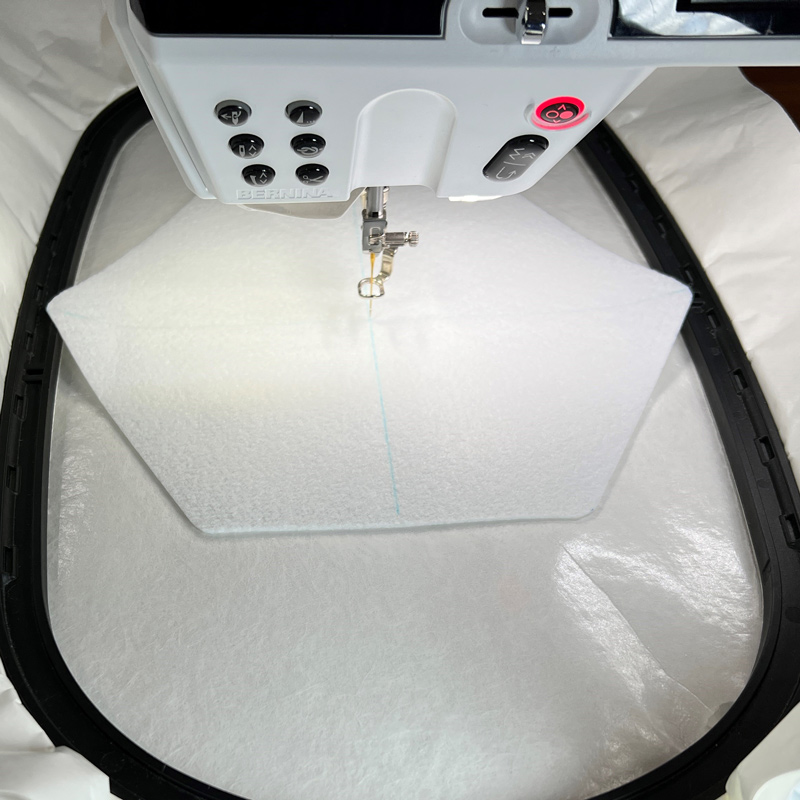
Use your embroidery machine to line up the center of the shape.
Step 11
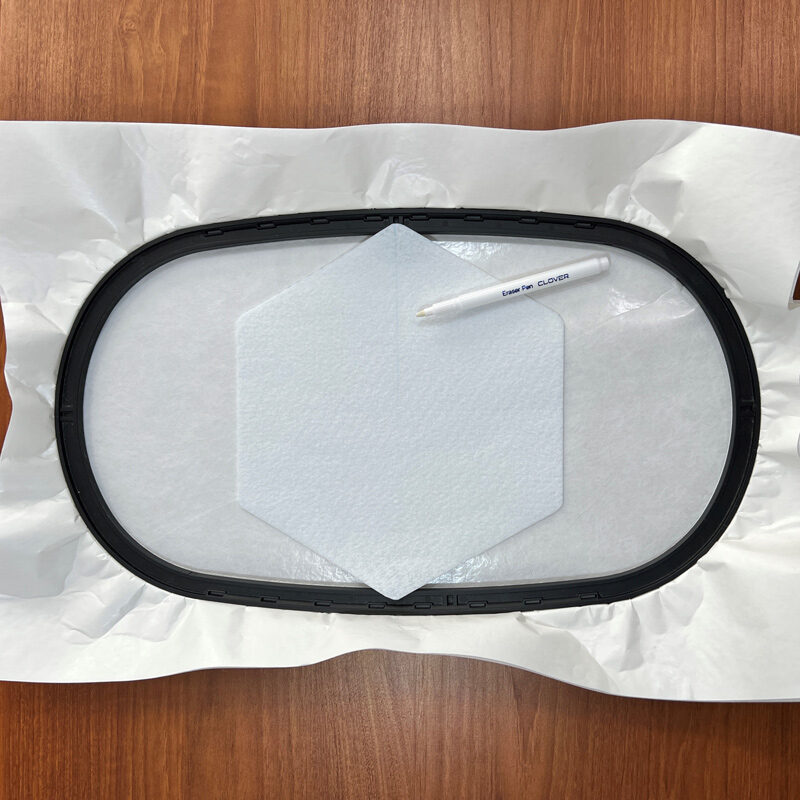
If you’re working with light fabric, remove the hoop from the embroidery module, then remove the markings so they won’t show through the fabric. If you’re working with darker fabric, skip this step.
Step 12
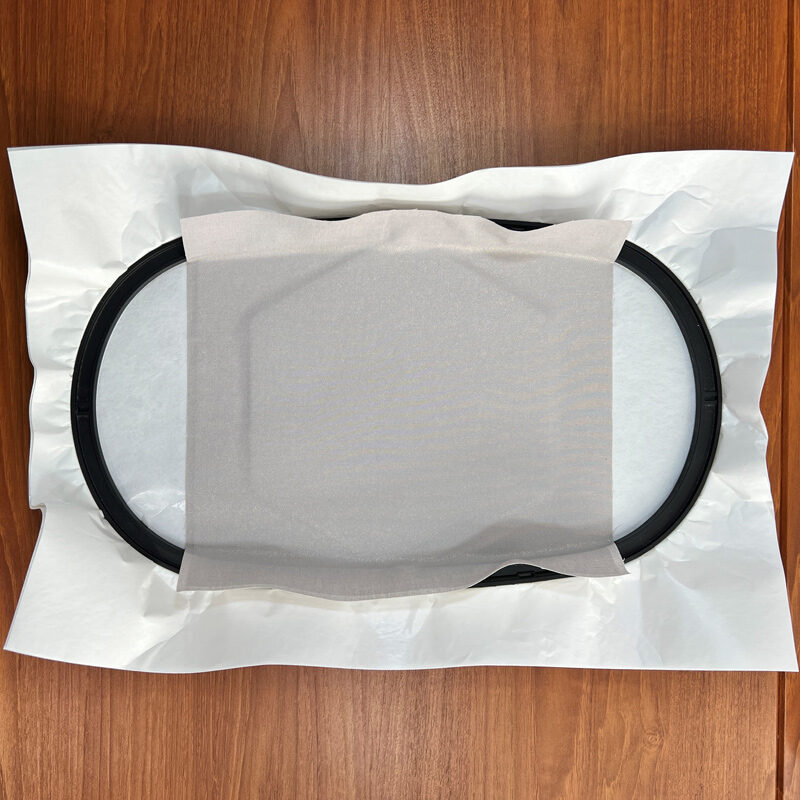
Spray the back side of the prepared fabric with the 505 Temporary Adhesive Spray and lay on top of the Fiber Form shape in the hoop, keeping it centered.
Step 13
Return the hoop to the machine and embroider the design.
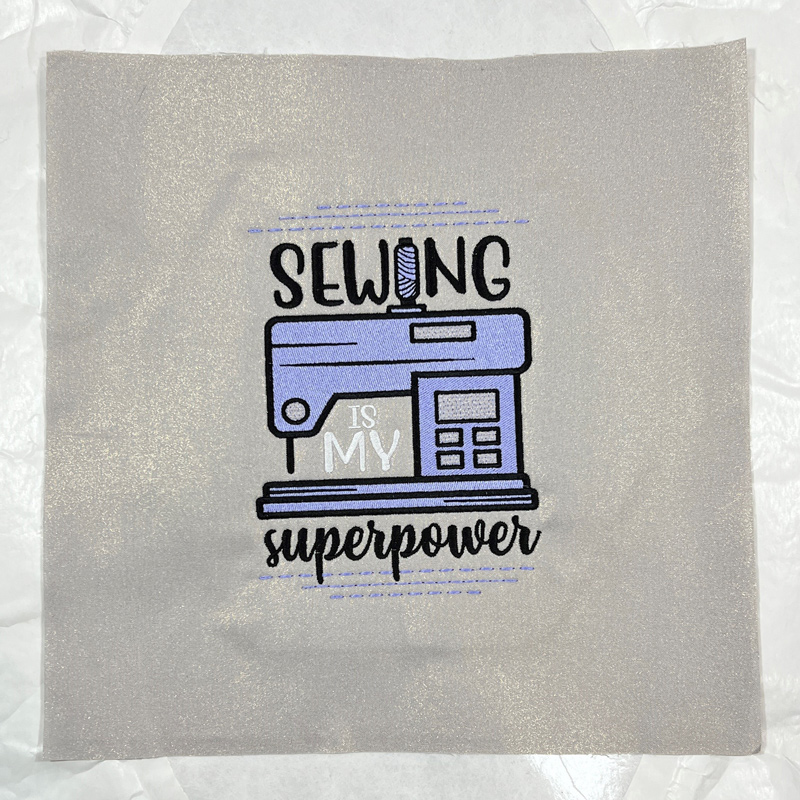
Step 14
Using scissors, trim the stabilizer ONLY (not fabric) to the shape.
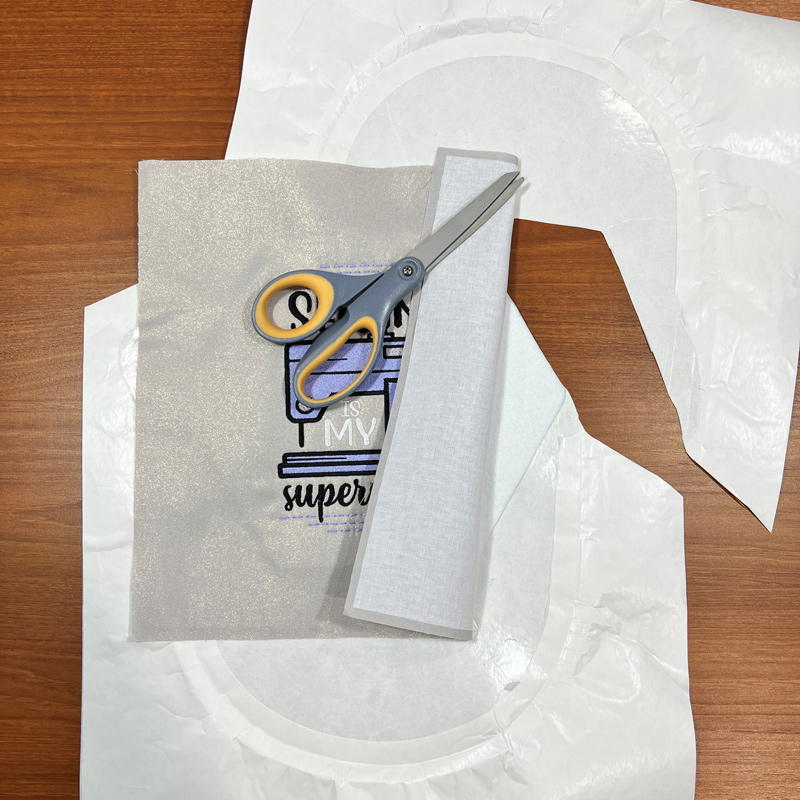
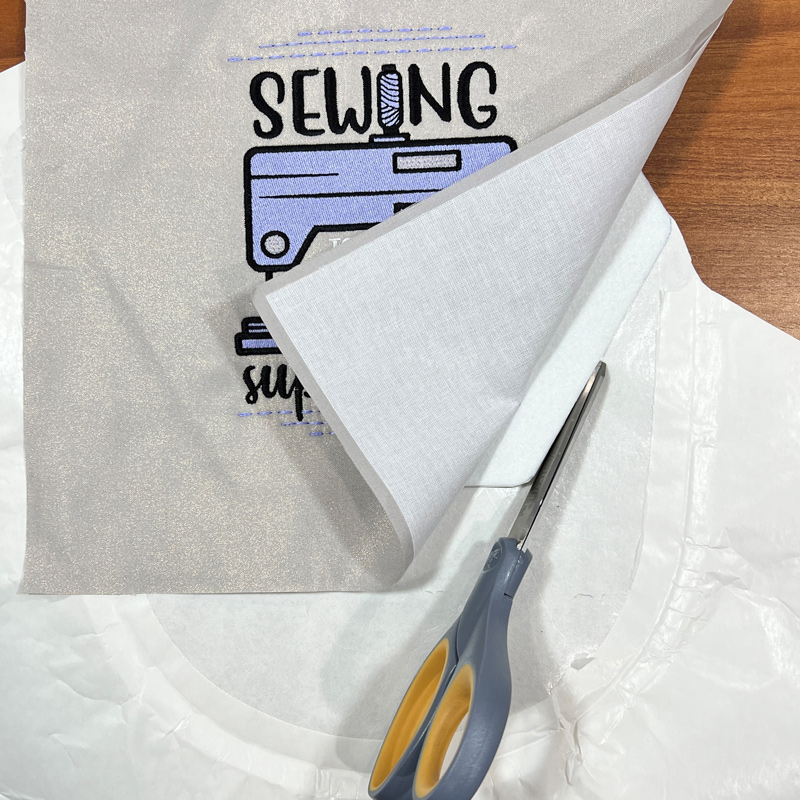
Step 15
Place the embroidery on the Perfect Embroidery Press Cloth, then press from the back.
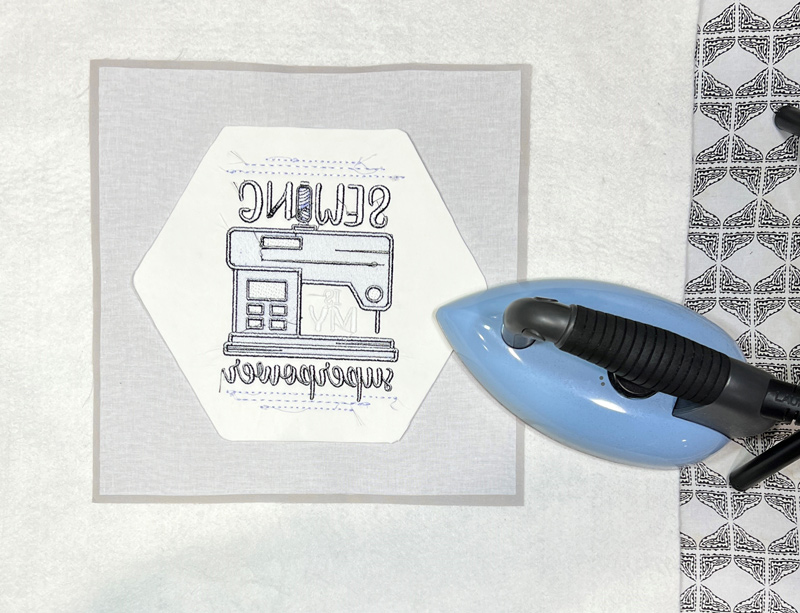
Step 16
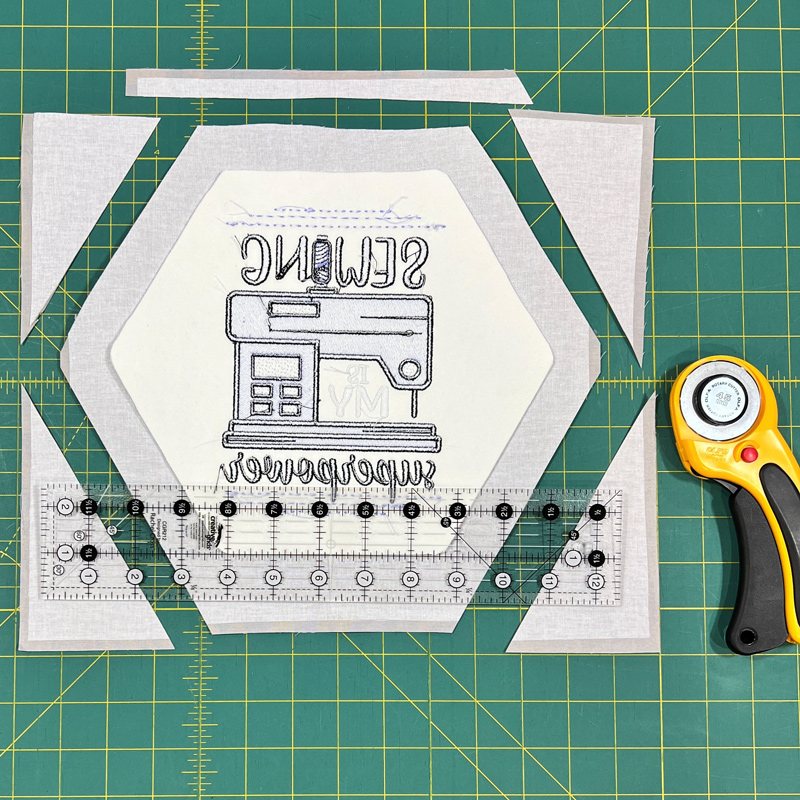
Cut the fabric approximately 1” all around the shape – at least enough to fold over to the back.
Step 17
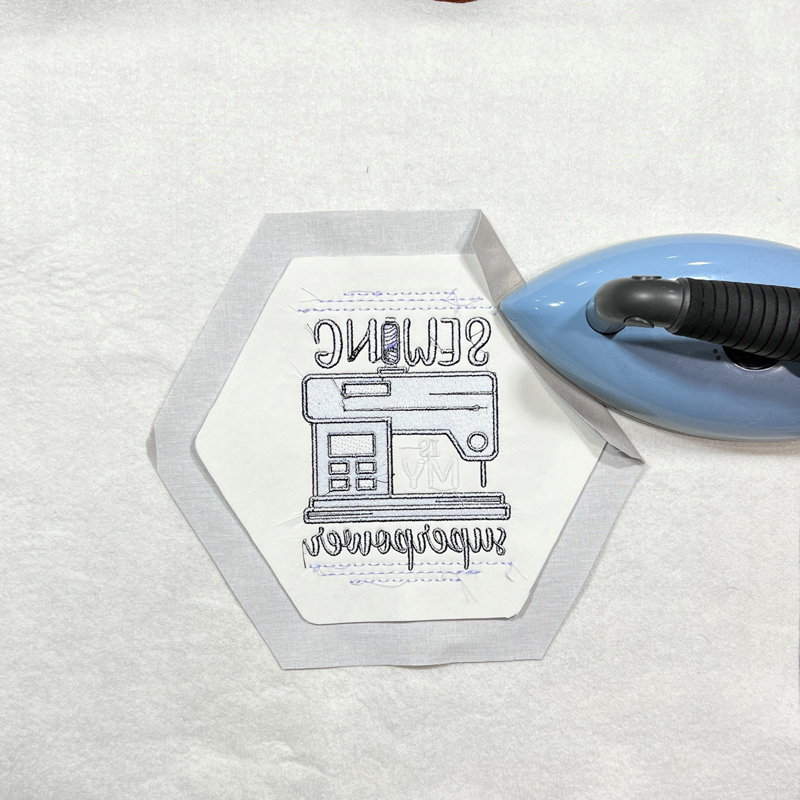
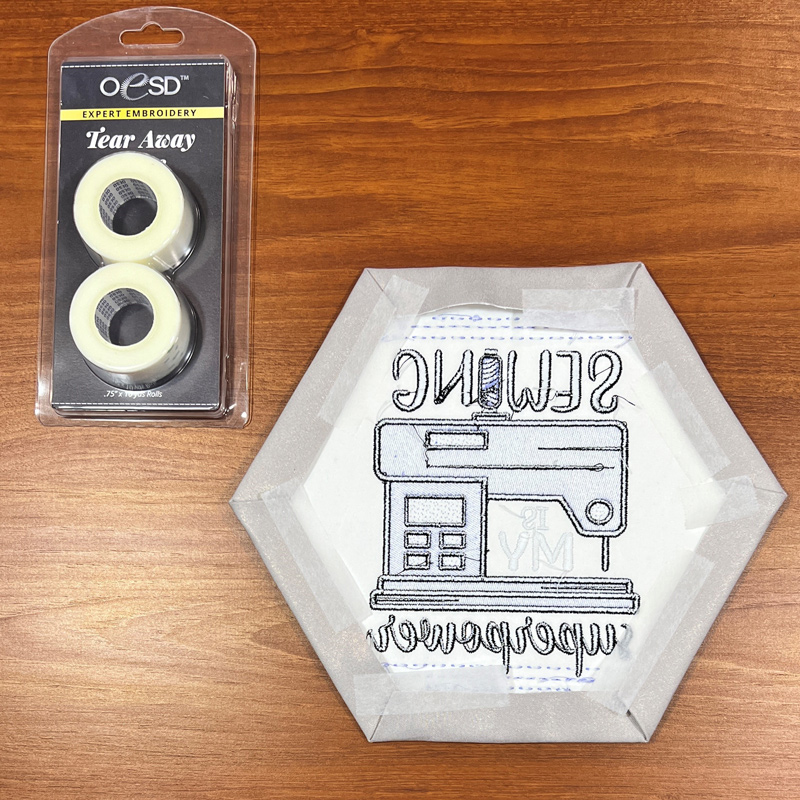
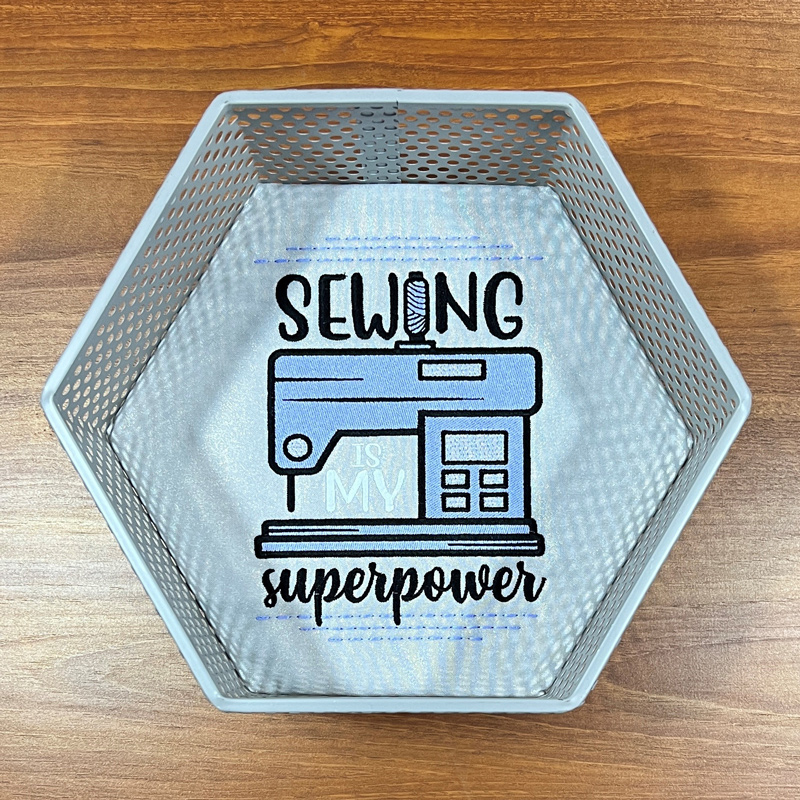
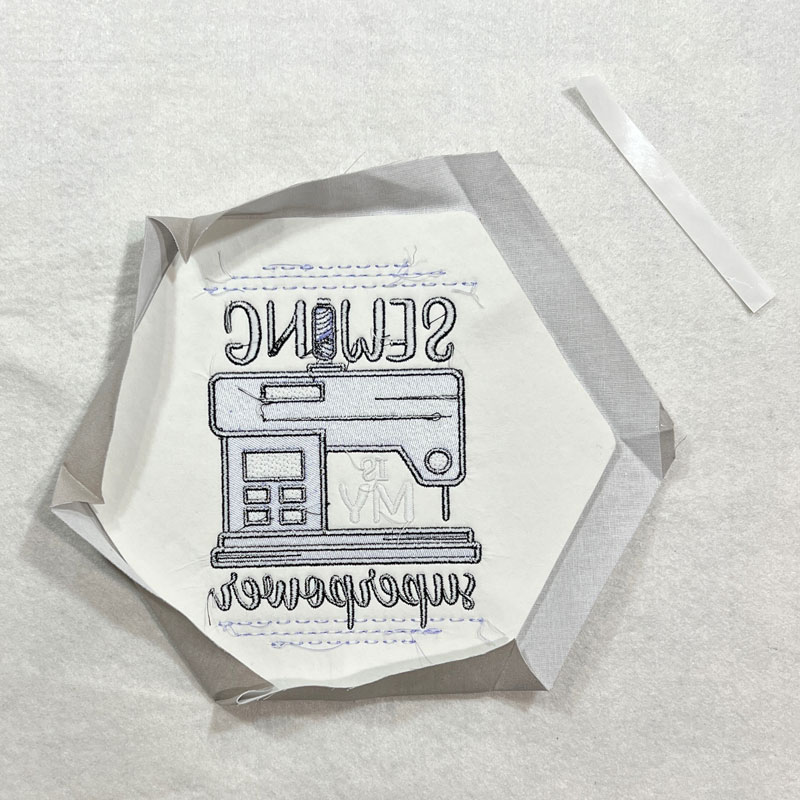
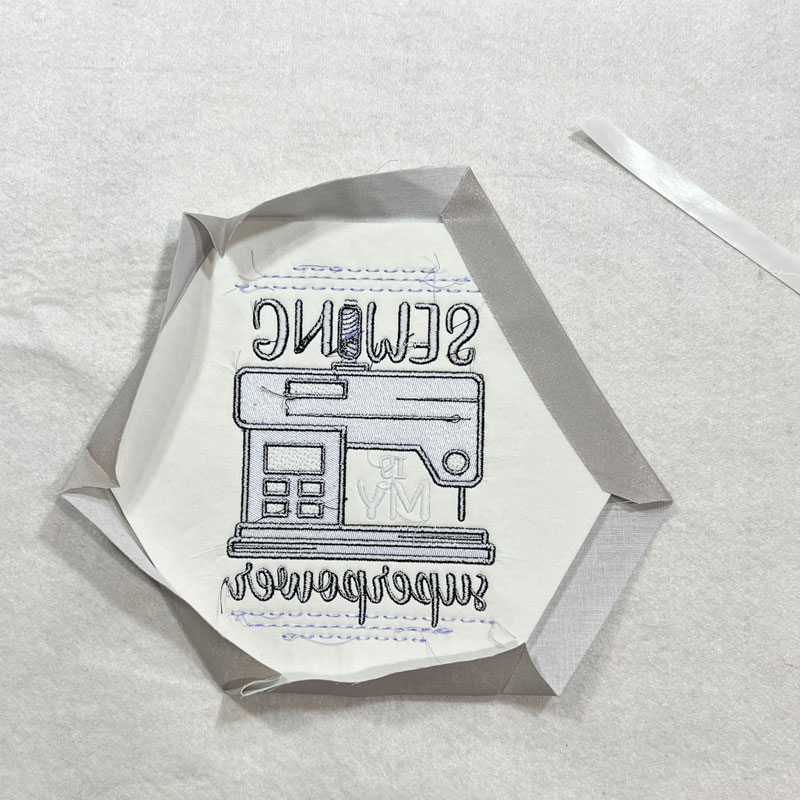
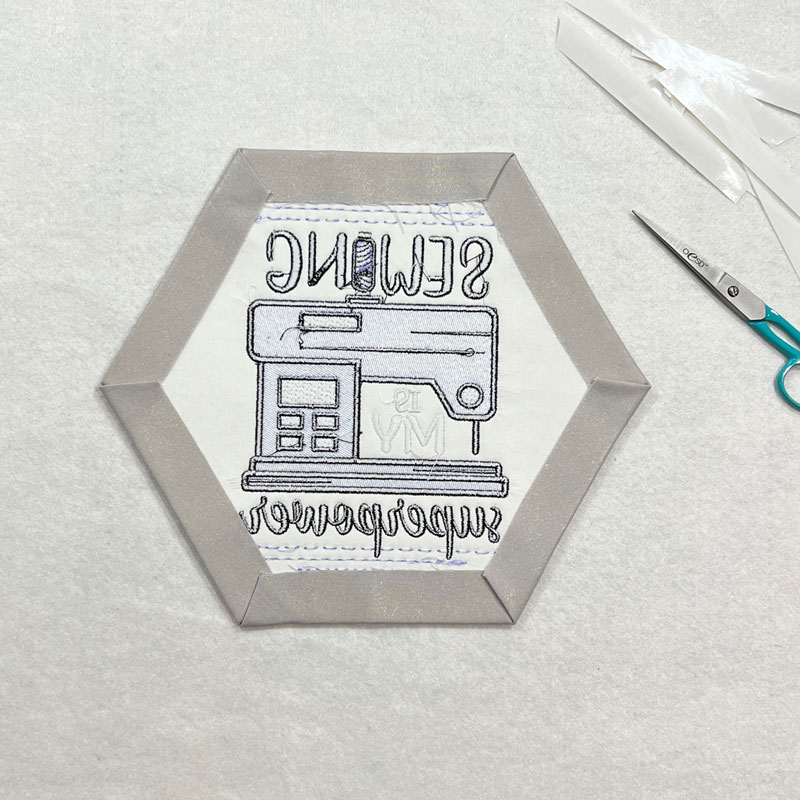
Pull the fabric to the back and press each side along the Fiber Form edge. Temporarily tape each side in place to check the fit in your chosen shadow box. If the shape is too big, un-tape the fabric and trim down the Fiber Form as needed. Re-press.
Step 18
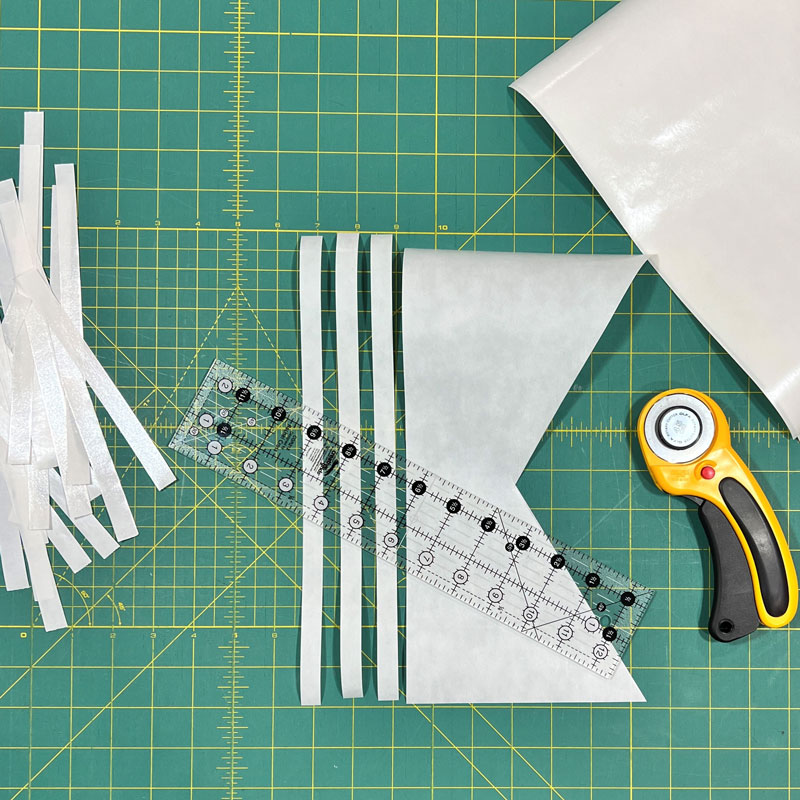
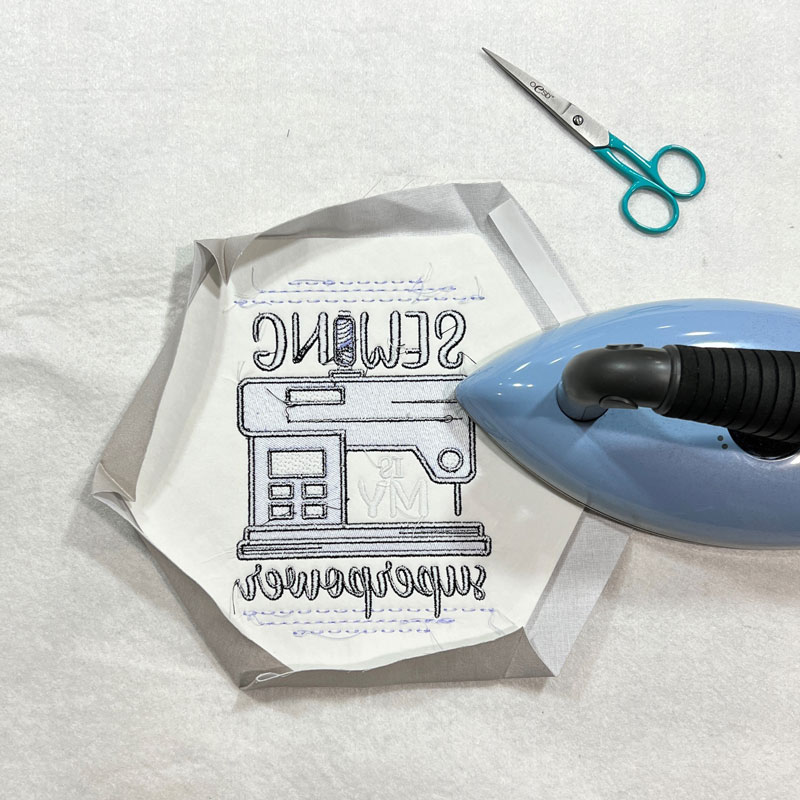
To permanently attach your fabric to the back of the Fiber Form, use 1/2″ strips of Fuse and Seal. Cut your strip to fit the size of the fabric flap, then press. Let it cool, peel the paper, fold over the Fiber Form, then press again. Repeat around all sides
Step 19
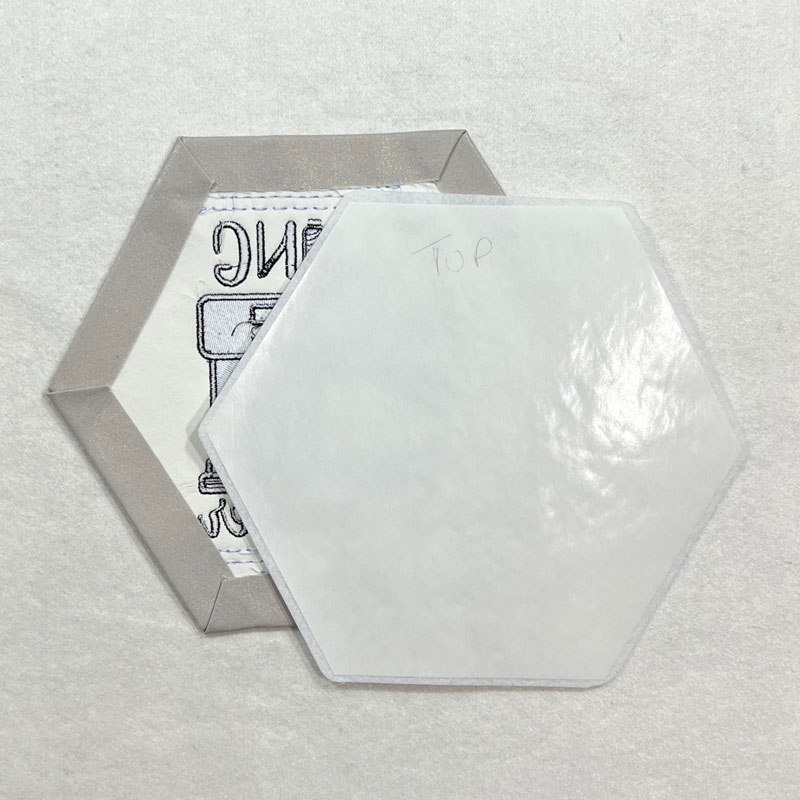
If your shadow box has an open back and you’d like to finish it off, cut a second piece of Fiber Form to shape. Press on a piece of Fuse and Seal.
Step 20
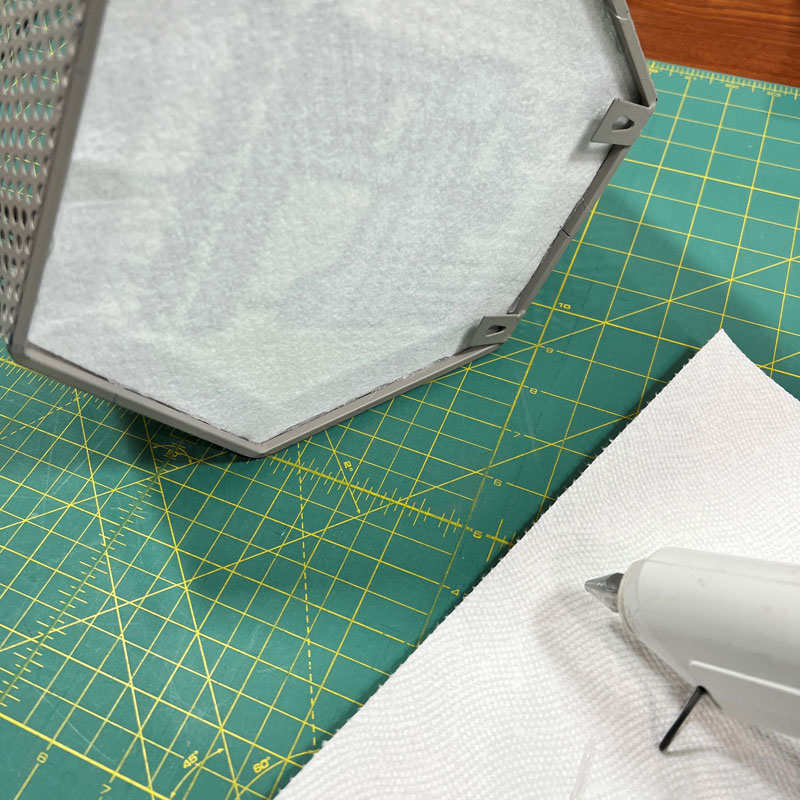
Attach your embroidery (and and Fiber Form back, if needed) to your shadow box using hot glue.
Step 21
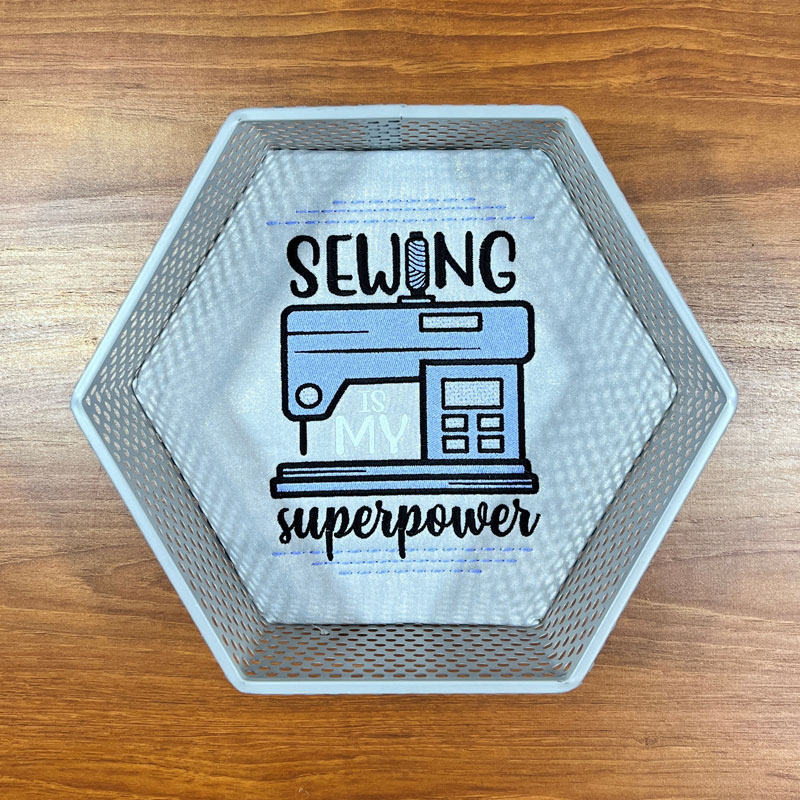
Enjoy your completed Sewing Room Shadow Boxes!

JOIN US IN THE OESD COMMUNITY!
We hope you enjoyed this machine embroidery tutorial! Have you stitched these Sewing Room Shadow Boxes? Come show off your work in our private Facebook group, The Perfect Stitch!
