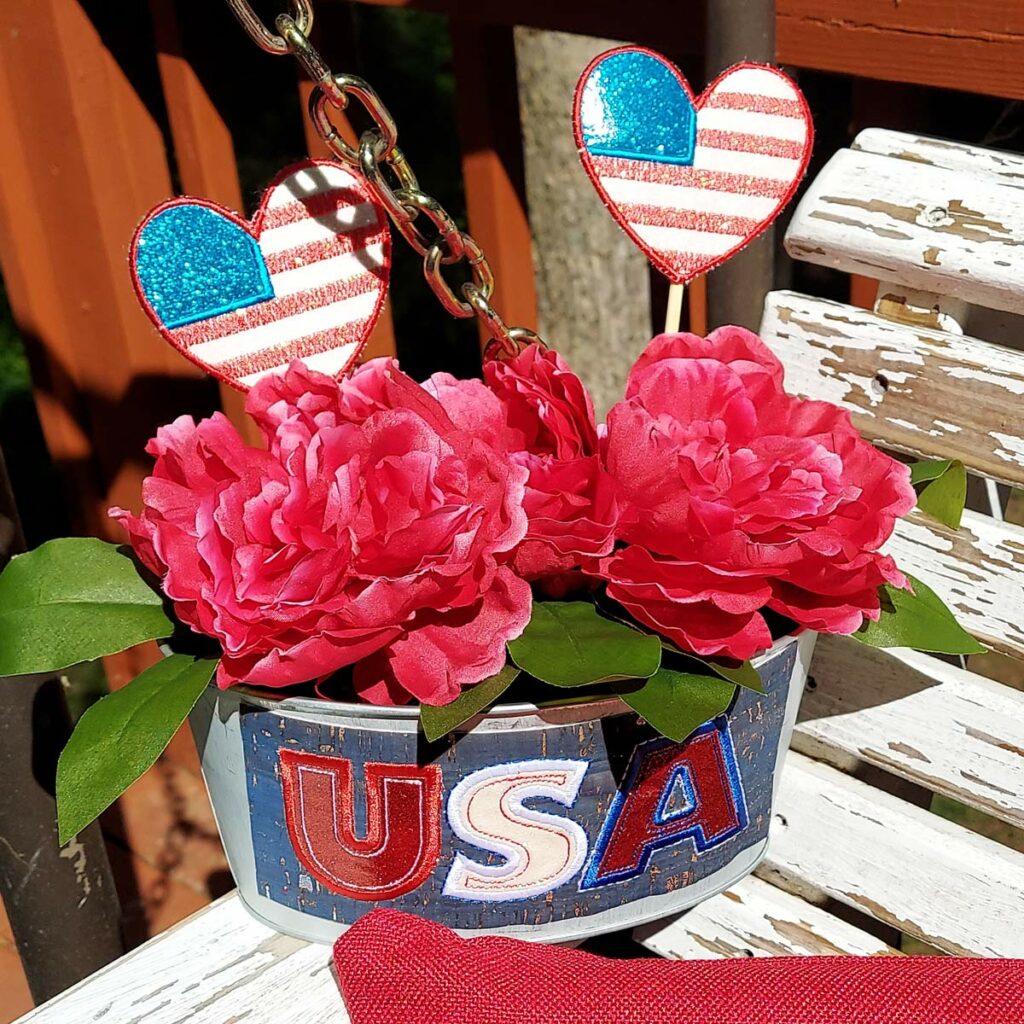
If you’re hosting a Fourth of July or Memorial Day party, embroider some fun Patriotic Decor that Sparkles! These one-of-a-kind embellishments are appliqué designs from our Sparkle in the USA collection #12923 that take your patriotic USA pride from your embroidery machine to your family barbecue or neighborhood gathering! This easy tutorial includes a fun technique where you can use OESD Fuse and Seal to add exciting embroidery to unconventional surfaces. Get ready to have some fun stitching this variety of shining designs! Find full PDF instructions for this collection HERE.
Supplies:
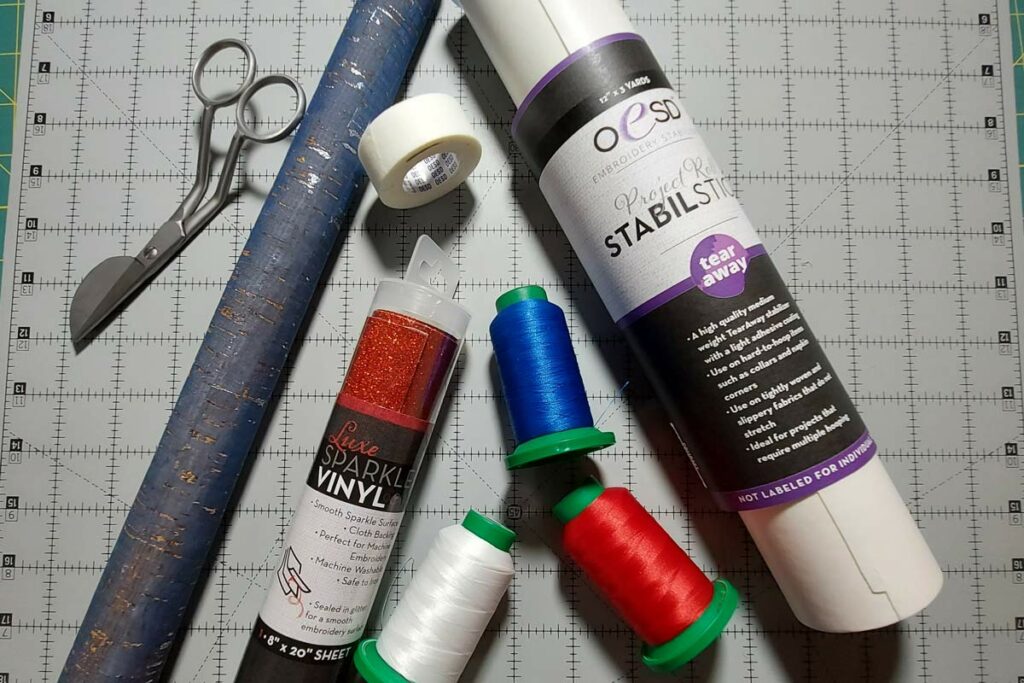
- Sparkle in the USA Collection 12923
- Sparkle in the USA Coordinating Thread
- Sparkle in the USA Coordinating Vinyl
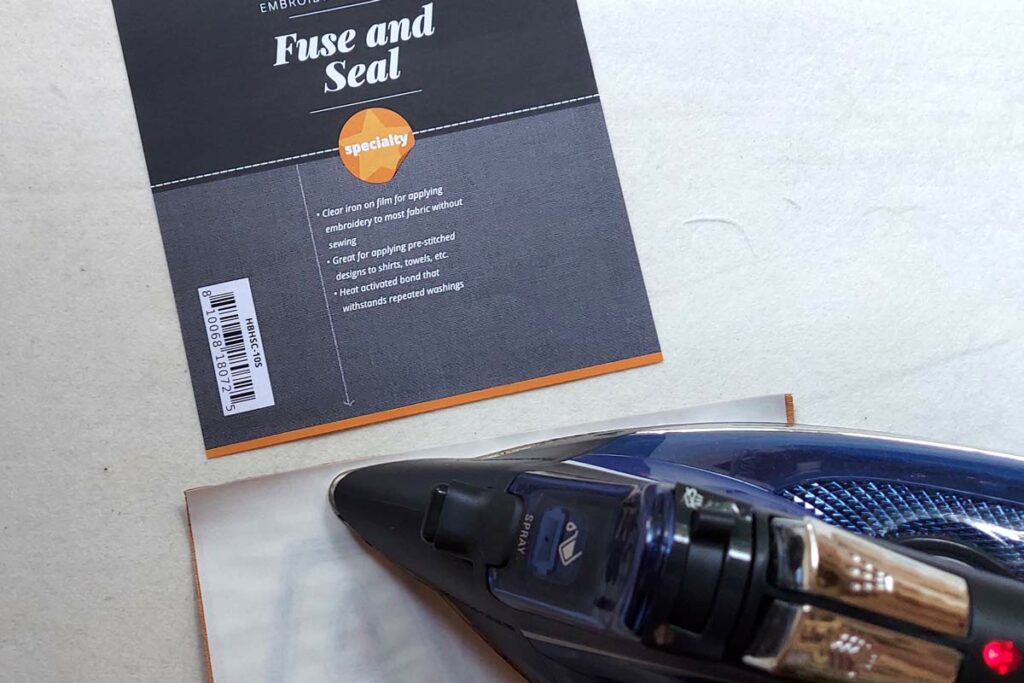
- OESD Fuse and Seal
- OESD StabilStick TearAway
- OESD Expert Embroidery Tape TearAway
- OESD Perfect Embroidery Press Cloth
- Cork – 18″x22″ piece
- Metal bucket or container
Instructions:
Step 1
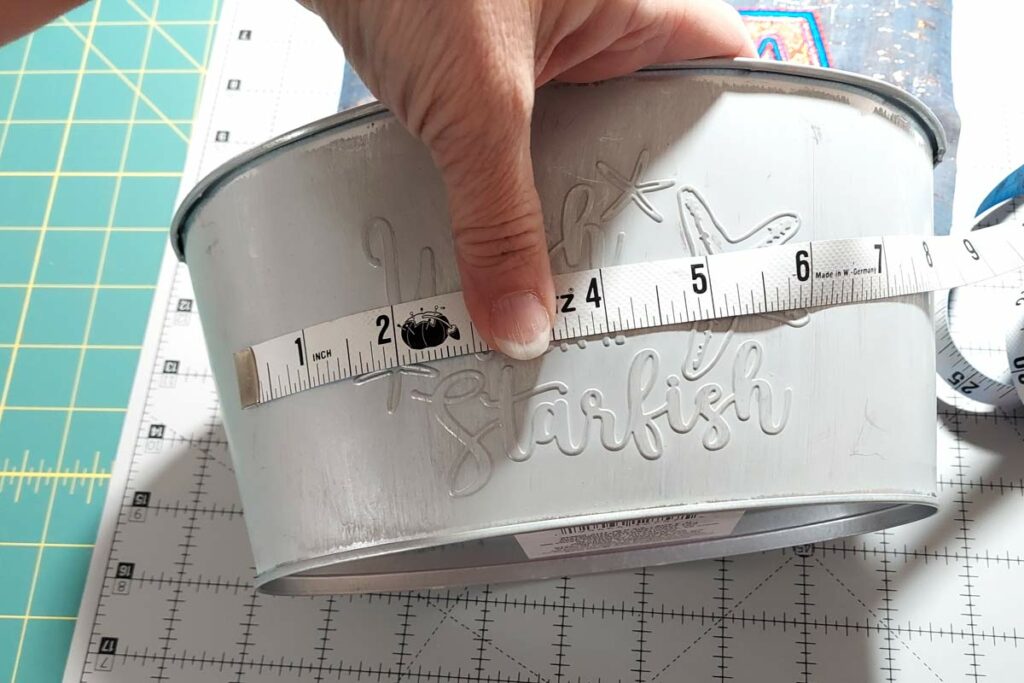
Measure your metal bucket or container to get the measurements for the “patch”. This measurement will give a starting point for how to cut the cork fabric. This project’s finished “patch” would measures about 7” wide by 3” tall. Cut the piece of cork 9” by 7” to begin the embroidery process.
Step 2
Choose a design from Sparkle in the USA #12923. Instead of using traditional cotton fabric for the applique, this project uses Luxe Sparkle Vinyl.
Step 3
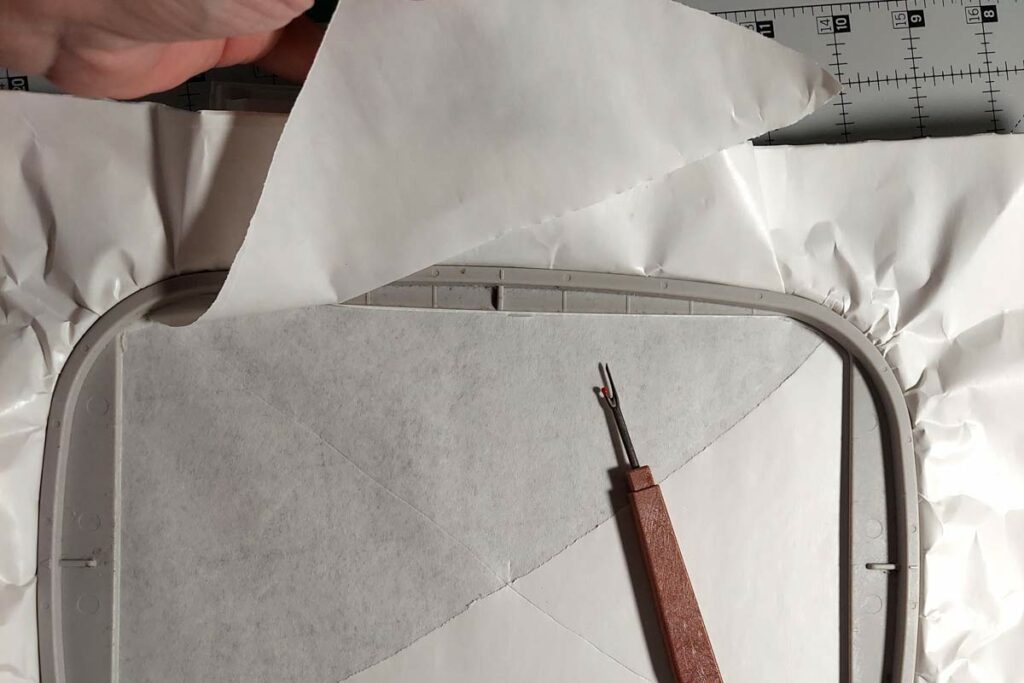
Hoop the OESD StabilStick Tear Away shiny side (or paper side) up. Use a pin the score the stabilizer and remove the paper topper.
Step 4
Load the design in your embroidery machine. Go ahead and place your piece of cork in the hoop aligning the center of the cork with the center of the hoop. Press the cork down firmly on the adhesive of the StabilStick Tear Away.
Step 5
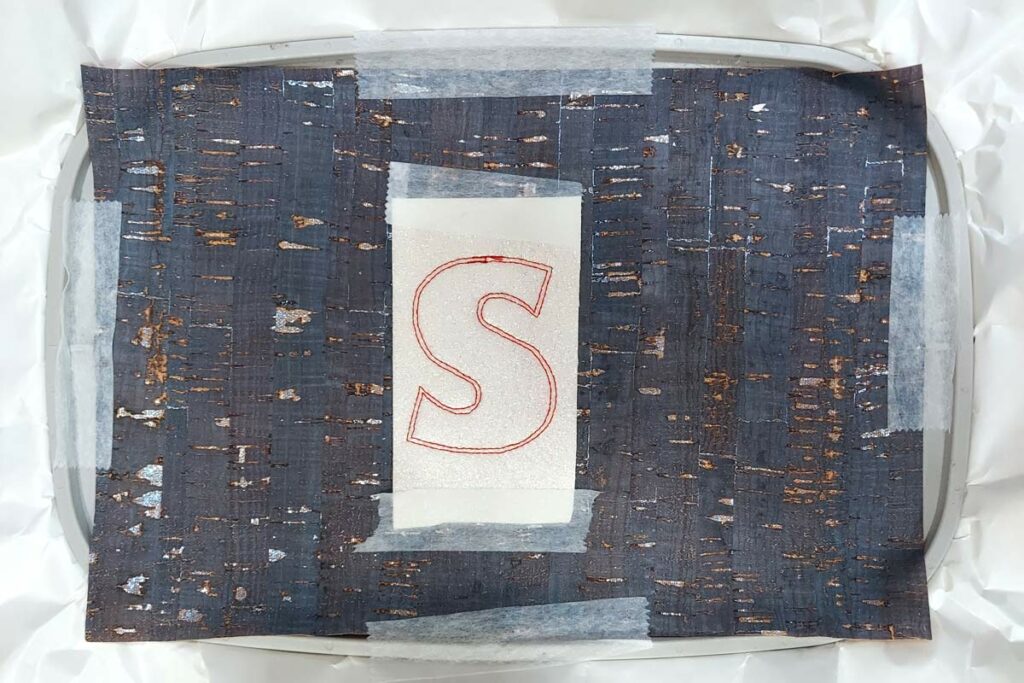
Stitch the first step in design. This is the placement step of the letter “S”. After the placement stitch has stitched out, cover that area completely with white Luxe Sparkle Vinyl. Tape the white Luxe Sparkle Vinyl in place. Continue with machine thread color 2- this will stitch the tack down of the white sparkle vinyl. Trim away the excess white sparkle vinyl.
Step 6
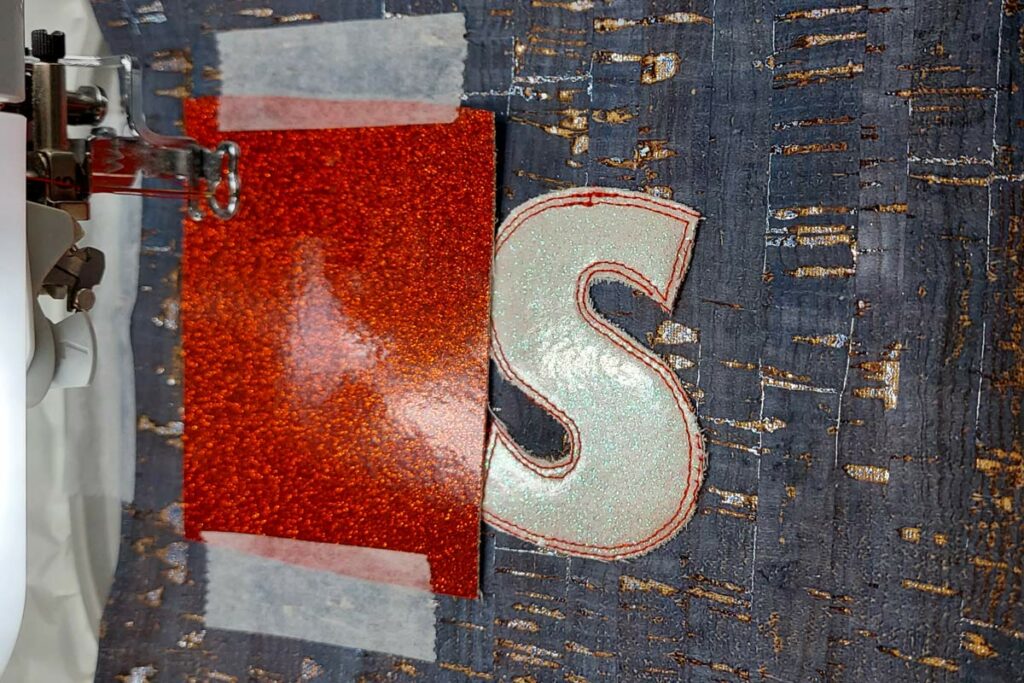
The next step of the design is the stitch the placement lines for the letter “U”. Stitch this out, then cover this entire area with the Red Luxe Sparkle Vinyl and tape in place.
Step 7
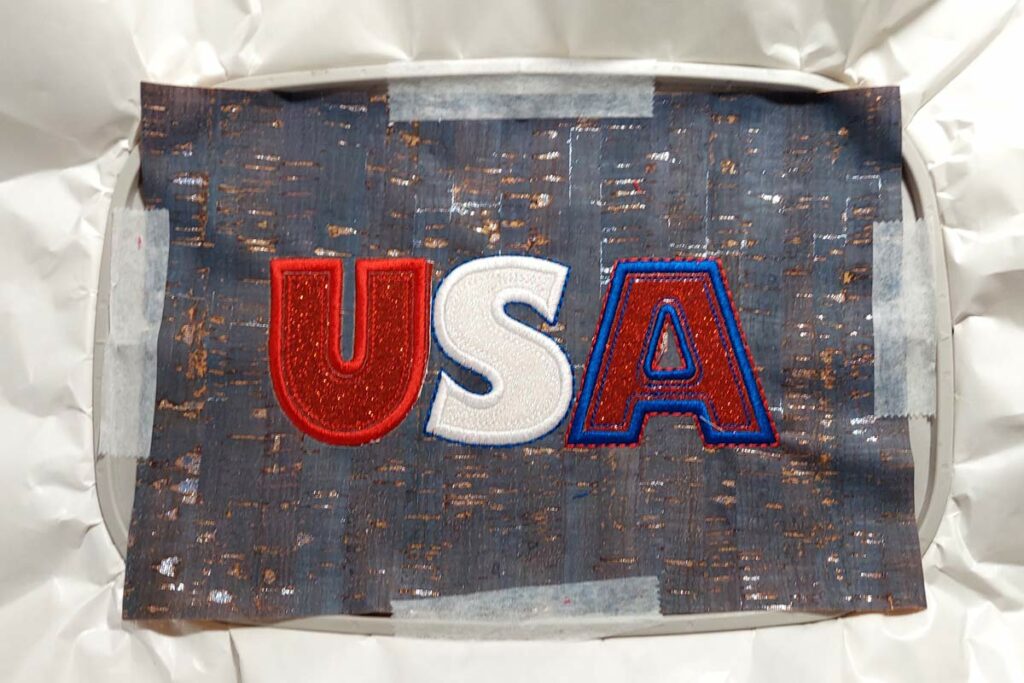
Continue on stitching the embroidery design. The tack down stitch for the letter “U” is next. Once you have stitched that tack down, trim the excess red sparkle vinyl and repeat the process with the letter “A”. Finally continue the stitching the embroidery design by stitching the satin stitches on each of the letters.
Step 8
Double check your measurements for the size of the FINAL “patch” on the metal bucket or container. Trim down the embroidered cork to these measurements and cut a piece of Fuse and Seal the same size.
Step 9
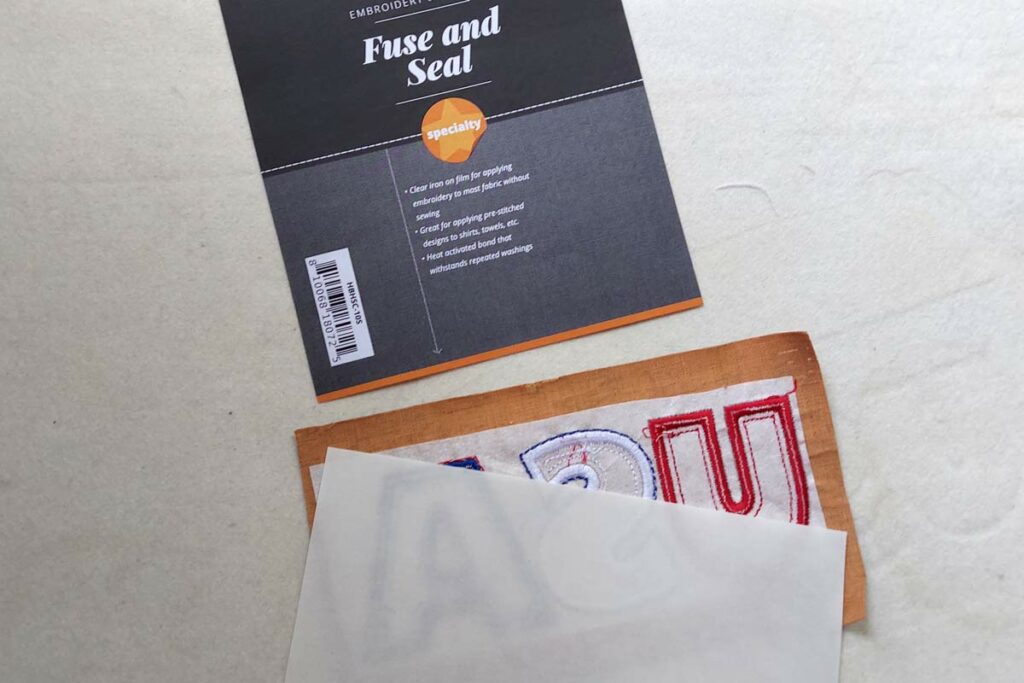
Iron the piece of Fuse and Seal to the back of the embroidered cork. The paper side of the Fuse and Seal should be facing up (touching the iron) as you fuse them together. Allow the Fuse and Seal to cool down a little, then peel off the paper backing.
Step 10
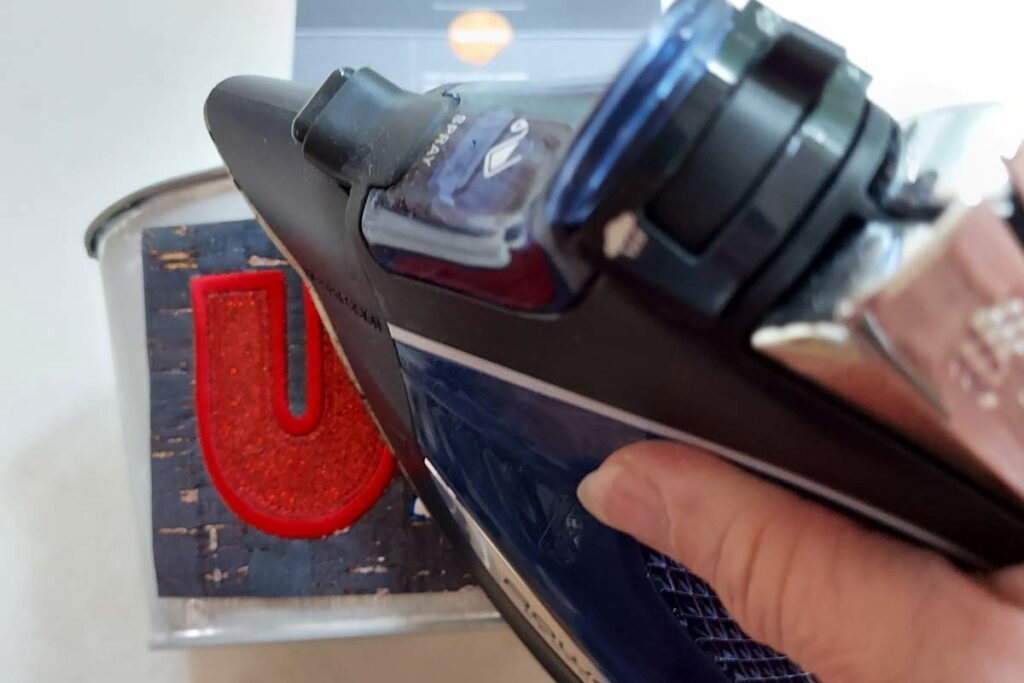
Place the embroidered cork directly on the metal bucket or container. Now using your warm iron, fuse the cork in place.
Additional Idea:
Repeat the same process using other designs from Sparkle in the USA. Finish the embroidery, then attach the applique to other pieces of decor – use them on bamboo skewers to decorate a flower pot, attach to a napkin ring… the sky is the limit!

JOIN US IN THE OESD COMMUNITY!
We hope you enjoyed this machine embroidery tutorial! Have you stitched your own Sparkle in the USA decorations? Come show off your work in our private Facebook group, The Perfect Stitch!
