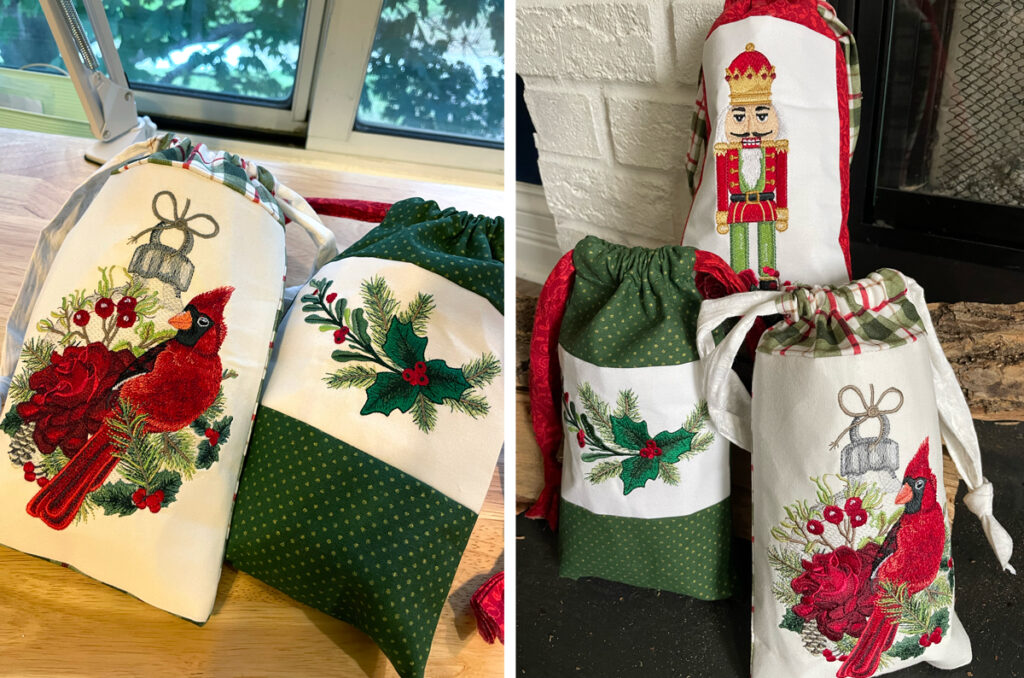
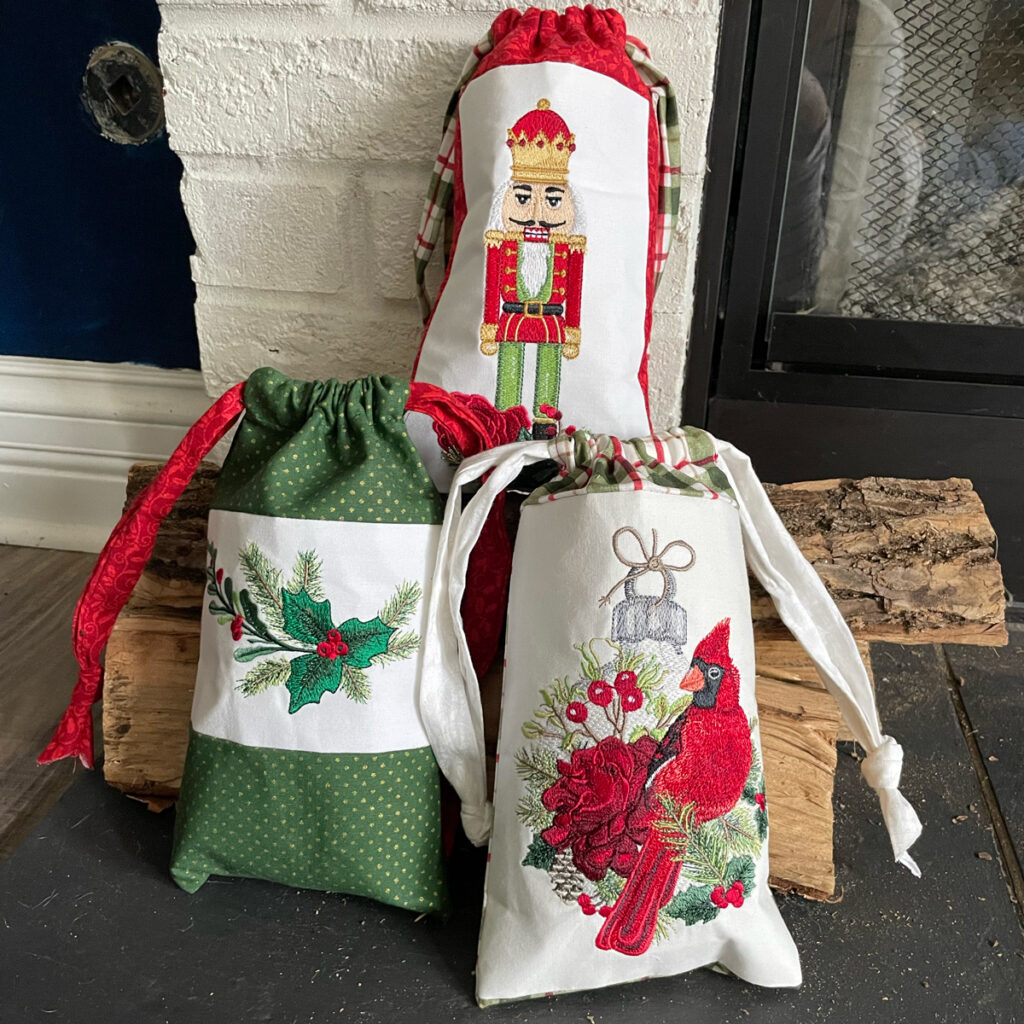
It’s that time of year again… when families come together, lights twinkle, and the warmth of holiday cheer is in the air. This season can be an especially exciting one when you stitch some Holiday Drawstring Gift Bags to make your presents extra special! With a little imagination and skill you can create personalized gifts with unique designs to share your sewing talents with your loved ones! These festive creations will add a dash of warmth and cheer to any present. Pick your favorite Christmas designs like we did (Christmas Trimmings Collection, #12948), or customize the embroidery and fabric choices to create a bag for any occasion! Put on some carols, grab your project supplies, and enjoy creating something truly special this holiday season!
Supplies:
- Christmas Trimmings Embroidery #12948
- OESD Heavy Weight TearAway Stabilizer
- OESD Fusible Woven
- Fabric for embroidery design
- Fabric for bag – 6.5″ wide x chosen length
Instructions:
Step 1
Choose an embroidery design that will look good in a piece of fabric 6.5″ wide. Hoop 2 layers of Heavy Weight TearAway and your fabric. Embroider your design according to the thread chart.
Step 2
Once your design is complete, remove your fabric from hoop and square off the edges. The final fabric should be 6.5″ wide by any height.
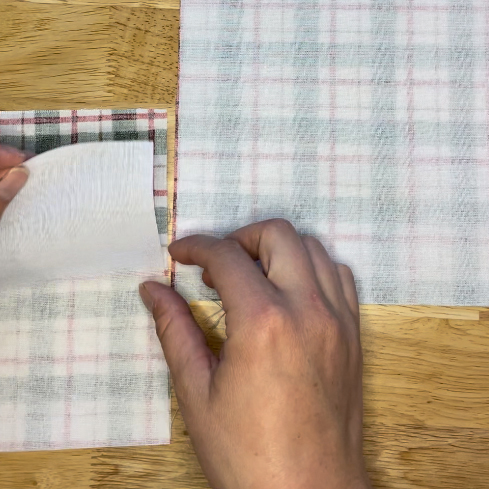
Step 3
On the back of the fabric you’ll use to make the bag, apply Fusible Woven. This will make the fabric stiffer so it holds its shape.
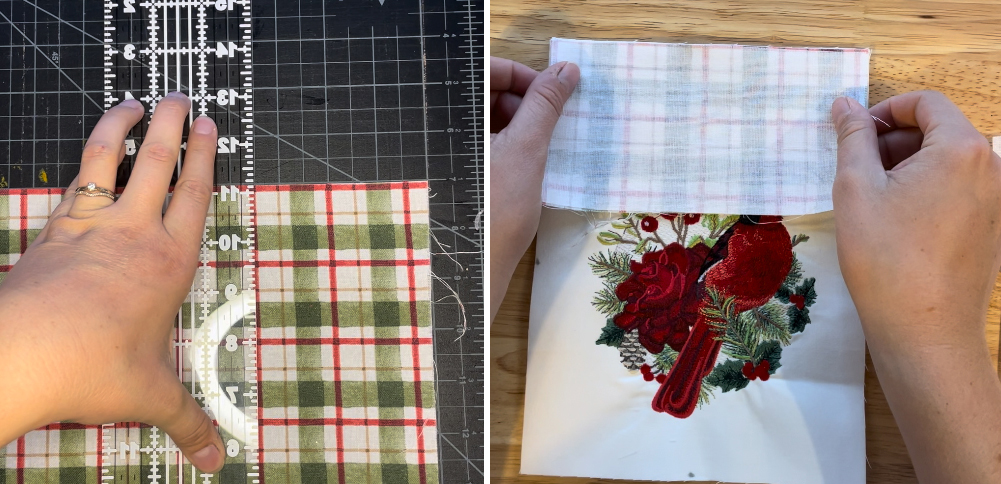
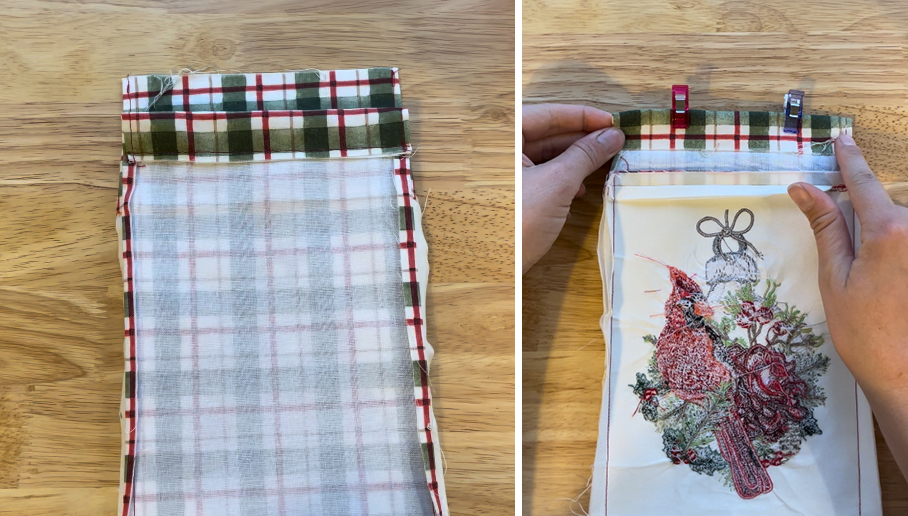
Step 4
Cut the fabric for the bag. You will want to cut 2 pieces: one for the top portion, and one for the bottom portion. The total length when all sewn together as one strip should be 22”. For the cardinal design, we cut one strip 3 ½” x 6.5″ and another 11 ½” x 6.5″. Sew the fabric to the rectangle with your embroidery design – right sides together – to create one strip that is 22” long. Press the seams.

Step 5
Fold the fabric strip in half, right sides together.
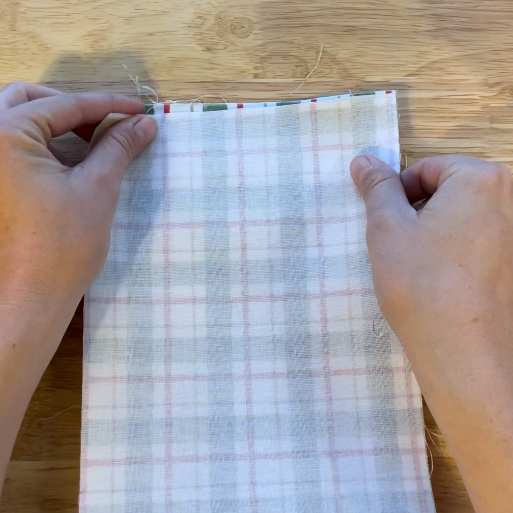
Step 6
Pin and sew the edges using a ¼” seam allowance. Leave a 2” gap at the top.
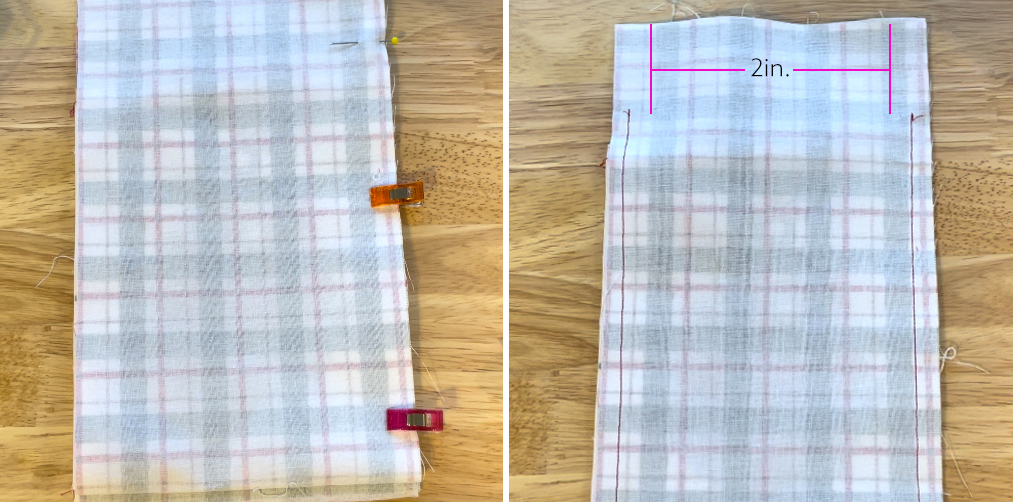
Step 7
Press the seams, and when you reach the top, press the seams as if it were sewn. At the open top, sew the seams down on both ends.

Step 8
Fold one side of the top down 1 in. Fold it towards you. Sew ¾” along the width, leaving an opening on both sides using a ¼” seam allowance. This will be where you put the drawstrings through. Repeat with the other side. Cut the bottom corners and flip the bag right side out.

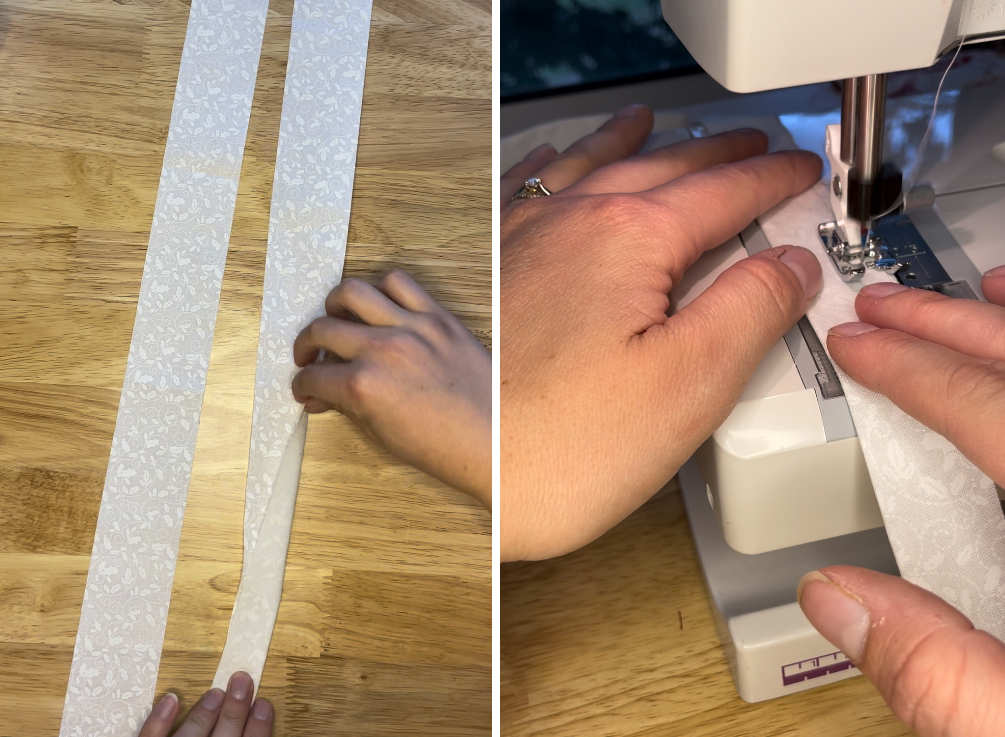
Step 9
Cut 2 strips 2” wide and at least 22” in length. Can be longer as it will be trimmed at a later step. Fold the strip in half length wise, press it and sew. Flip the strip right side out and press.
Step 10
Using Alligator Clamps, feed the strip through one side of the top opening. Take the other side of the strip and feed it through the other opening, but continuing in the same direction. Repeat with the other strip, but this time starting from the other end. Both strings will reach through both the front and back of the bag.
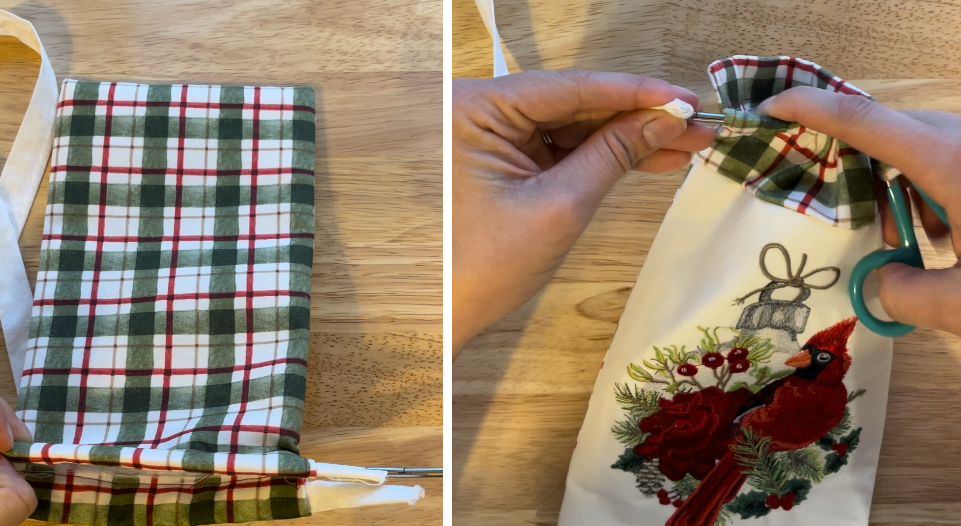
Step 11
Pull strips so they meet the end of the bag, but do not tighten all the way yet. Tie the ends and cut off any excess fabric.
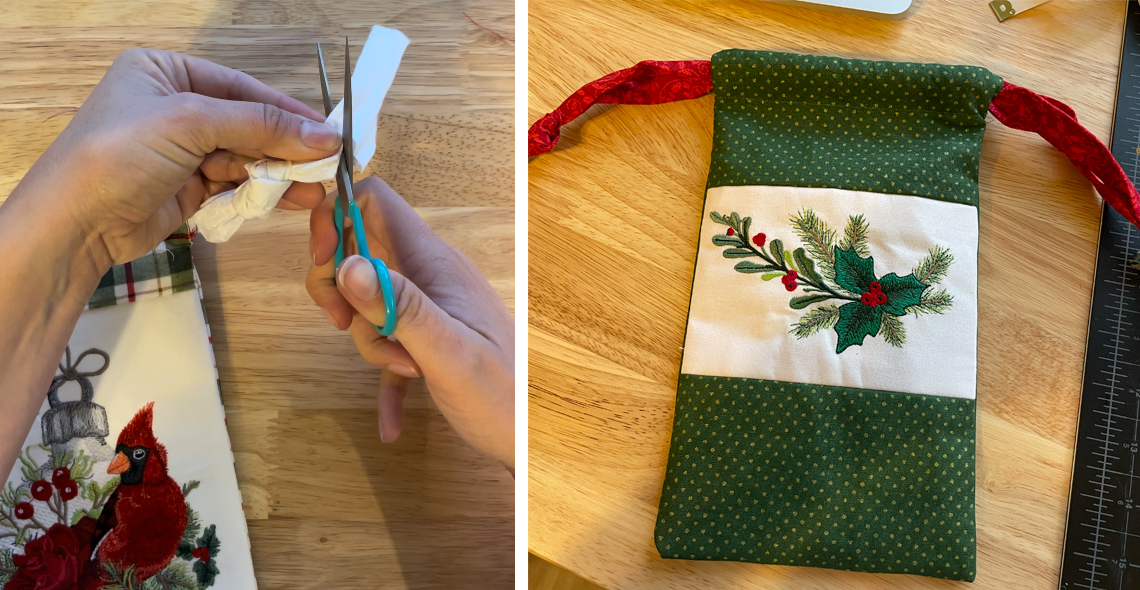
Step 12
Now you can pull the top of the bag to close. Fill with goodies and give as gifts to your friends and family all season long.

JOIN US IN THE OESD COMMUNITY!
We hope you enjoyed this machine embroidery tutorial! Have you stitched your own Holiday Drawstring Gift Bags? Come show off your work in our private Facebook group, The Perfect Stitch!