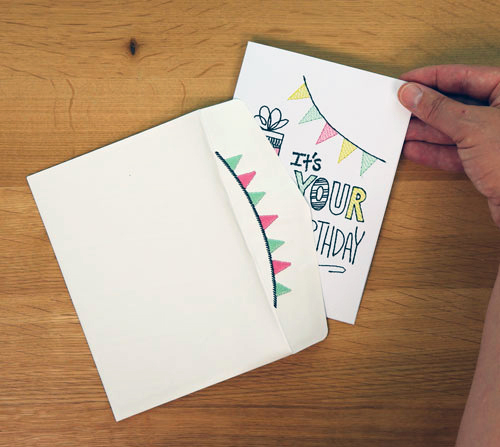
All of the embroidered cards we’ve been stitching are worthy of envelopes that are just as creative and special! The Tiny Garland Borders collection #51271 includes many design themes including Christmas and Valentines Day. Follow this tutorial to give your embroidered cards the finishing touch they deserve!
Supplies
- Tiny Garland Borders Collection #51271
- Start Here by OESD Blank Greeting Cards & Envelopes Size A7 10pk
- OESD Fusible Woven CutAway Stabilizer- white
- OESD StabilStick CutAway Stabilizer
- OESD Fuse and Seal Stabilizer
- Isacord thread: In our sample, we coordinated our envelope with OESD’s Stitched Sentiments #12874-01 ‘It’s Your Birthday’:
- OESD Bobbin Thread
- Organ 75/11 Sharp Embroidery Needle- Titanium
- Coordinating fabric 7” x 7” (decorative paper could also be used)
- Marking Pen/Pencil
Instructions
Choose one of the 8 designs from OESD’s Tiny Garland Borders #51271 collection and coordinate the thread colors to the card you have stitched. This is a great way to elevate your gift.
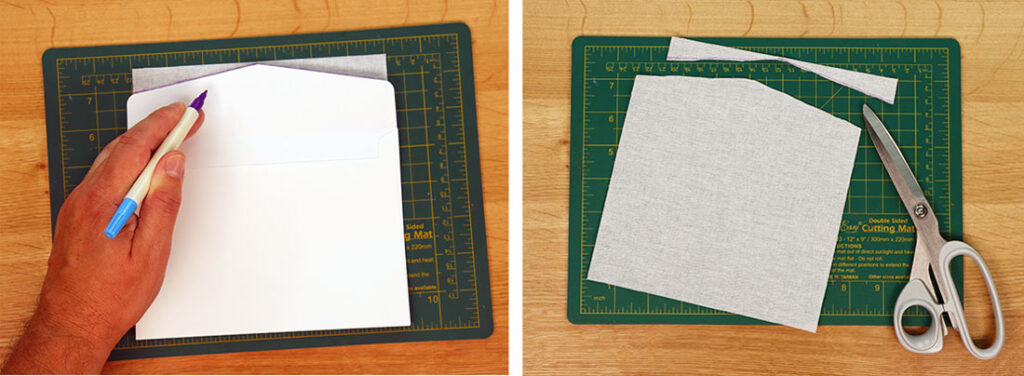
Cut a piece of Fusible Woven 7″ x 7″. Cutting to this size will allow you to completely cover the inside front of the envelope creating a “security envelope”. Trace the flap of the envelope onto the Fusible Woven and trim inside the traced line.
Place the Fusible Woven on the inside of the flap, inset approximately ½” from the flap edge and fuse in place. This will be covered before we finish.
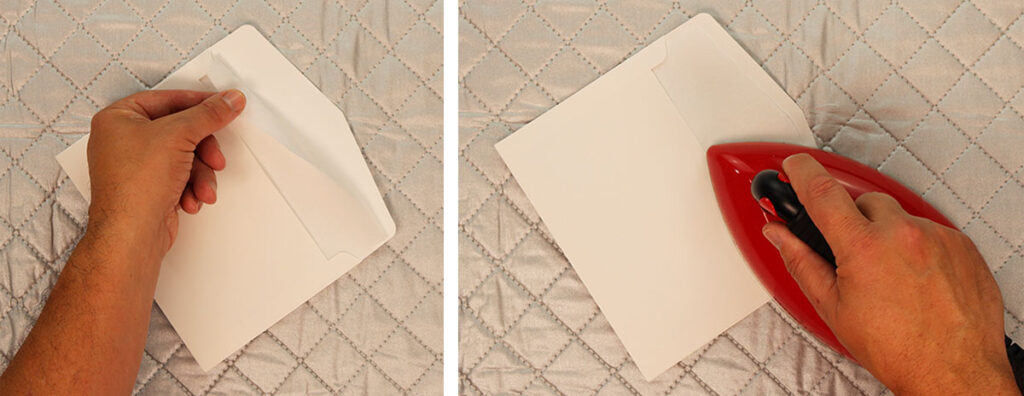
Now the paper envelope will stitch more like fabric. Which is important as we are stitching a design that was not digitized for stitching on paper.
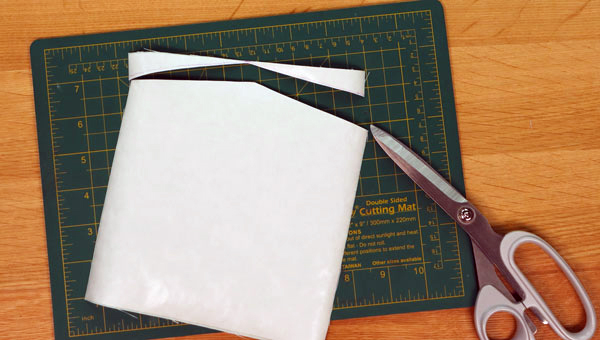
Cut a sheet of Fuse and Seal and your chosen fabric to the same size as the Fusible Woven. Place the Fuse and Seal on the wrong side of the fabric and fuse.

Helpful Hint: applying the Fuse and Seal to the fabric before trimming will seal the edges of the fabric and help prevent fraying.
Hoop StabilStick CutAway paper shiny side up. Score with scissors or a pin and remove paper to expose the adhesive surface.
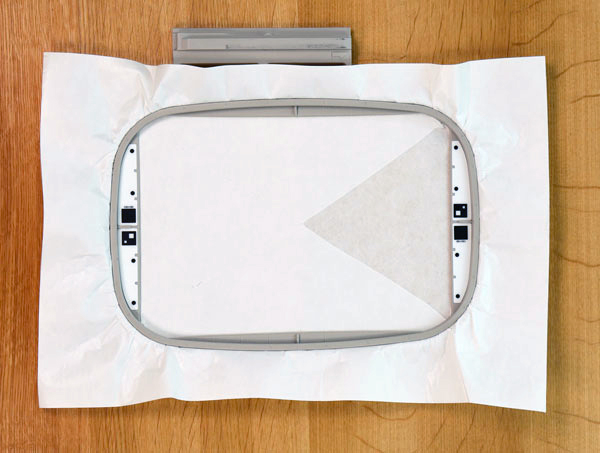
Place the envelope on the stabilizer, matching the fold and point of the flap to the center markings on the hoop. Finger press to adhere to the stabilizer. Some of the envelope will be over the left side of the hoop.
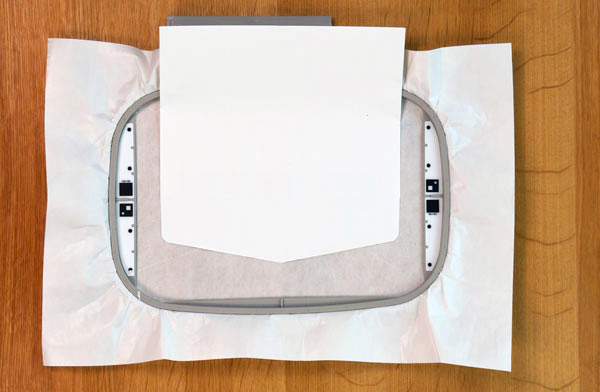
Load the design into the machine. Make sure the design is orientated the way you would like it to stitch onto the envelope. Use the positioning tools on the machine to align the design with the fold and point of the flap. Embroider the design. Remove the hoop from the machine when the design is complete.
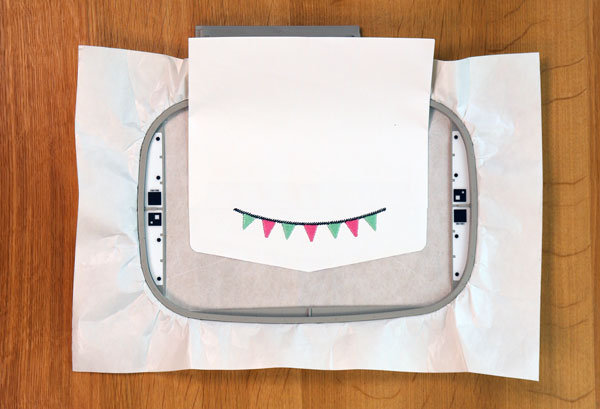
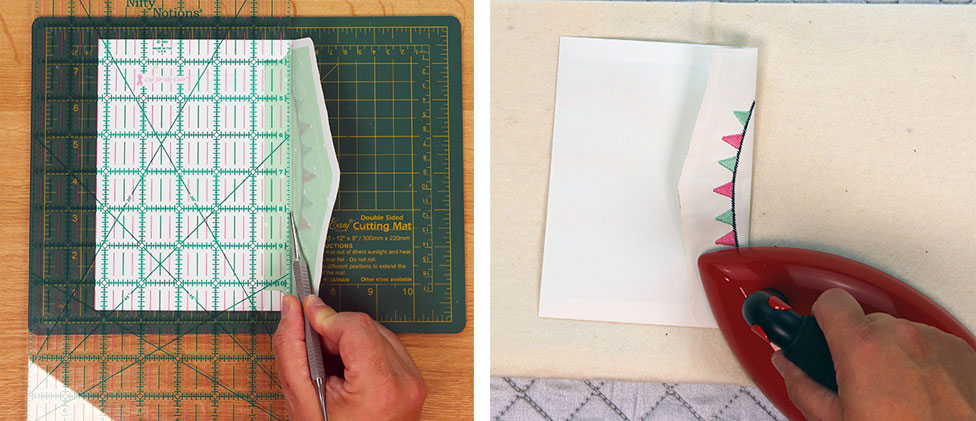
Cut away the excess StabilStick CutAway stabilizer leaving approximately 1/4 inch around stitched design.

Remove the paper backing from the Fuse and Seal. Place the fabric inside the envelope with the Fuse and Seal facing the back of the embroidered design. Position the fabric to completely cover the fusible woven and fuse in place.
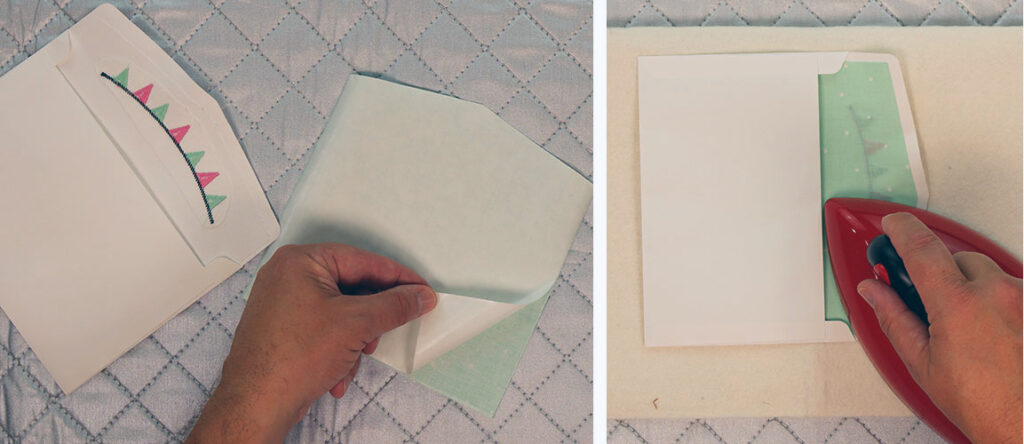
Use the small end of the Expert Point & Press tool to score along the fold of the flap. It is helpful to fold and press the flap to set the crease.
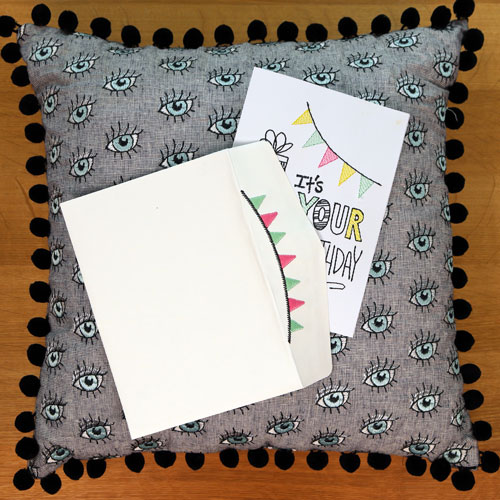
Your Garland Stitched Envelope is complete and now the envelope nicely compliments your stitched card.
Helpful Hint: since you can use many different materials to create your card and envelope, additional postage may be required.
This material is © OESD, LLC and may not be reproduced or published without permission.