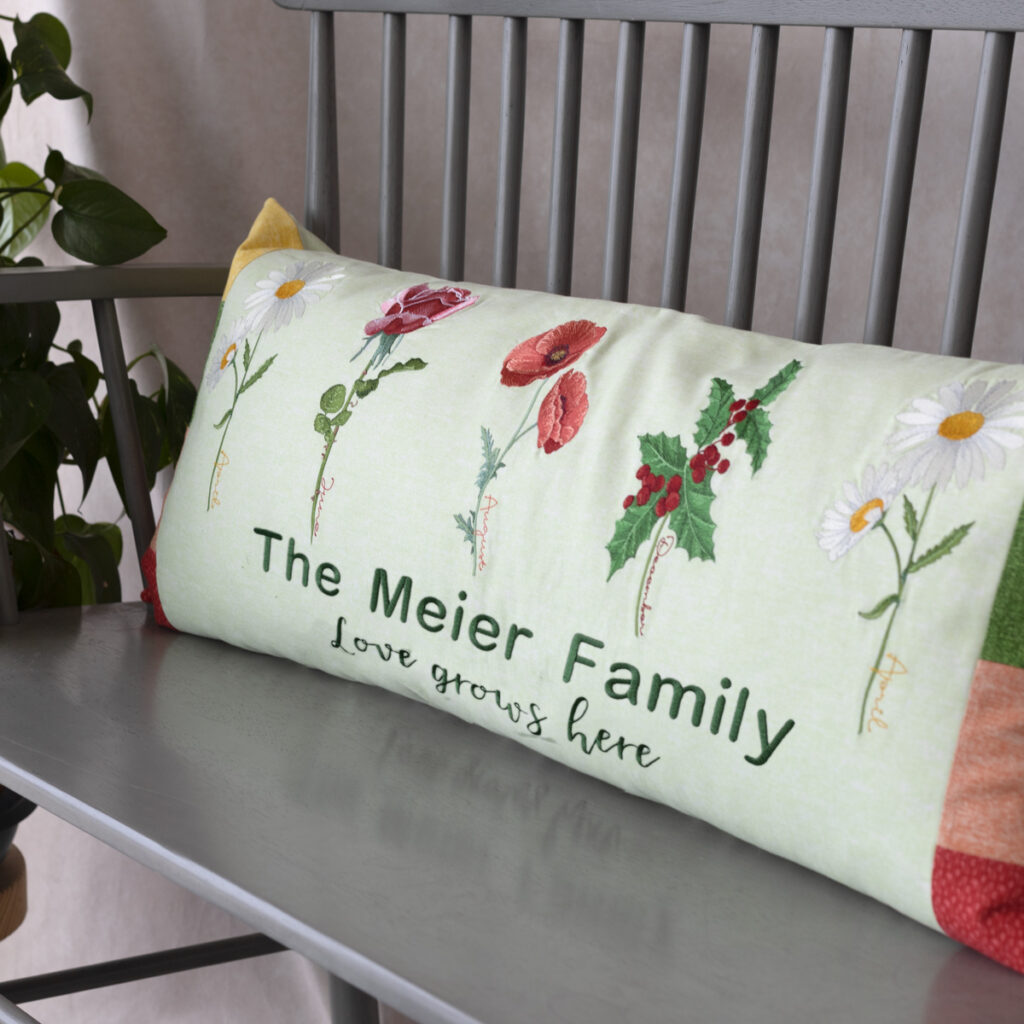
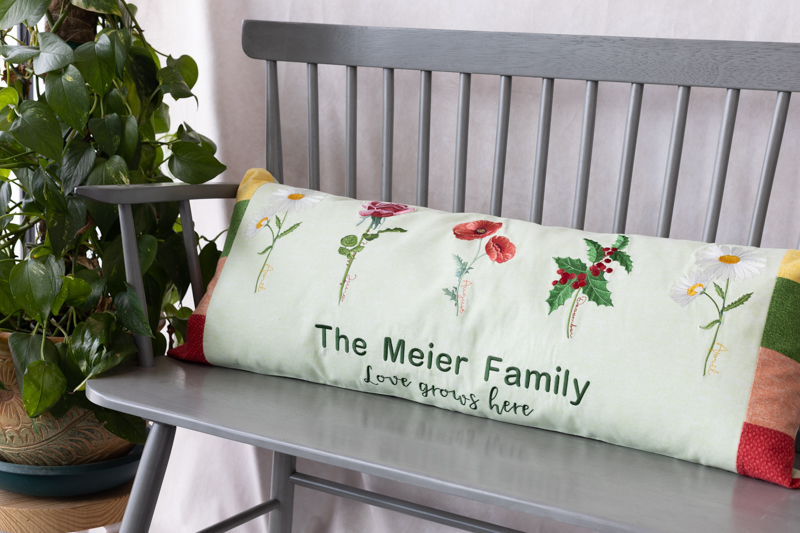
Celebrate the birth months of your family members with an elegant Floral Family Bench Pillow! In this machine embroidery tutorial, we’ll walk you through the process of creating your very own personalized piece of home decor. Stitch beautifully detailed flower designs, then easily assemble this project that is sure to be cherished as a one-of-a-kind keepsake. Follow our step by step instructions, adapting the layout to work for your family’s unique arrangement. This project makes a great addition to your own living space or meaningful gift to share. Gather your supplies, and let’s get stitching!
Supplies
- Birth Month Florals Collection #51322
- OESD Heavy Weight TearAway
- OESD Medium Weight TearAway
- OESD Fuse and Fleece
- OESD Fusible Woven
- OESD StabilStick Template Sheets
- OESD Grippy Grid
- OESD Perfect Embroidery Press Cloth
- Cotton fabric of your choice- 1.5 yards
- 4 additional fabrics in coodinating colors for patchwork – (2) 4″ squares of each
- 18″ zipper to match fabric
- Pillow form: 14″ x 36″
- Fabric Marker
- 1/4″ foot for piecing and sewing
- Zipper foot for zipper installation
Fabric Cutting and Marking
Cut 1 piece of cotton fabric 18” x 42” (WOF) for the front of pillow. Cut 1 piece of Fusible Woven and adhere it to the wrong side of the pillow front piece.
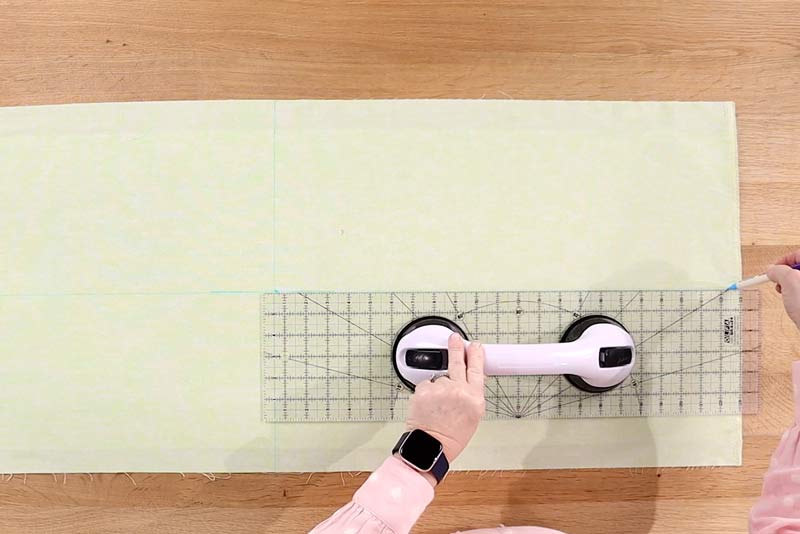
Mark horizontal and vertical center of the pillow front. Mark a horizontal line 2″ above the center of the pillow. Mark the total height of the design – on this example, it is 12”, but yours will be determined by your flowers and any additions to your layout, like the font we added.
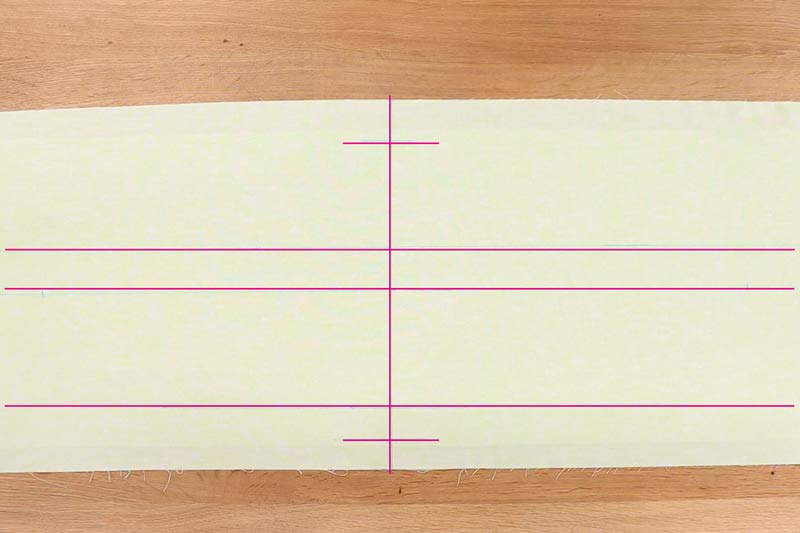
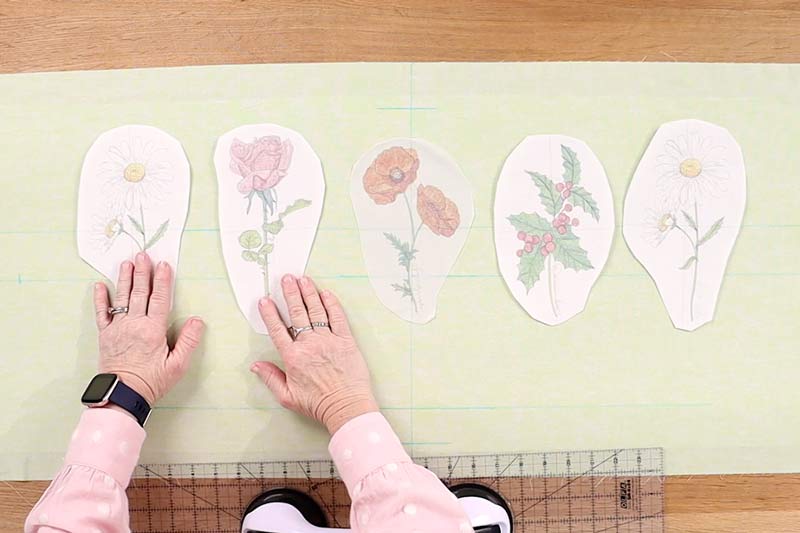
Mark additional centers for each of your flowers, arranging them around the vertical center as desired (approximately 6″ apart) We show 5 birth month flowers on this example, but you can customize this to fit the number you’d like to include.
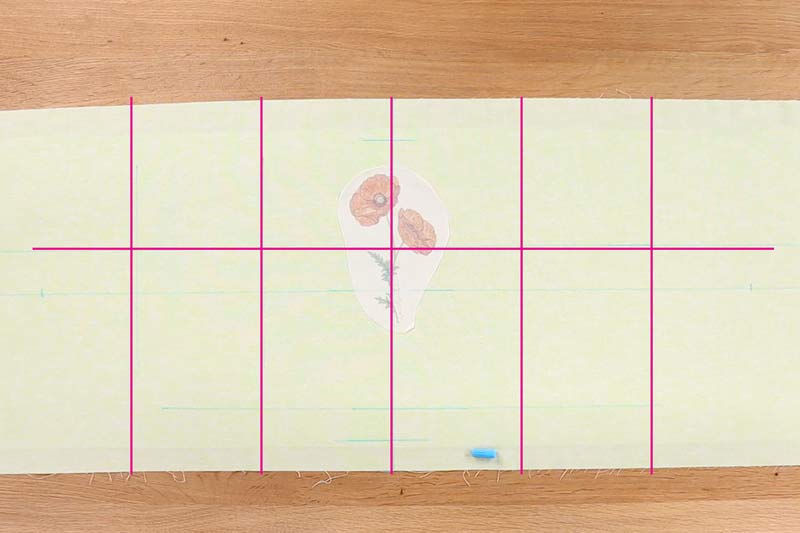
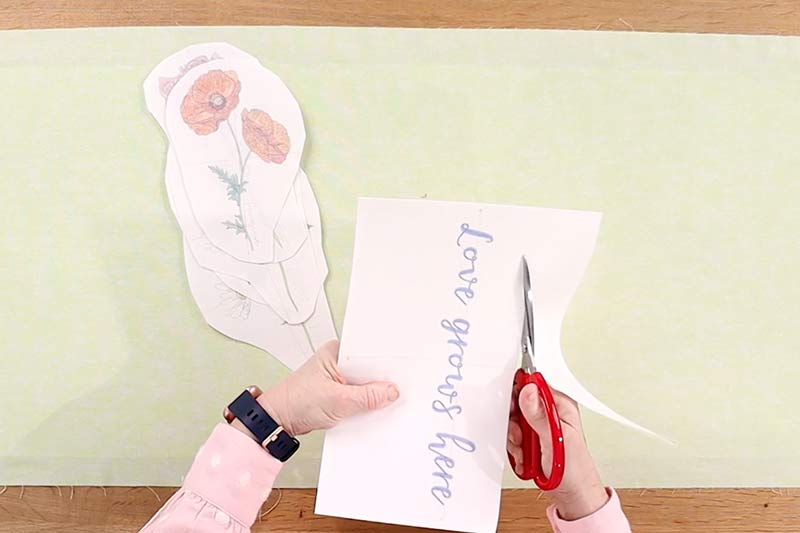
Print templates of each design on StabilStick Template Sheets. Include the horizontal and vertical center lines on the template.
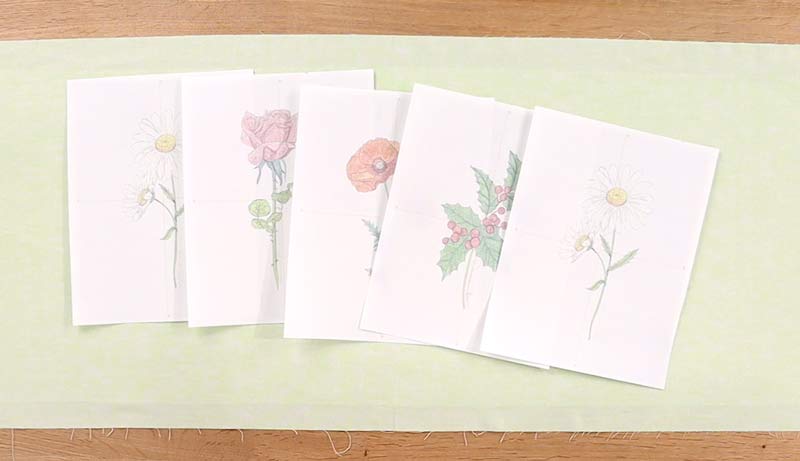
Trim around each template. Remove the paper backing (save the backing, as the templates are re-usable). Place center flower template on fabric, aligning the lines on the template with the marked lines on the fabric.
Embroidery
Hoop fabric and stabilizer for center design. For each hooping, you will need 1 layer of Heavy Weight TearAway and 2 layers of Medium Weight TearAway.
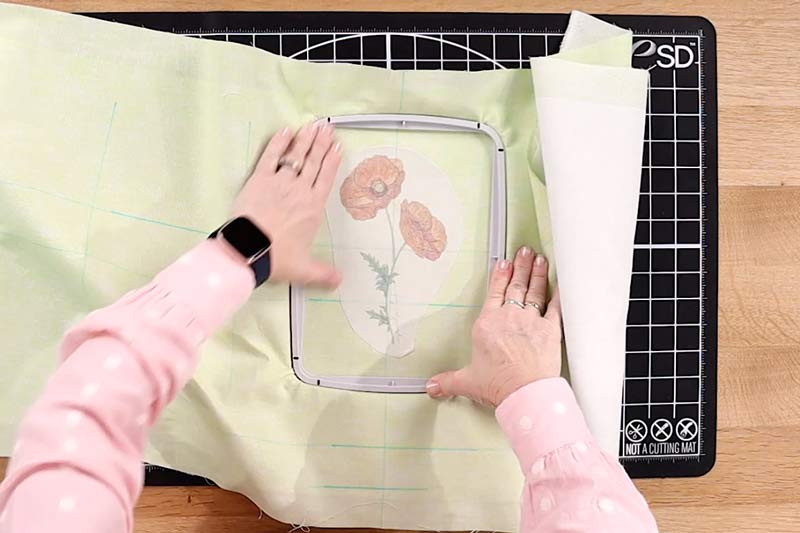
Use placement tools on your embroidery machine to align with the center of the design. Remove the template. Stitch the first design according to the thread chart.
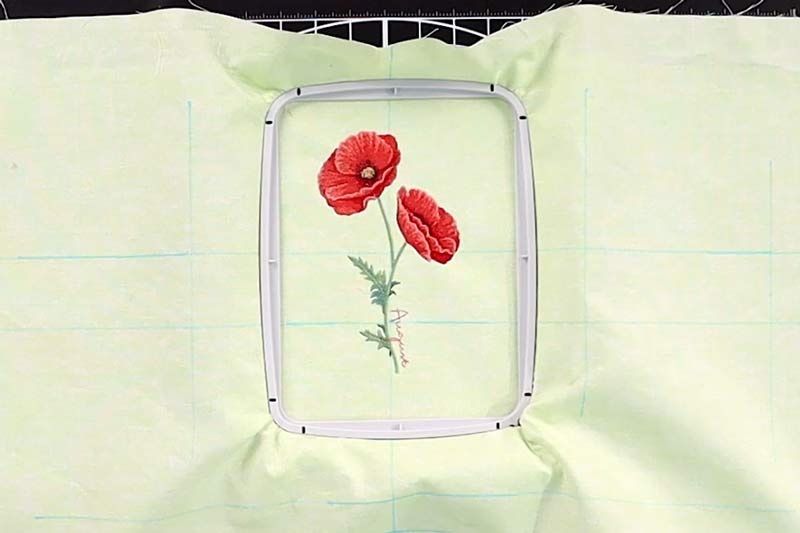
Remove from the hoop and gently tear away the stabilizer.
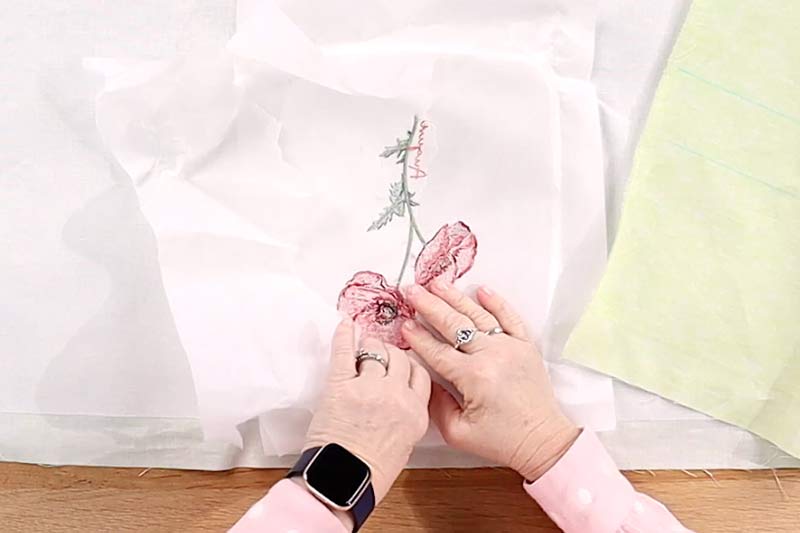
Repeat for each of the flowers- placing your template, hooping, stitching, and tearing away the stabilizer. Stitch any additional designs you’d like to include. Press on the Perfect Embroidery Press Cloth when finished.

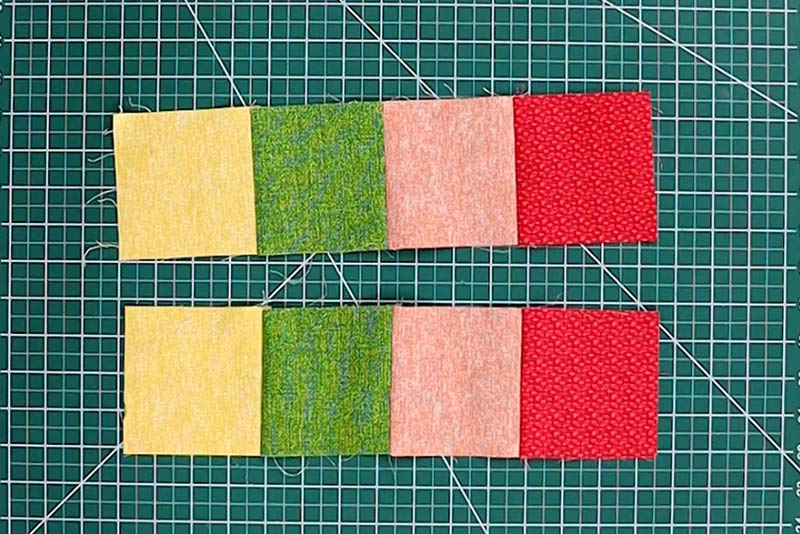
To create the patchwork edges, use a 1/4″ seam allowance to sew four squares together in one long strip. Repeat for the other four squares. Press the seams to one side, then set aside for later.
Assembly
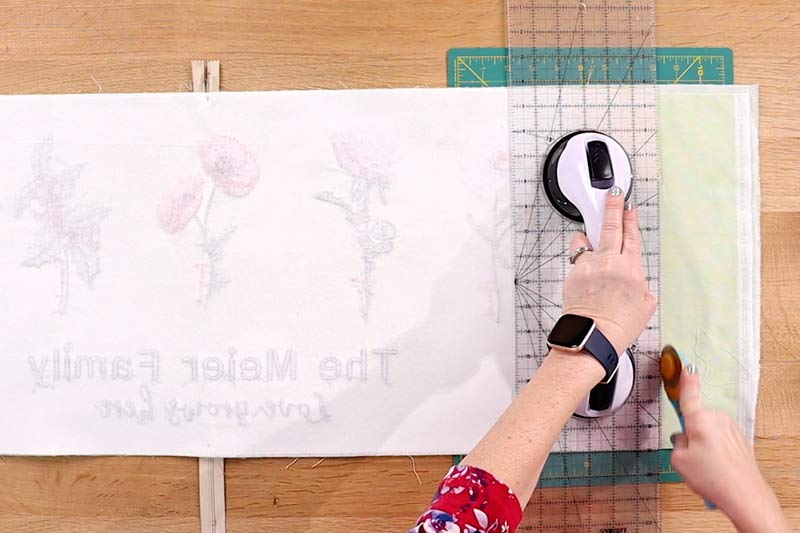
Trim the front piece to 14.5” x 29.5”, centering the your designs.
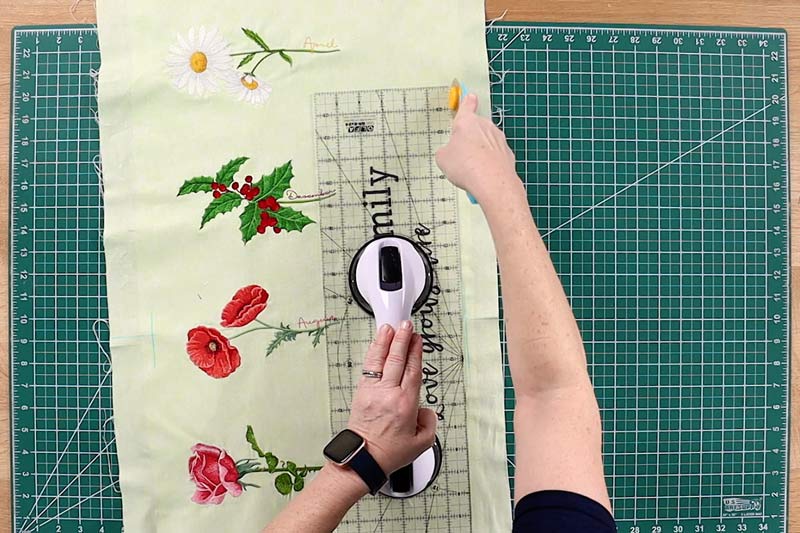
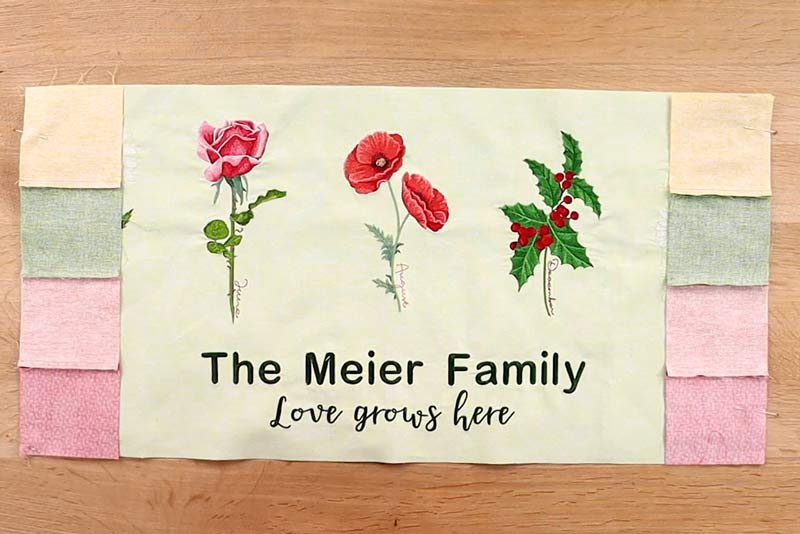
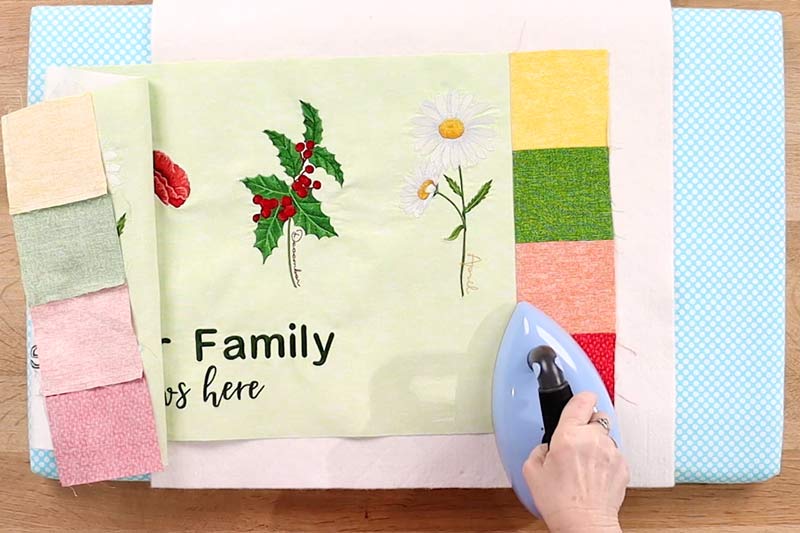
Use a 1/4″ seam allowance to sew a patchwork strip to each short edge. Press seams to the sides. Cut a piece of Fuse and Fleece the size of the pillow front. Adhere it to the wrong side of the pillow front and set aside.
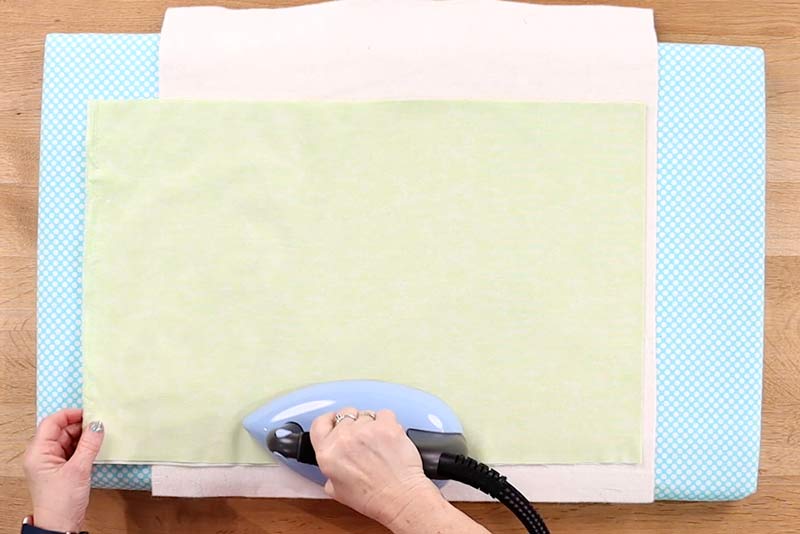
Cut 2 pieces of cotton fabric 14.5” x 42” (WOF) for the back of the pillow. Fold each one in half so they measure approximately 14.5” x 21”. Press and set aside.
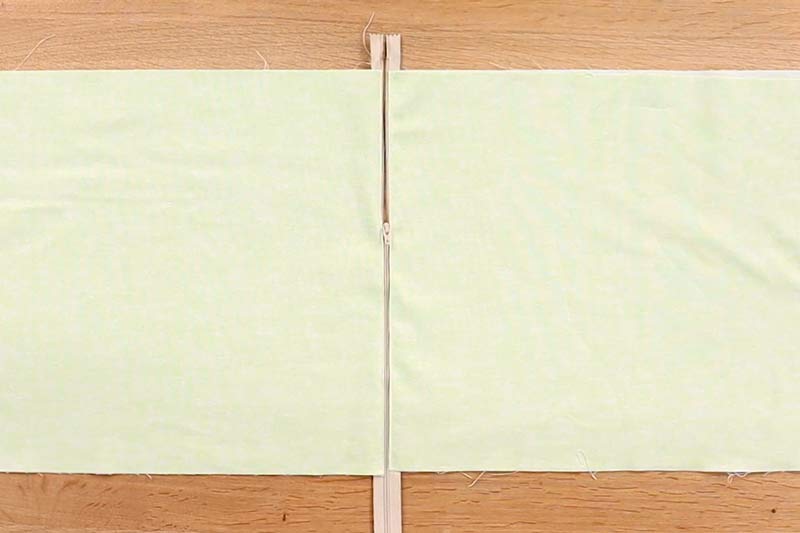
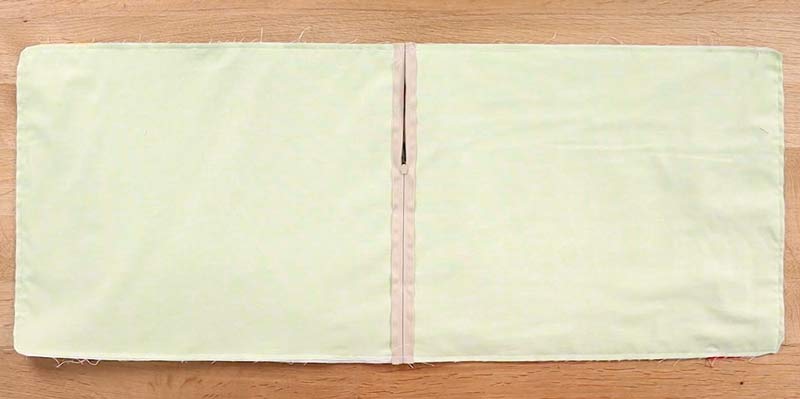
Place one folded edge along the zipper, placing the fabric below the zipper pull. Use a zipper foot to attach the fabric to the zipper. Place the folded edge of the second back piece along the other side of the zipper, make sure it is even with the first back piece. Sew together. IMPORTANT: Open the zipper about 4-5”.
Measure the front pillow piece and cut the back piece to that measurement, make sure the zipper is centered.
Place front and back pieces right sides together and pin in place. Use a 1/4″ seam to sew all the way around the pillow. Trim the excess zipper away from the pillow and clip the corners diagonally.
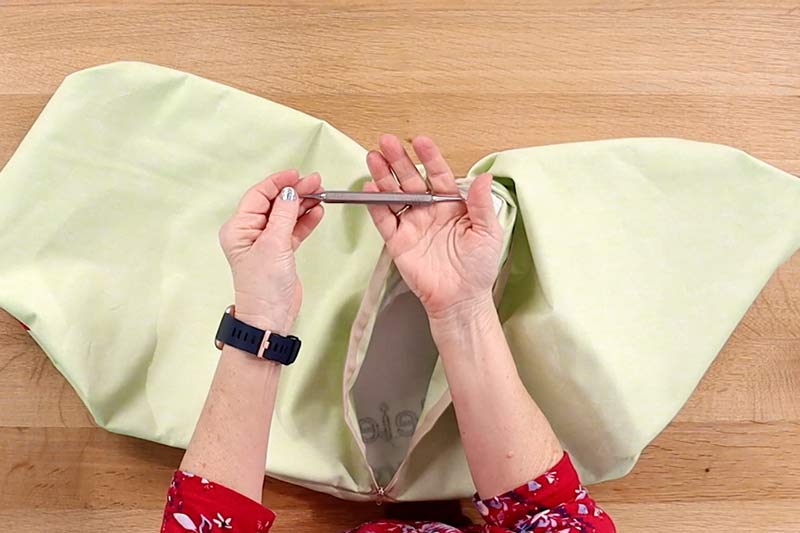
Turn right side out and use the Expert Point and Press Tool to help push the corners out.
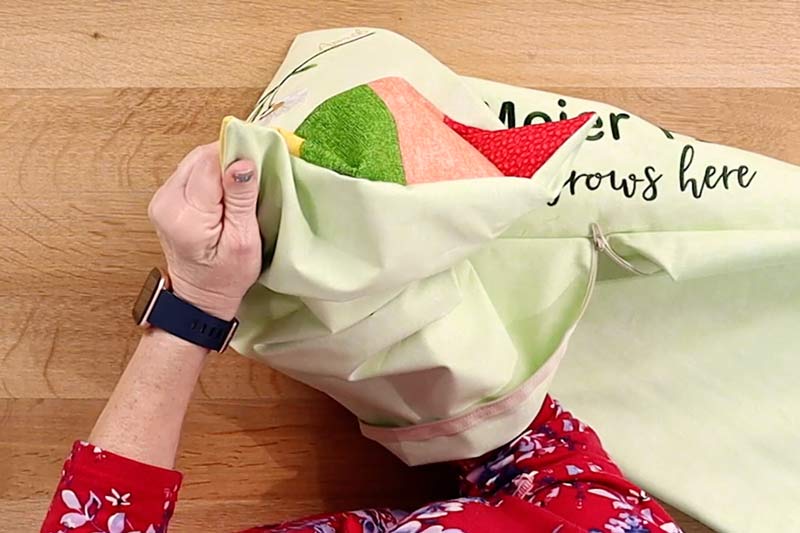
Press, then stuff the pillow form into the cover.
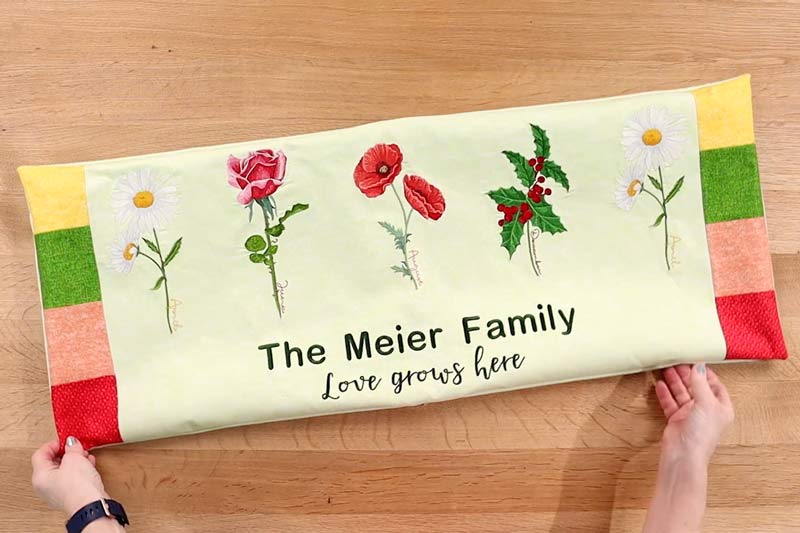
Place your pillow on a bench and enjoy!

JOIN US IN THE OESD COMMUNITY!
We hope you enjoyed this machine embroidery tutorial! Have you stitched your own Floral Family Bench Pillow? Come show off your work in our private Facebook group, The Perfect Stitch!
