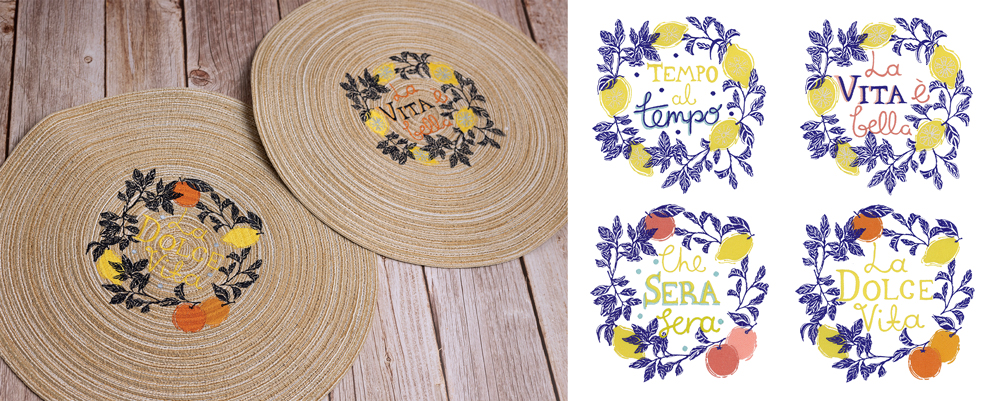
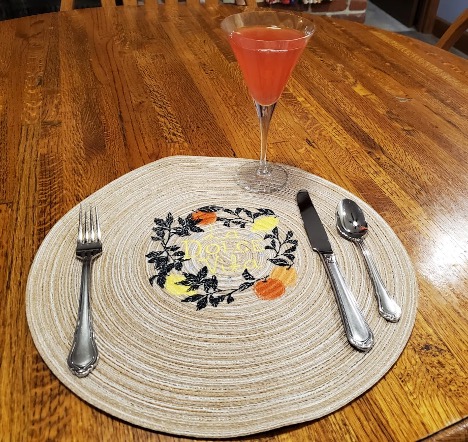
Transforming ordinary woven placemats into awesome pieces of machine embroidered art is so quick and easy! Dress up your tablescape by following this simple step-by-step tutorial. We’ll show you how to use your favorite embroidery designs and some of OESD’s high-quality supplies to create a set of beautiful home decor accessories. We used Vicky Yorke’s La Dolce Vita collection – these are easily customizable to fit your home’s style!
Supplies:
- La Dolce Vita by Vicky Yorke – PK90012
- La Dolce Vita Coordinating Thread
- OESD StabilStick Template Sheets
- OESD StabilStick TearAway
- OESD StitcH2O
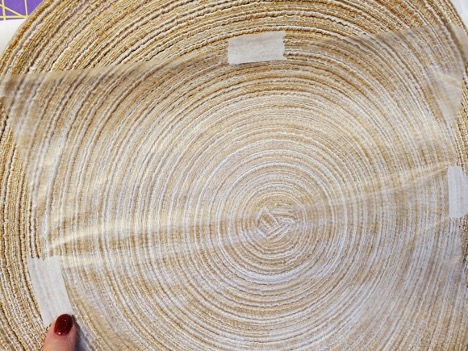
- Woven Placemats
Instructions:
Step 1
Gather your supplies.

Step 2
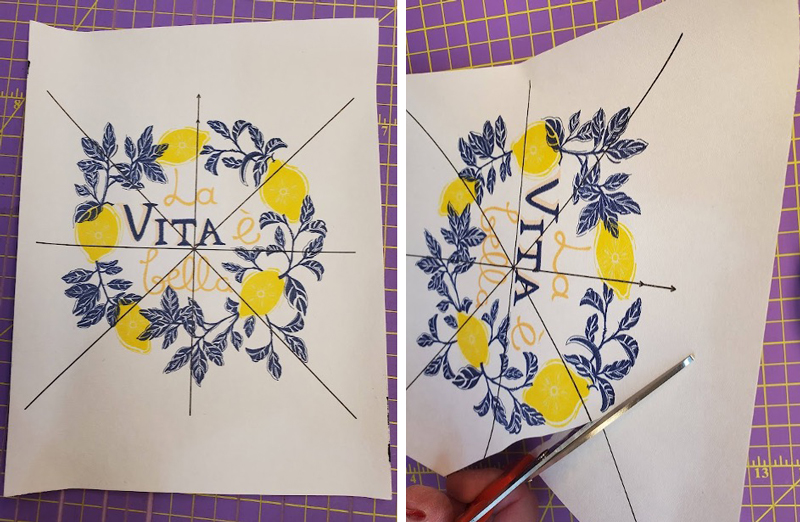
Print your template on a Stabilstick Template sheet and trim close to the design.
Step 3
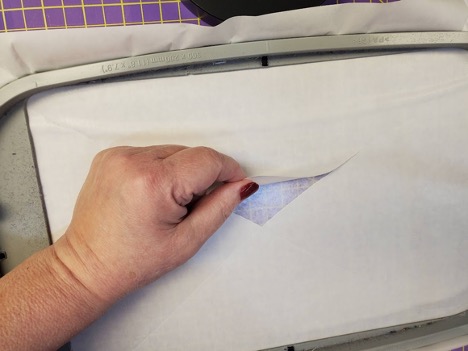
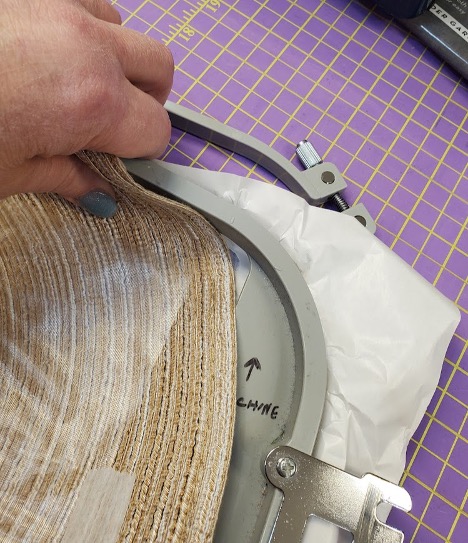
Hoop StabilStick TearAway, paper side up. Remove the paper backing.
Step 4
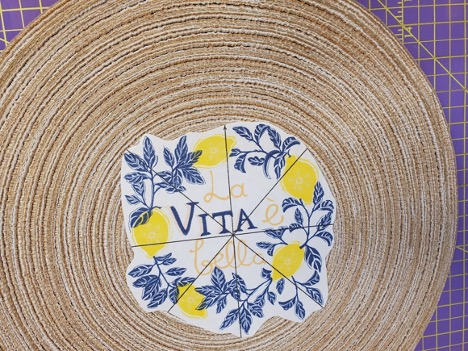
Find the center of your placemat and place your template.
Step 5
Center your placemat in the hoop. ** Important ** Remove template sheet. StabilStick Template sheets are NOT a stitchable product. They are for placement only.
Step 6
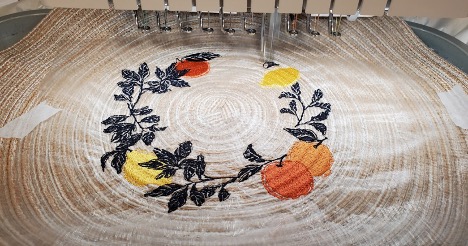
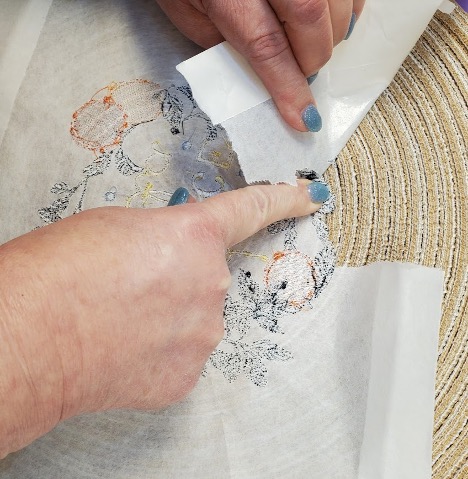
Place StitcH2O over the design area. This helps keep the stitches looking great on top of the woven texture of the placemat.
Step 7
Stitch your design following the steps on your embroidery machine.
Step 8
Remove the placemat from the hoop.
Step 9
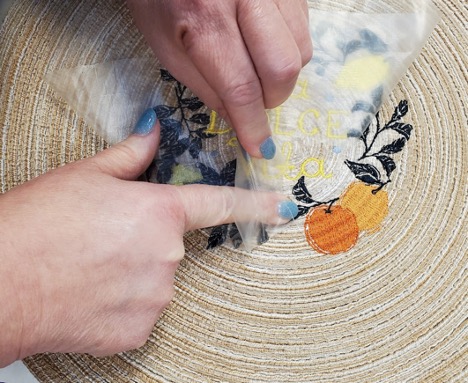
Remove the StitcH2O from the placemat. Tear away as much as possible, then rinse away the remaining topper.
Step 10
Turn your placemat over and tear away the Stabilstick TearAway from the back. Be sure to support the stitches while tearing away the stabilizer.
Step 11
Enjoy your placemats!

JOIN US IN THE OESD COMMUNITY!
We hope you enjoyed this machine embroidery tutorial! Have you embroidered your own woven placemats? Come show off your work in our private Facebook group, The Perfect Stitch!