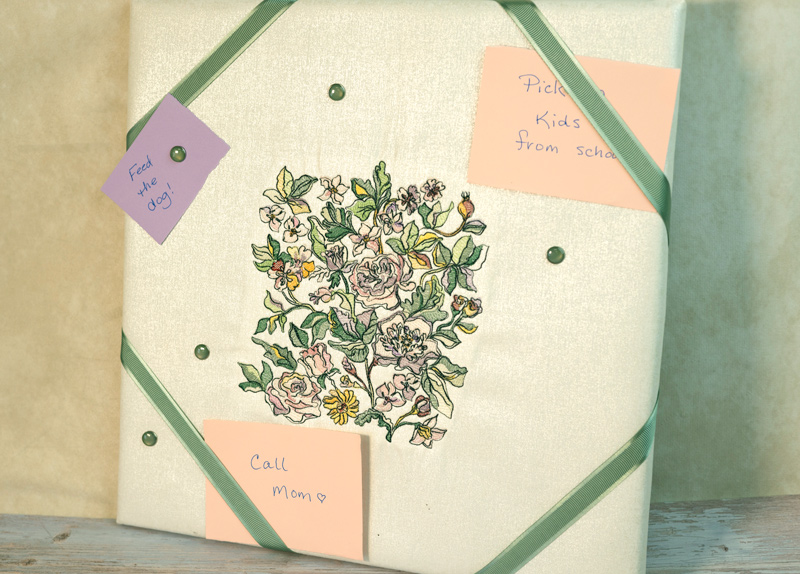
Bring style and organization to your space when you create this enchanting Embellished Floral Memo Board! In this step-by-step machine embroidery tutorial, we’ll show you how to stitch your favorite designs and turn them into fashionable decorations that elevate a basic cork board! In just a few simple steps and with minimal supplies, you can craft a personalized piece of home decor that marries beauty with functionality seamlessly. You’ll want to do this easy DIY project over and over… memo boards make a great gift for anyone who’d like to display their to-do’s and memories in style.
Supplies:
- Luminous Floral Silhouettes by Turnowsky – PK80003
- OESD Heavy Weight CutAway
- OESD Fusible Woven
- OESD Perfect Pencil
- 14″ x 14″ Cork Board (or dimensions of choice)
- Fabric of choice
- Ribbon – (4) 12″ strips
- Staple Gun
- Push Pins
Instructions:
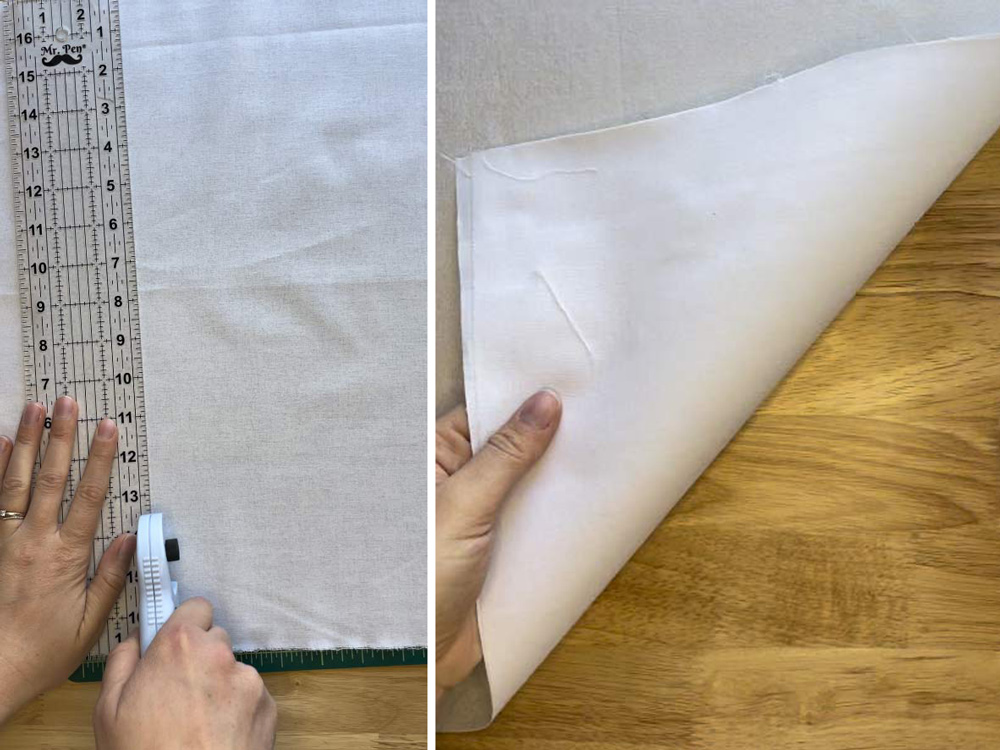
Step 1
Prepare your fabric by cutting it approximately 3” wider and taller than your cork board. The cork board we used was 14”x14” so we cut the fabric 17”x17”. You may want to add more fabric to your measurement if your cork board is thicker – use whatever amount will allow it to wrap around the sides with some excess. Apply Fusible Woven to the back of the entire fabric.
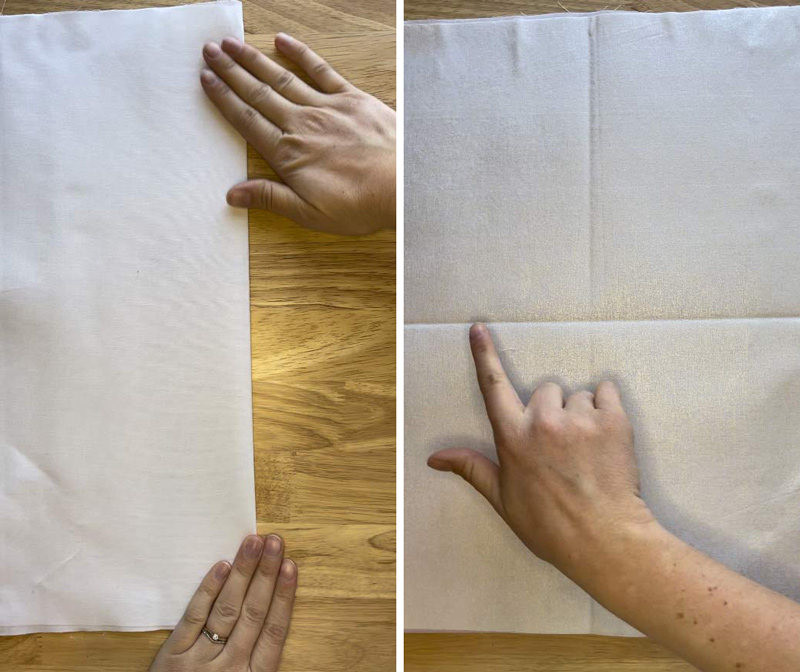
Step 2
Fold the fabric in half length wise and finger press. Fold in half width wise and finger press. This will mark the center of your fabric. You can also the Perfect Pencil to mark the center.
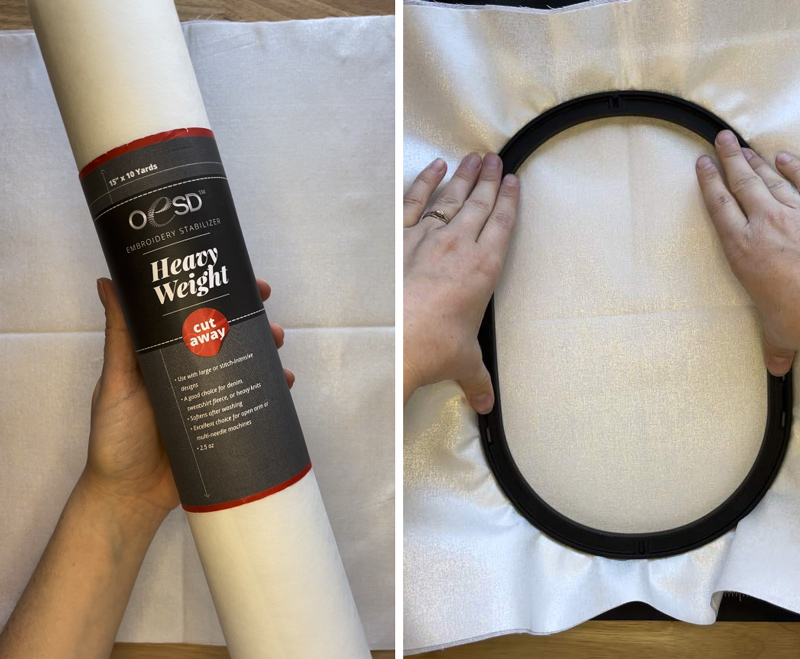
Step 3
Hoop your fabric with two layers of Heavy Weight CutAway.
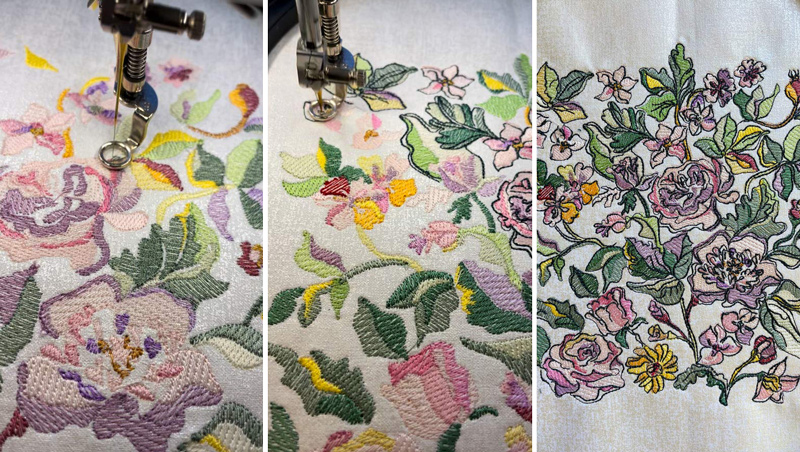
Step 4
Center your design on your embroidery machine and stitch. Remove from your hoop and carefully cut away excess stabilizer.
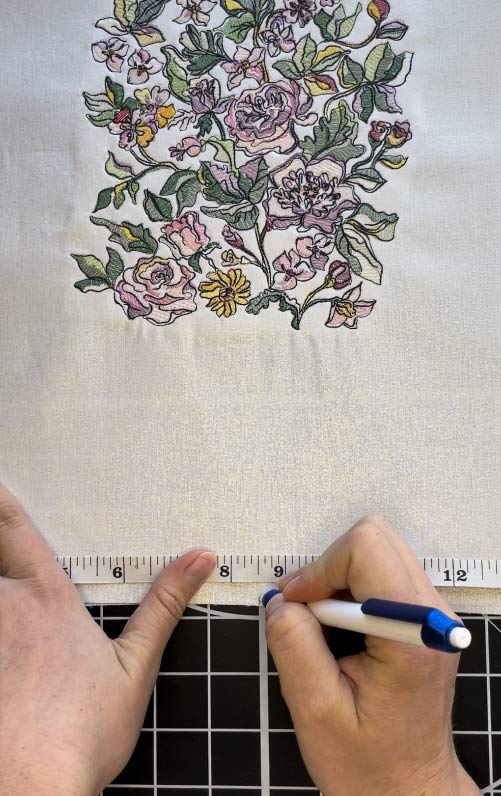
Step 5
On all sides, make a small tick mark to show you where the center is. Flip the cork board over and mark the center on all sides as well.
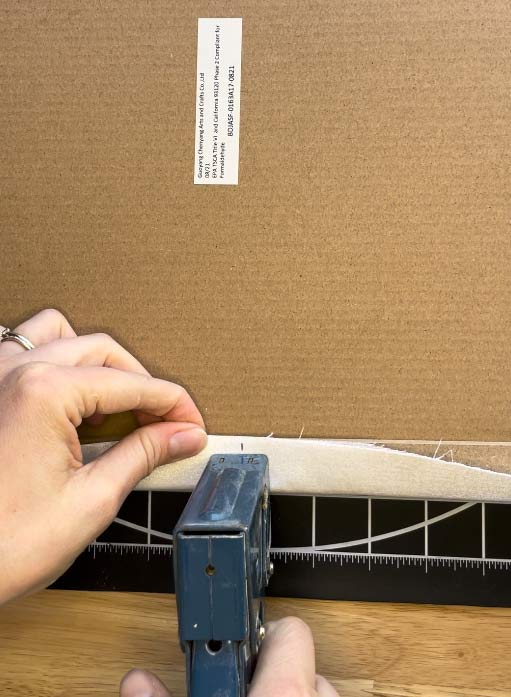
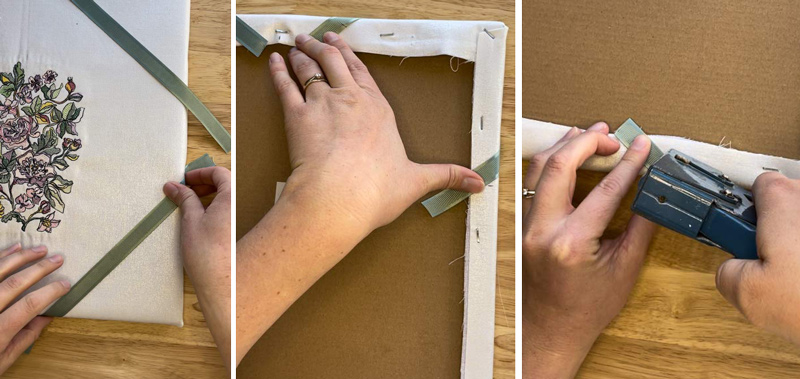
Step 6
Lay the fabric right side down onto the table. Place the cork board on top of the fabric centering it as best you can. Fold the excess material over the edge of the board and line up the marks on the fabric with the marks on the cork board. Staple the fabric to the lip of the board.
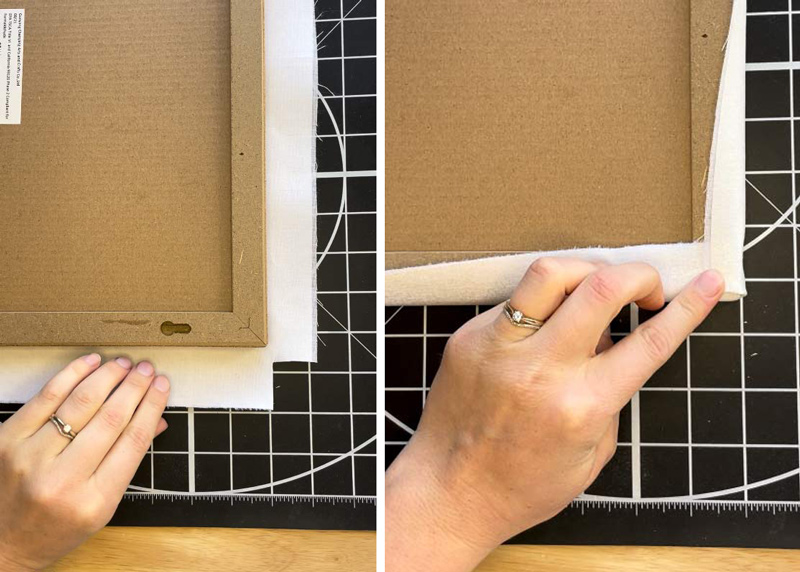
Step 7
Cut the corners and fold them in to help make a neat corner. Continue stapling until the fabric is secure.
Step 8
Cut 4 strips of ribbon 12” long. Place these on the corners and staple on the back side of the board.
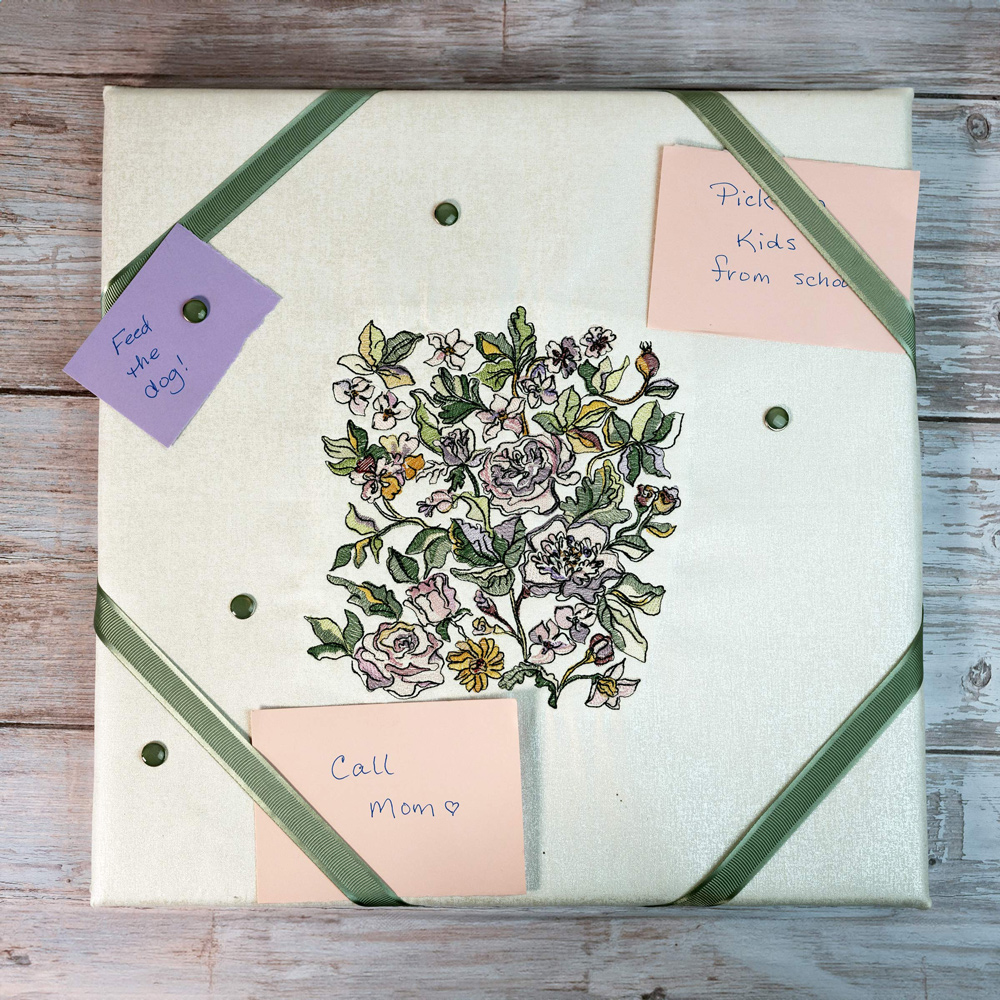
Step 9
Use push pins and the ribbons to add memos and photos to the board. Enjoy!

JOIN US IN THE OESD COMMUNITY!
We hope you enjoyed this machine embroidery tutorial! Have you stitched your own Embellished Memo Board? Come show off your work in our private Facebook group, The Perfect Stitch!