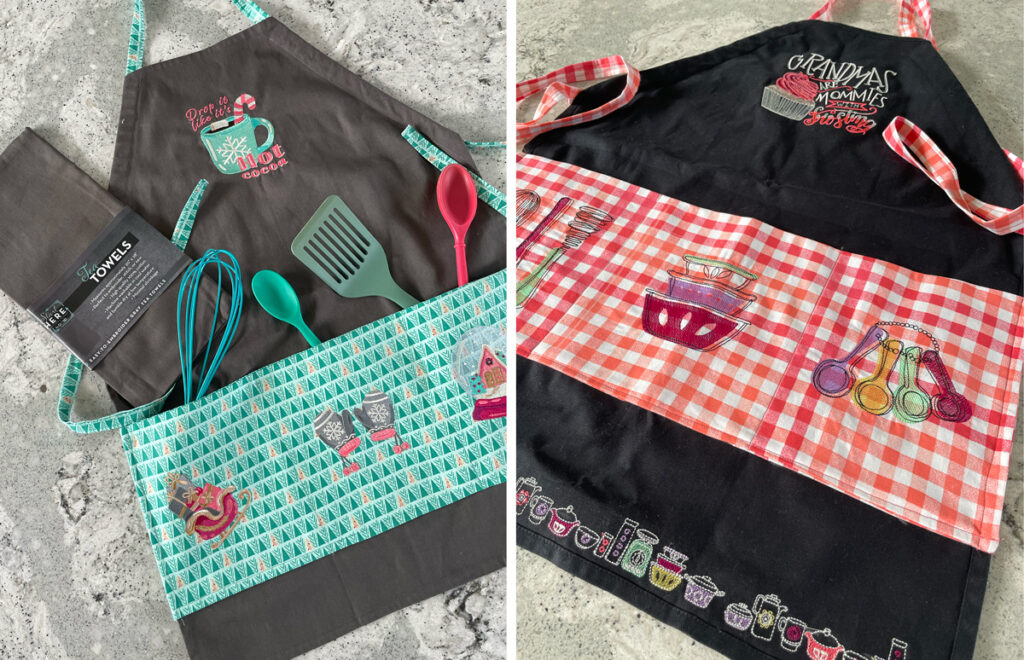
Are you looking for a creative, fun, and easy machine embroidery project to accessorize your kitchen? Stitch an Easy Tea Towel apron for yourself or as a special gift for your favorite chef or baker! This tutorial will show you all the steps to whip up a stylish apron with just a few pieces of fabric and a tea towel! Show off your stitching skills while making something practical as well. Customize them with your favorite colors, patterns, layouts, and embroidery designs. We had such a good time making them that we chose a holiday motif as well as an everyday option. Happy Stitching!
Supplies:
- Embroidery Collections of Choice – the teal apron shown uses Punny Christmas #51299, the black apron shown uses Kitschy Kitchen #90018 and design no. 90035-05 from the Best Mom Ever collection (#90035)
- OESD Start Here Embroidery Blank Tea Towel
- OESD Fusible Woven
- OESD StabilStick TearAway
- Fabric for pocket – two pieces – each 9”x23”
- Fabric for straps – three 3” strips the length of the fabric
Instructions:
Step 1
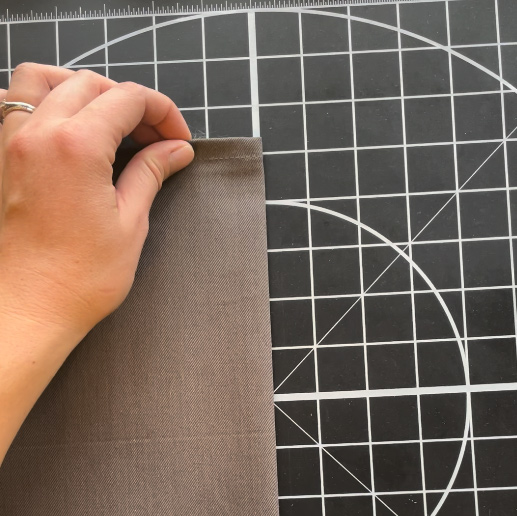
With the front of the tea towel facing the table, fold it in half lengthwise. Finger press and unfold. This is marking the center of the towel.
Step 2
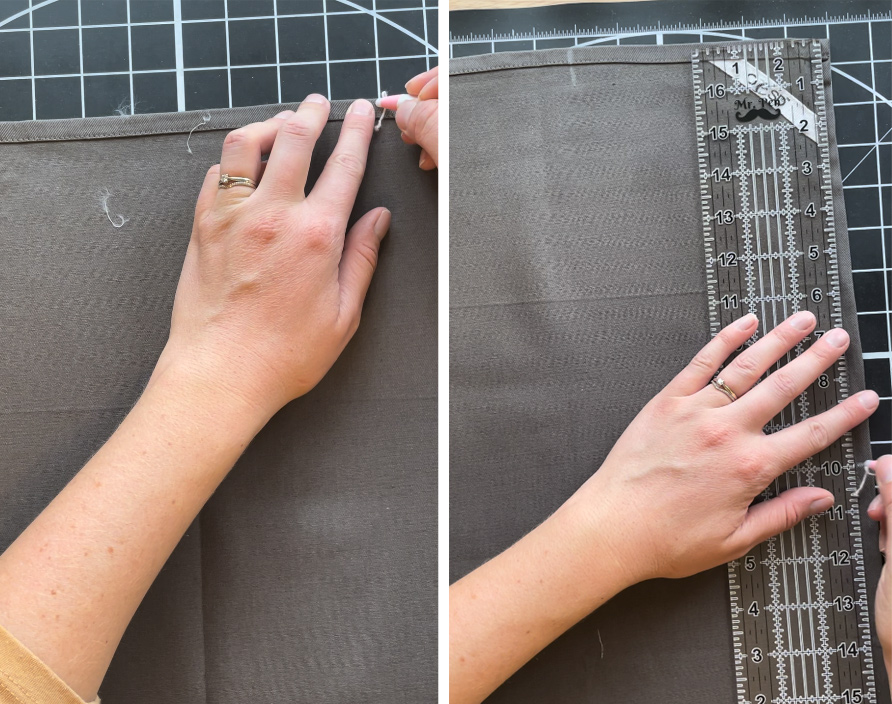
From the center, mark 4″ from one side. Then going down the length of the towel, mark 10”.
Step 3
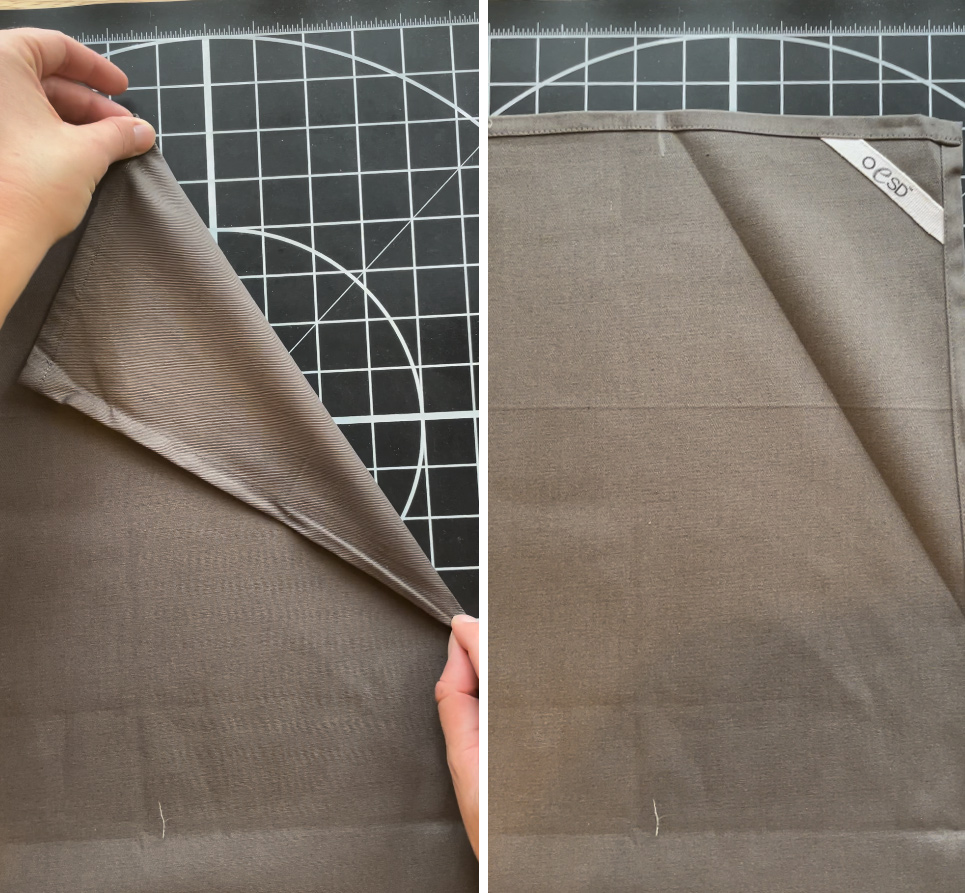
Fold along the marks towards you so you create a diagonal mark. Finger press the corners and unfold.
Step 4
Make a mark 1.25” away from the line towards the edge of the apron. Cut along this line. Fold the raw edge in 1/4” and press and sew this edge.

Step 5
Fold along original mark and top stitch the raw edge again. This is creating the channel for the straps.


Creating the Straps:
Step 6
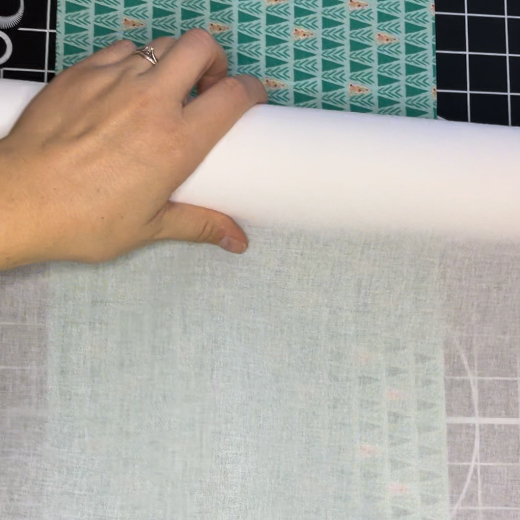
To create straps, cut at least 3 3” x width of fabric strips. You may want to cut and sew more together depending on how long you want your straps to be. Sew the pieces together to create one long strip. Fold in half length wise and press.

Step 7
Unfold, and fold the edges to meet the middle. Press.
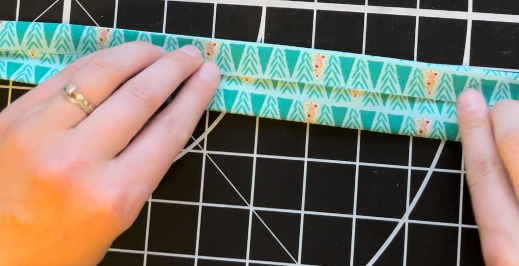
Step 8
Fold in half again.
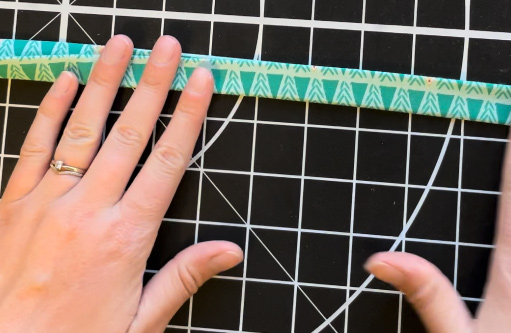
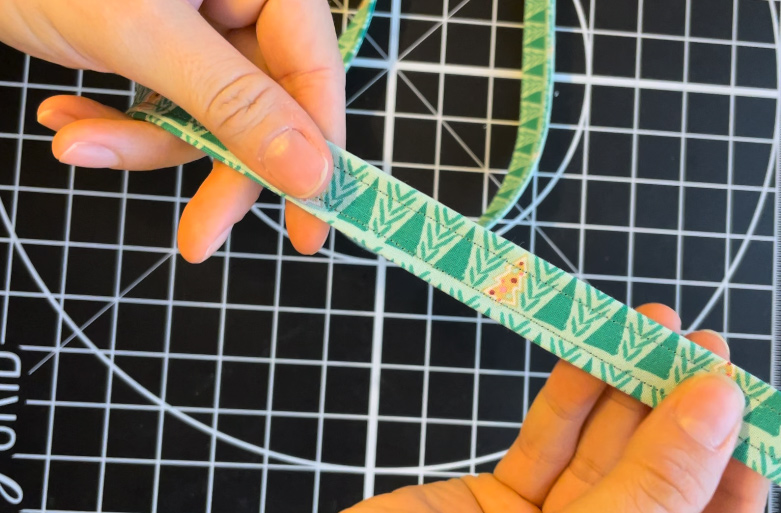
Step 9
Top stitch near the edge going length wise. Repeat with the other edge if desired.
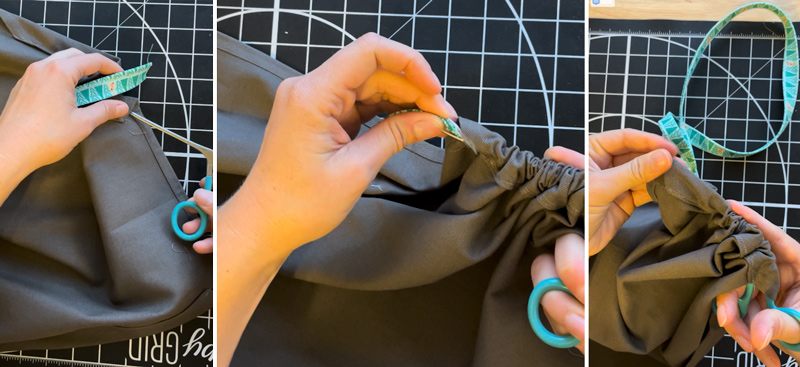
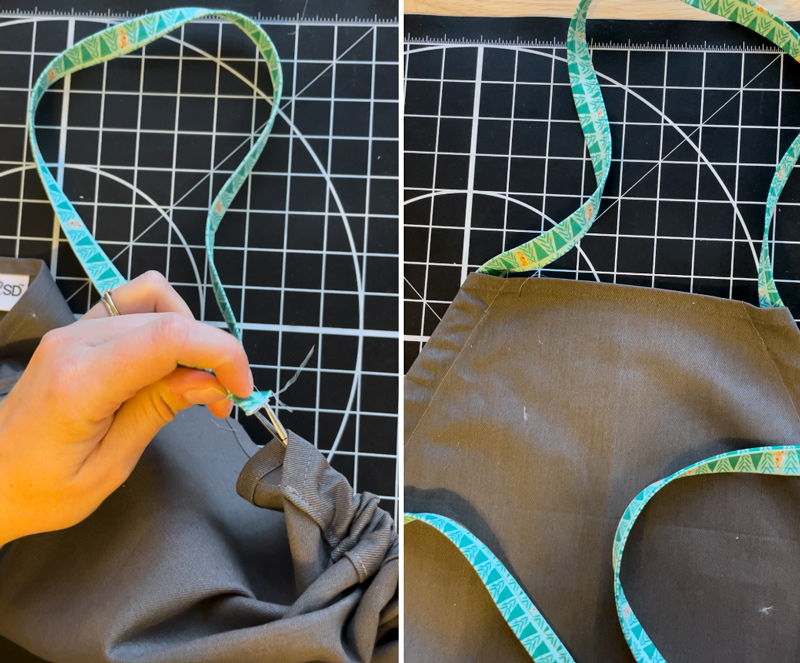
Step 10
Thread the strap through the apron channels starting at the bottom of one end. Do not pull all the way through. Move to the bottom of the other end and bring the other end of the strap through the channel. There should be a loop at the top of the apron – this is where it will go around your neck.
Embroidering Your Designs:
Step 11
Choose where to place your design on the top of the apron. Mark the center of the apron and make a mark where you’d like to place the top of your design. We marked 3″ from the top.
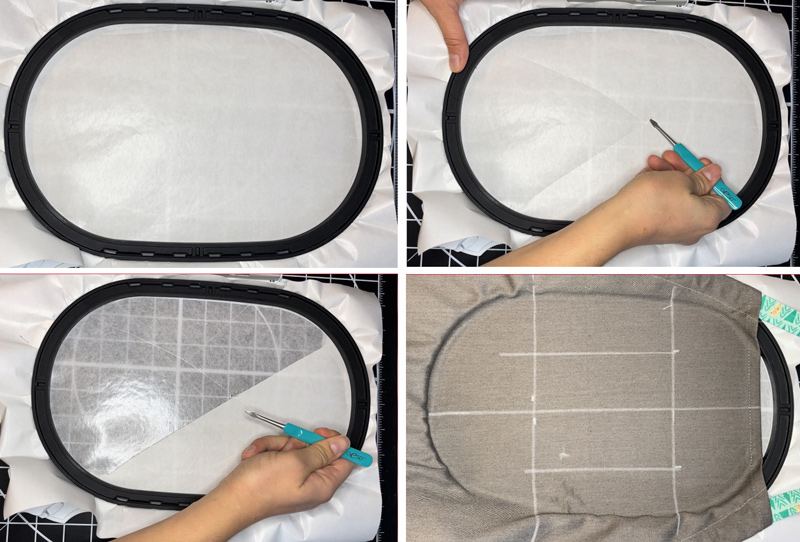
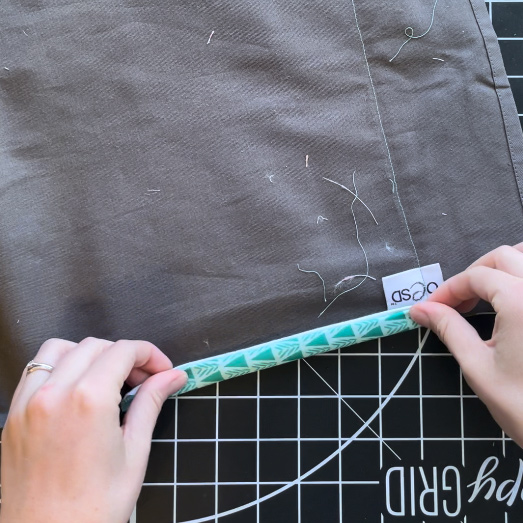
Step 12
Hoop one layer of StabilStick Tear Away. Remove paper lining from stabilizer with the Perfect Scoring Tool and float the apron by sticking to the stabilizer. Use your embroidery machine to line up your chosen designs and stitch.
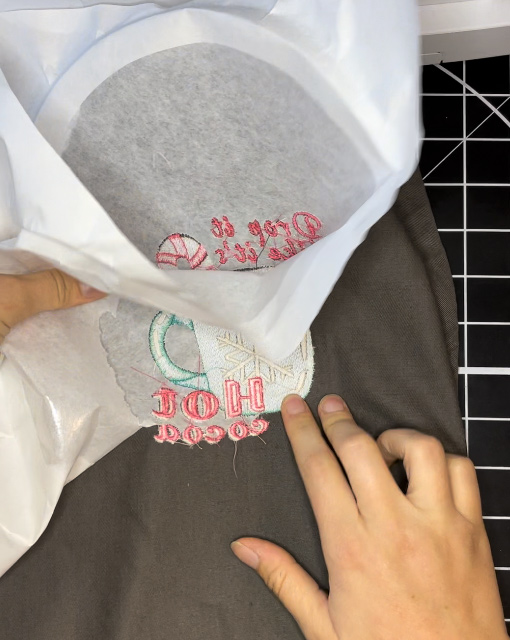
Step 13
Remove your project from the hoop. Remove stabilizer by gently tearing it away from the design.
Making Pockets:
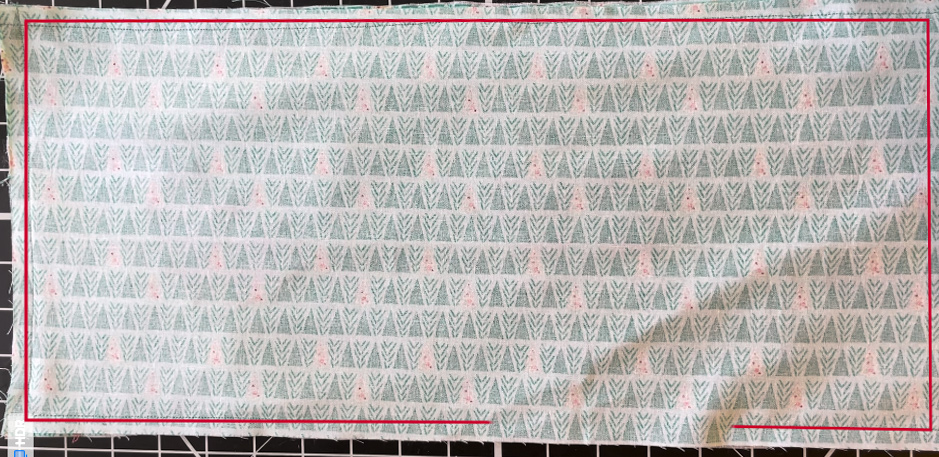
Step 14
Cut 2 pieces of fabric 9” x 23”. Apply Fusible Woven to the back of one of the pieces of fabric. This will be the piece where you’ll stitch your embroidery designs, and the Fusible Woven will make it more sturdy.
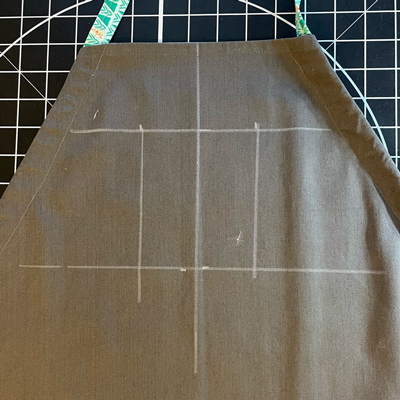
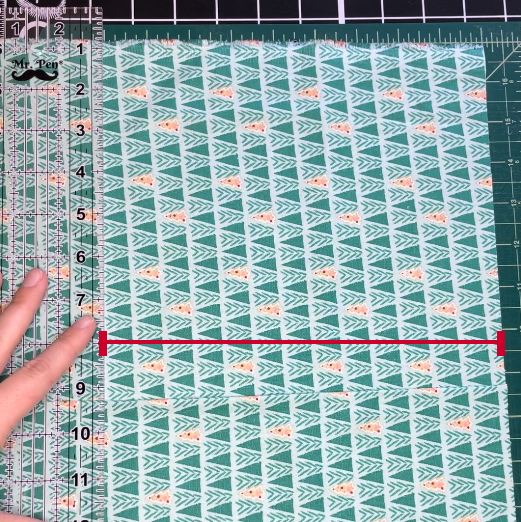
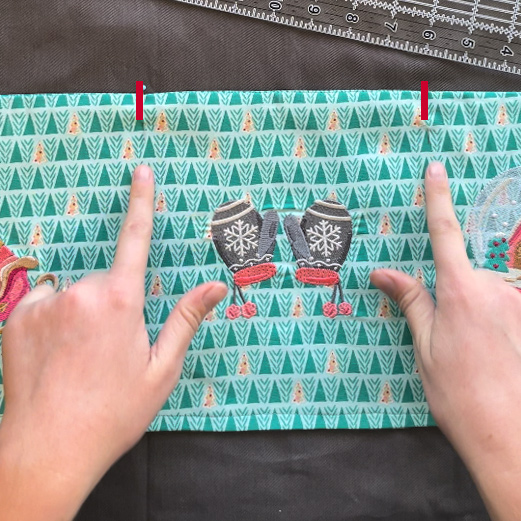
Step 15
Make a mark 6.5” from the left side and 6.5” from the right side. This should leave a 7” opening in the middle. You will embroider in the middle of each section. These will eventually become pockets.
Step 16
Mark where you’d like your designs, hoop StabilStick Tear Away and your fabric, then line up your machine and stitch.

Step 17
Once embroidery is done, with right sides together, place the other piece of fabric on top of the embroidered fabric. Sew along all four sides, leaving a 4” gap at the bottom. Clip the corners and flip right side out.
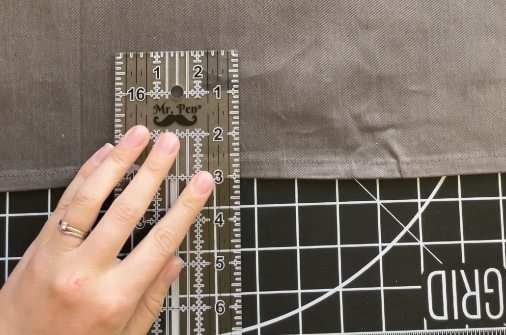
Step 18
On your tea towel apron, mark 3” up from the bottom.
Step 19
Place the large pocket on this line, folding it over to the back of the apron about and inch on each side. Pin in place and top stitch the sides and bottom. Leave the top open.
Step 20
At your marks located 6.5” from the left and 6.5” from the right, top stitch straight down. This will create the pockets.
Step 21
Enjoy your Easy Tea Towel Apron!


JOIN US IN THE OESD COMMUNITY!
We hope you enjoyed this machine embroidery tutorial! Have you stitched your own Easy Tea Towel Apron? Come show off your work in our private Facebook group, The Perfect Stitch!