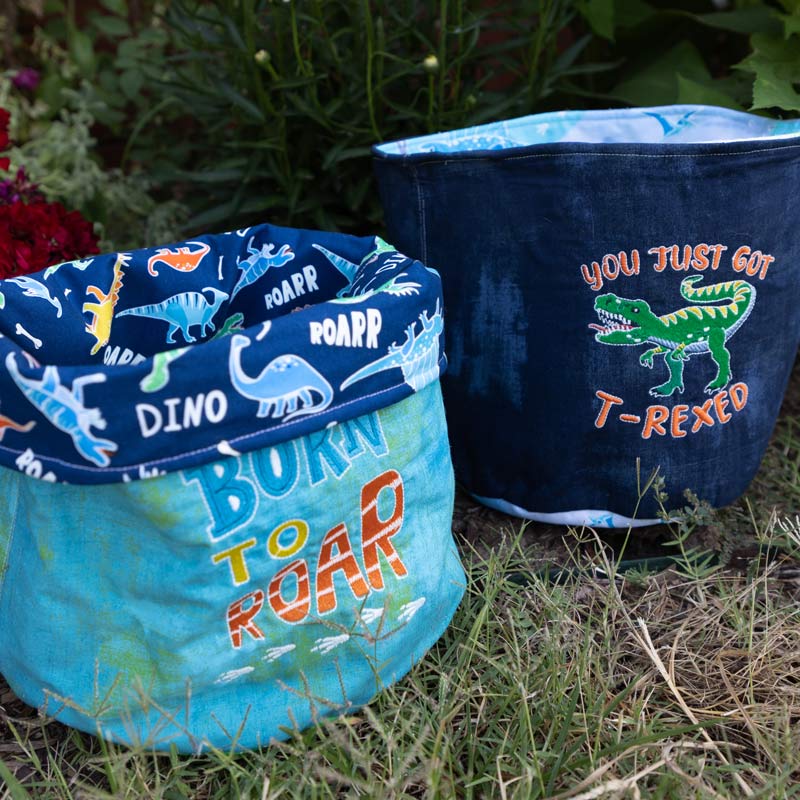
Craft up something unique for your little one with these Dinosaur Toy Baskets to hold their miscellaneous action figures, dolls, art supplies, books, and more! Personalize these adorable baskets with your child’s favorite colors and themes – there are tons of machine embroidery designs to choose from! This project uses the Glow-O-Saurus collection by Benartex – a fiercely fun variety of designs that features glow-in-the-dark thread! Follow this easy step-by-step tutorial and learn how you9 can stitch a set for the kids in your life. It’s a handy tool to keep your home neat as well as a stylish solution that will encourage organization in an exciting way! Grab your supplies, and let’s get stitching!

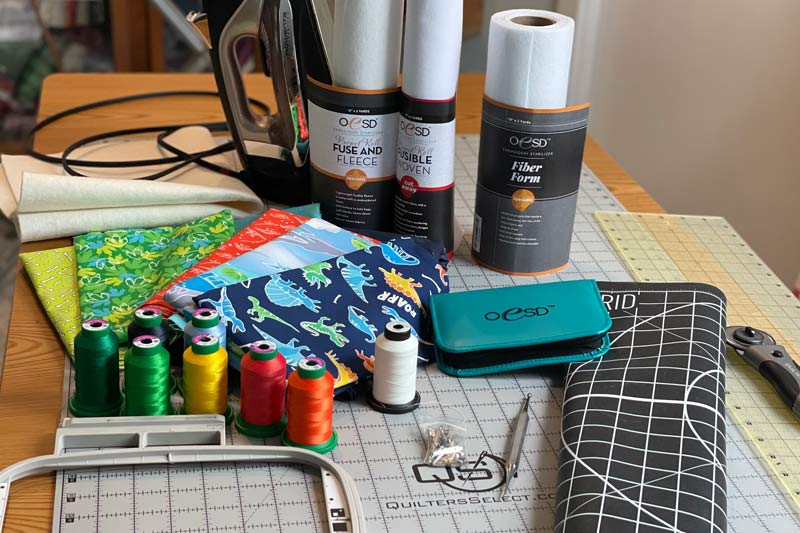
Supplies:
- Glow-A-Saurus by Benartex Embroidery Designs #51326
- Glow-A-Saurus Coordinating Thread
- OESD Fuse and Fleece
- OESD Fusible Woven
- OESD Fiber Form (optional)
- OESD Perfect Embroidery Press Cloth
- OESD Button Clips
- OESD Expert Point and Press Tool
- OESD Grippy Grid
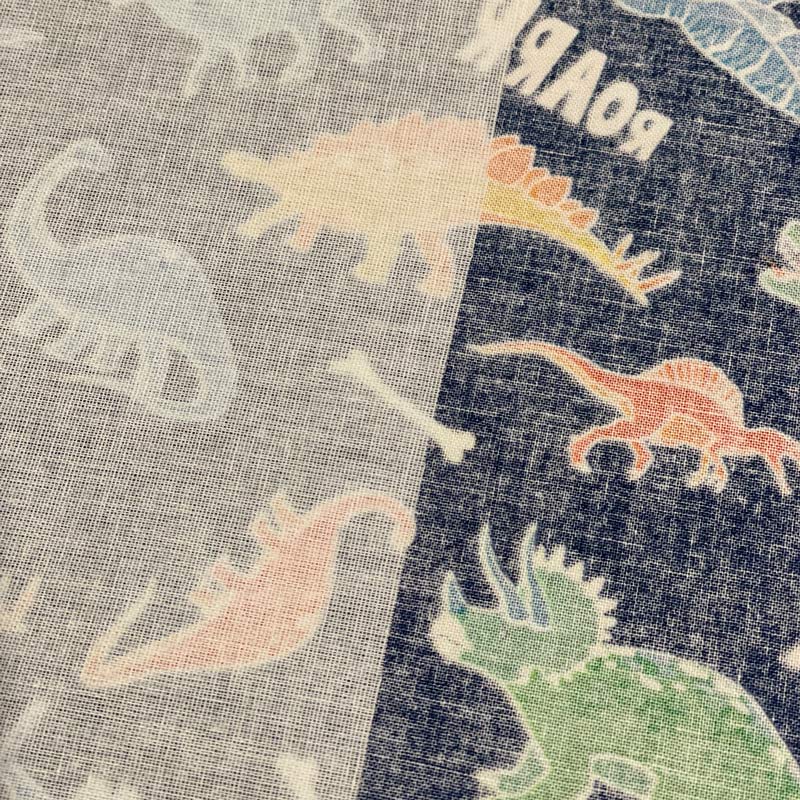
- 1/2 yard inner fabric and 1/2 yard outer fabric (we used the coordinating Glow-A-Saurus fabric line from Benartex!)
Cutting:
- two 10 7/8-inch by 8 ½- inch rectangles from inner fabric
- two 10 7/8-inch by 8 ½- inch rectangles from outer fabric
- four 10 7/8-inch by 8 ½- inch rectangles from Fusible Woven
- four 10 7/8-inch by 8 ½- inch from Fuse and Fleece
- one bottom inner circle with a radius of 10 ¾ inch
- one bottom outer circle with a radius of 10 ¾ inch
- two circles from the Fusible Woven with a radius of 10 ¾ inch
- two circles from the Fuse & Fleece with a radius of 10 ¾ inch
Instructions:
Notes before you start: Use a 3/8” seam allowance for putting your pieces together. If modifying the pattern for different sizes remember that old equation: circumference equals Π (pie – 3.14) times diameter.
Step 1
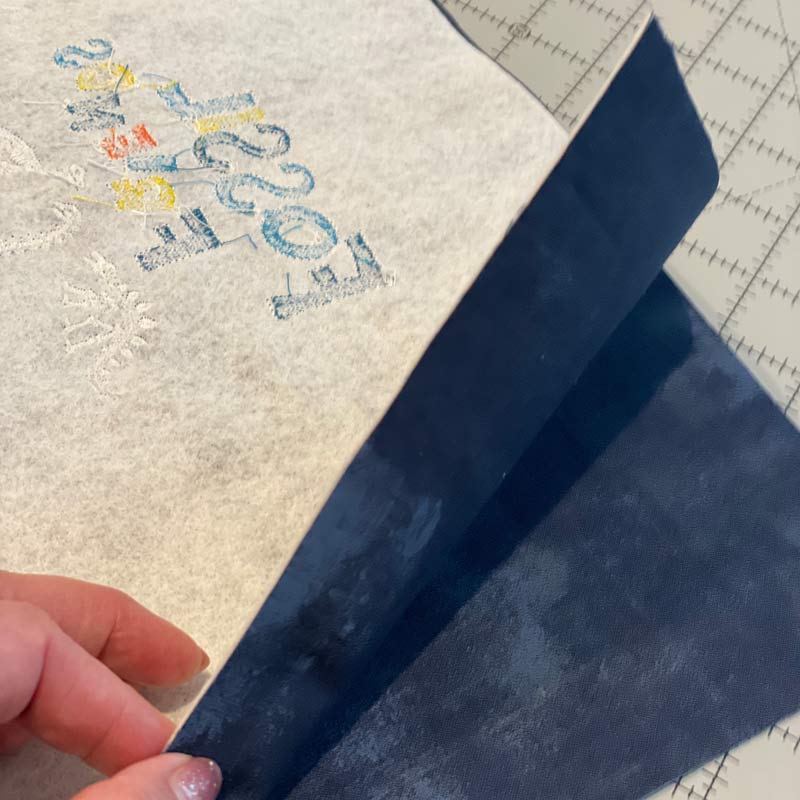
Gather your supplies.
Step 2
Iron a Fusible Woven rectangle onto the wrong side of both the two inner fabric rectangles and outer fabric rectangles.
Step 3
Next iron the Fuse and Fleece onto each rectangle back.

Step 4
Repeat adding Fusible Woven and Fuse and Fleece to the circle fabrics.
Step 5
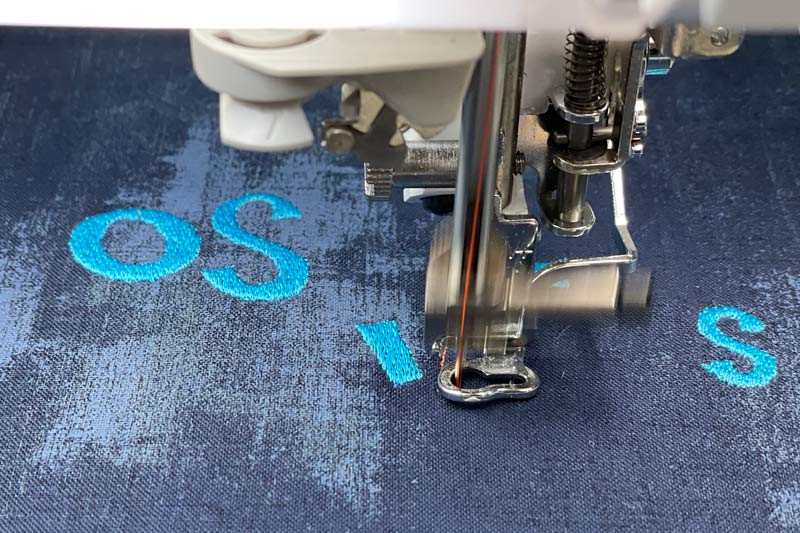
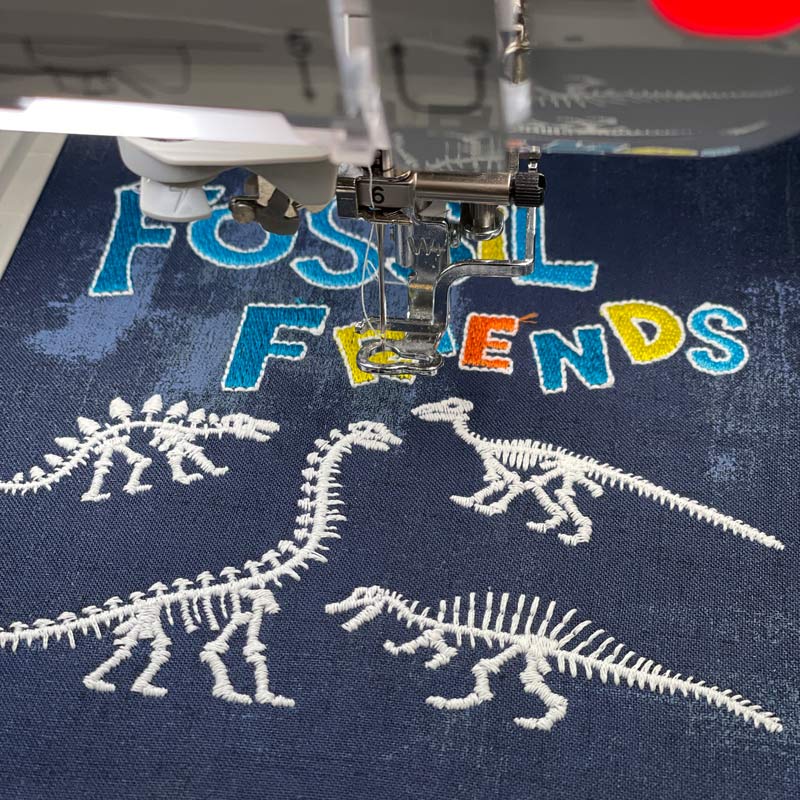
Embroider your chosen design on one of the prepared outer fabrics, being sure to center and give room for seam allowances. Then embroider on the second outer fabric if you would like your basket to be double sided.
After embroidering your design there could be some shrinkage. Trim all your pieces to the same size if needed. This is just a tiny trim so that all four inner and outer rectangles are the same size.
Step 6
Sew the two inner pieces together on each short side, right sides together, so that it forms a tube. Sew the two outer pieces together on each short side, right sides together. Fit the two cylinders together.
Step 7
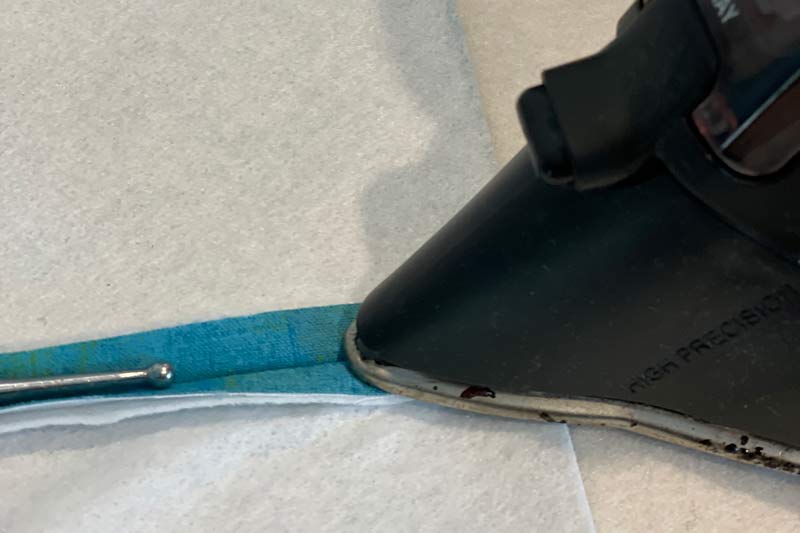
Press all seams open. Using the OESD Expert Point and Press tool makes this easy!
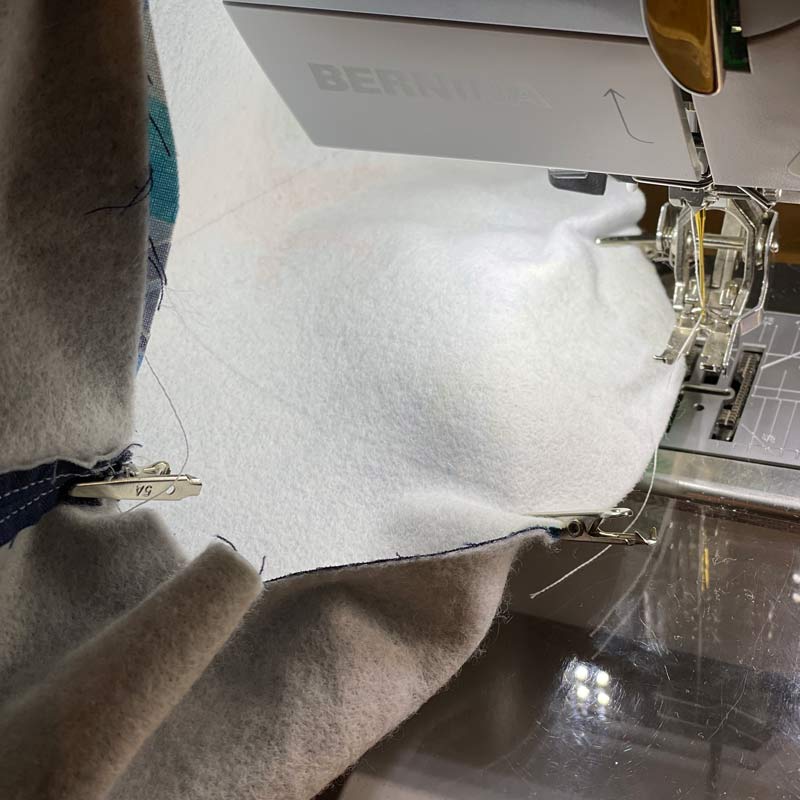
Step 8
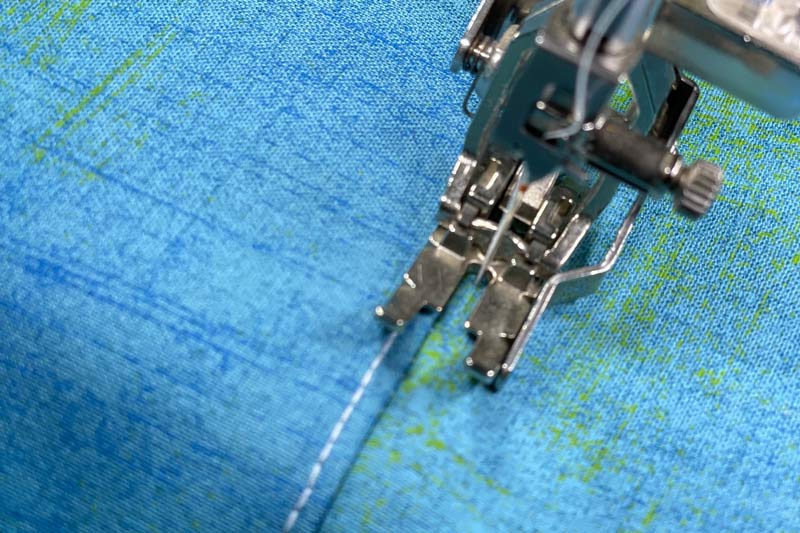
Top stitch on either side of each seam.
Step 9
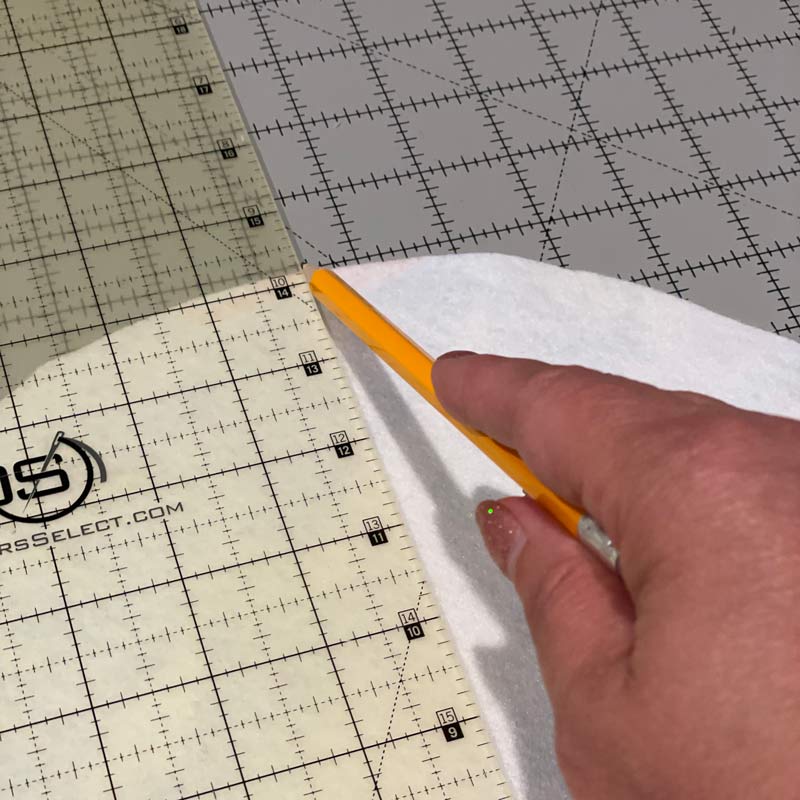
Mark the diameter on the wrong side of each circle. This will help you align the circle bottom to the sides of your cylinder.
Step 10
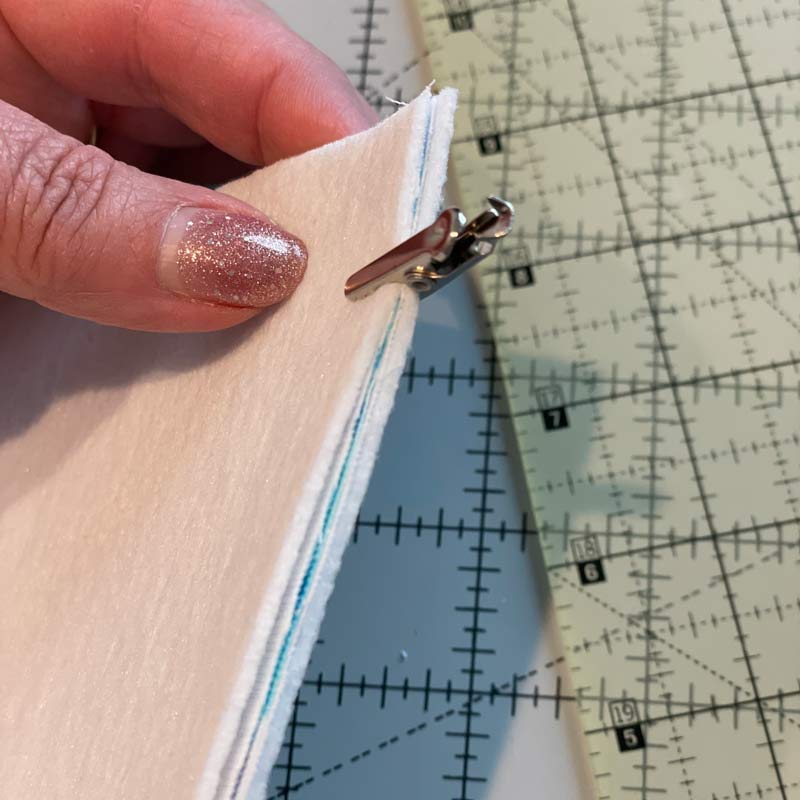
Using the OESD Button Clips, clip one part the diameter marking to each seam (right sides together). Then place the other button clips to help keep the circle in place for sewing.
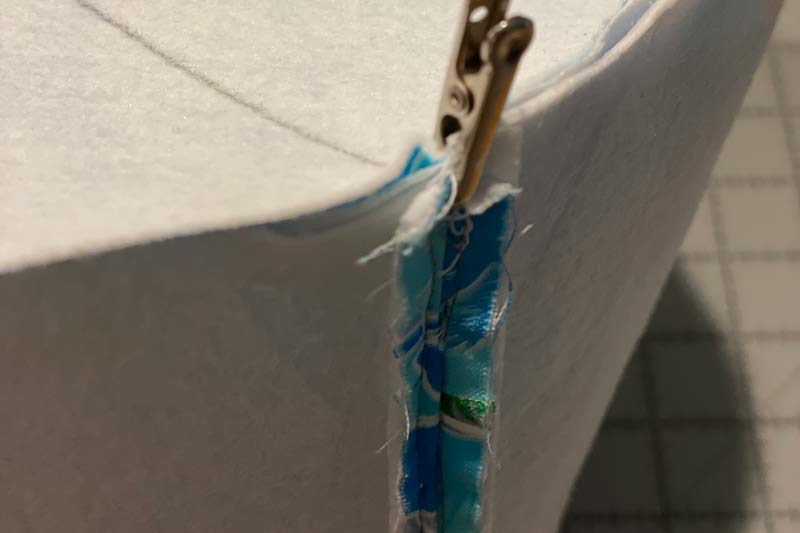
Step 11
Carefully sew each bottom to each cylinder. Now you will have an outer basket and inner basket.
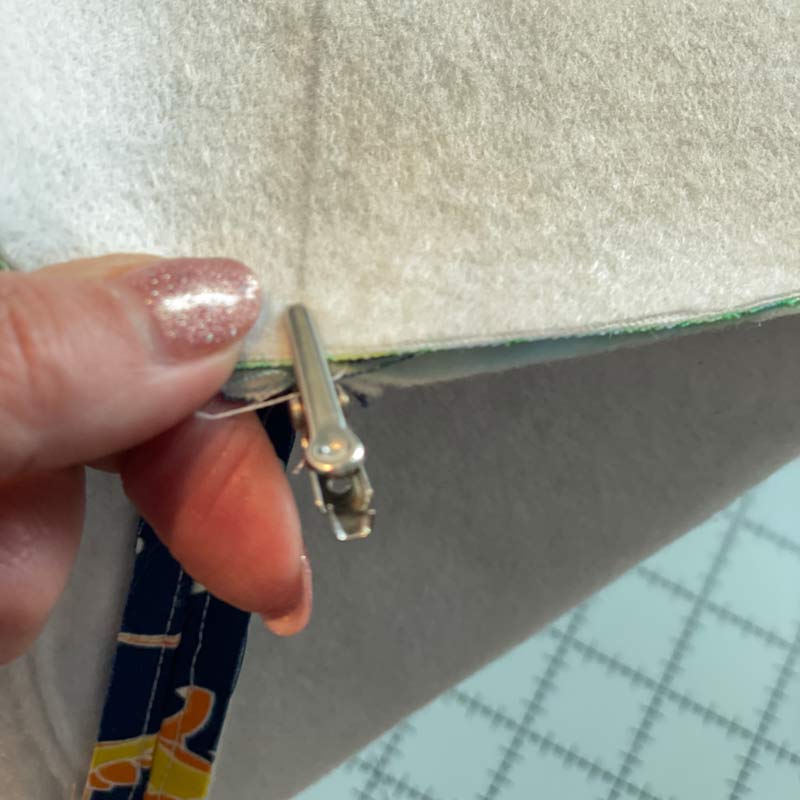
Step 12
Nest the inner basket into the out basket right sides together. Line up both seams and place a button clip so that when you sew them together, they are aligned. Button clip the edges for sewing but leave yourself a good 4 inches for turning the bag right-side out.


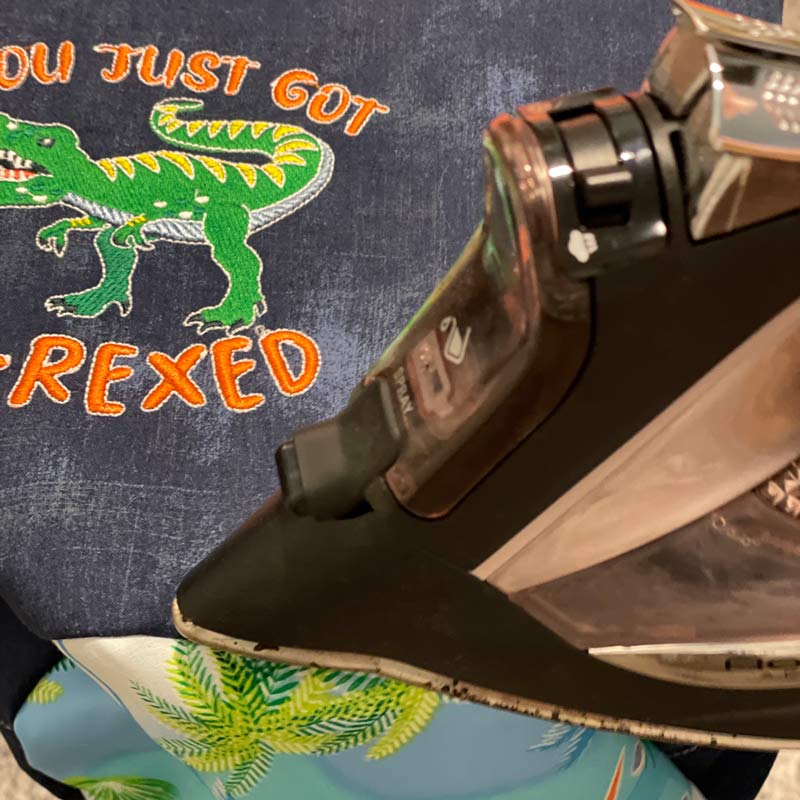
Step 13
Use your Perfect Press tool to pop the seam in place. Then, using your iron, press down where your opening was so that when you can top stitch around, it will catch the edges and close them up.
Step 14
Optional: adding Fiber Form to your basket for added stiffness. For the basket with Fiber Form the process is the same. Add one layer to the outer fabric only after embroidering. It will be much stiffer, so give yourself a wider opening for turning inside out.
Step 15
Enjoy your new dinosaur-themed toy baskets!

JOIN US IN THE OESD COMMUNITY!
We hope you enjoyed this machine embroidery tutorial! Have you stitched your own Dinosaur Toy Baskets? Come show off your work in our private Facebook group, The Perfect Stitch!