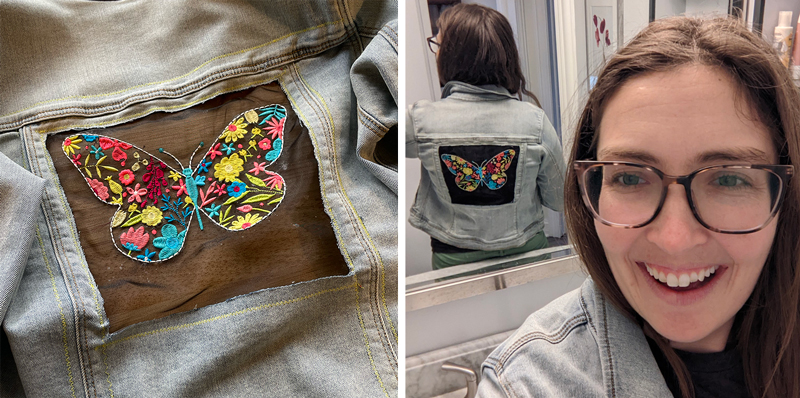
Delve into the enchanting world of embroidery with this tutorial where we transform a simple denim jacket into a work of art, adding in delicate and ethereal organza fabric! Learn all about this technique of stitching on sheer fabric that will add a unique touch of whimsy and beauty to your sewing room. We’ll guide you step by step through the process of creating a stunning butterfly design on this upcycled denim jacket. Whether you are a seasoned embroiderer or just starting out, this tutorial is bound to ignite your creativity and inspire you to push the boundaries of what is possible with needle and thread. Grab your supplies, thread your embroidery machine, and let’s embark on this artistic adventure!
Supplies:
- Embroidery Collection of Choice – PK50039 Floral Easter Silhouettes shown here
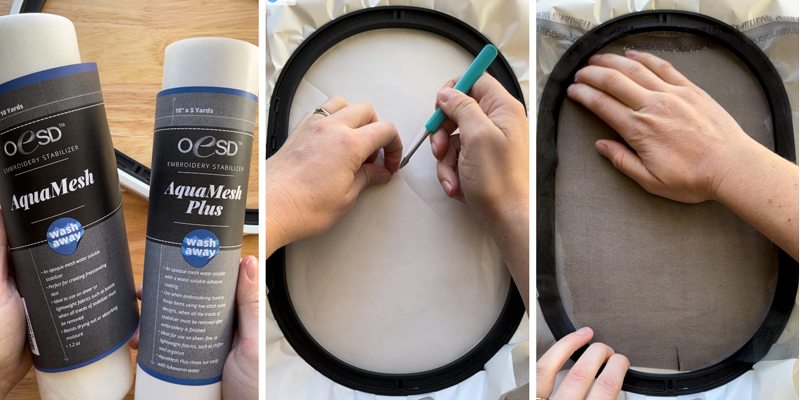
- OESD AquaMesh WashAway
- OESD AquaMesh Plus WashAway
- OESD Applique Fuse and Fix
- OESD Perfect Embroidery Press Cloth
- OESD Perfect Pencil
- OESD Perfect Scoring Tool
- OESD Perfect Snip
- Organza Fabric
- Denim Jacket
Instructions:
Step 1
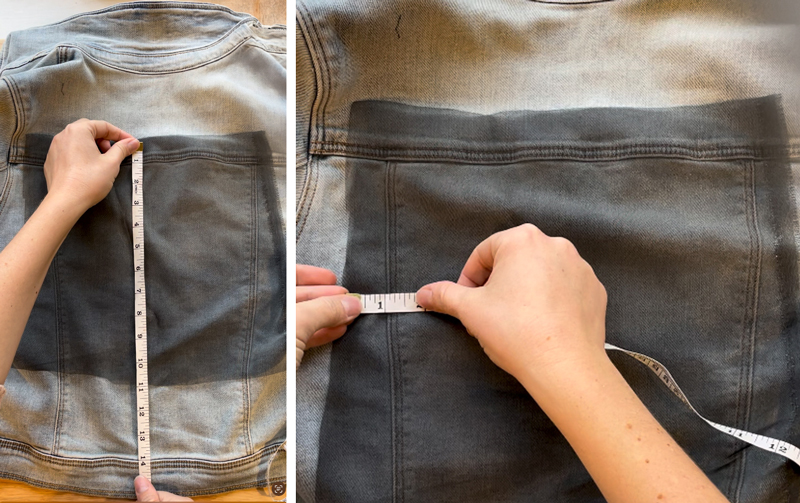
Measure the spot on your jacket where you would like your finished design to go. Cut fabric, making sure it is AT LEAST 1″ larger on ALL sides. It’s a good idea to cut more than necessary. This will allow for any shrinkage or skewing of the fabric when embroidering because it is a loose fabric.
Step 2
Hoop one layer of AquaMesh and one layer of AquaMesh Plus. AquaMesh Plus should be the top layer. Peel away the paper lining and float the fabric, adhering it to the stabilizer.
Step 3
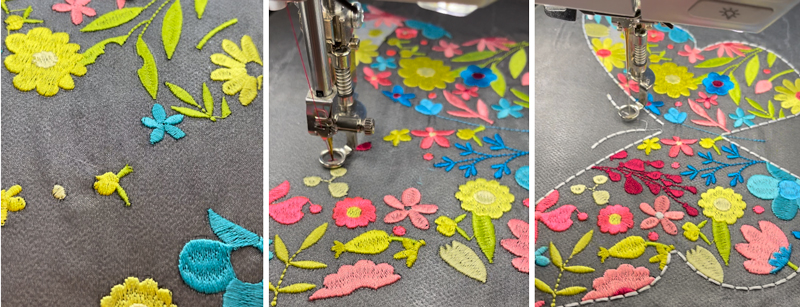
Stitch design. Note: Because the fabric is sheer, you can match the bobbin to the top thread if you’d like, keeping in mind that the only way you’ll see the back of the design is if you take off the jacket and look at the inside.
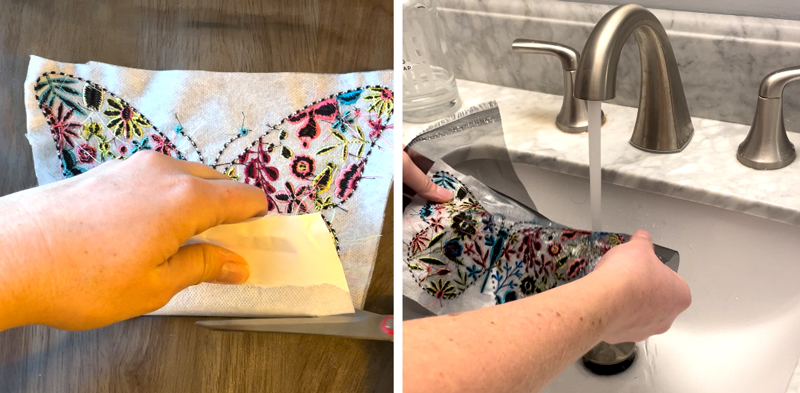
Step 4
Cut away excess stabilizer, then in warm running water wash away the remaining stabilizer.
Step 5
Leave to dry. The fabric and embroidery may look like it shrunk or is puckered. Do not worry – simply use the Perfect Embroidery Press Cloth. Set your iron to a low heat and press the design until it looks flat again.
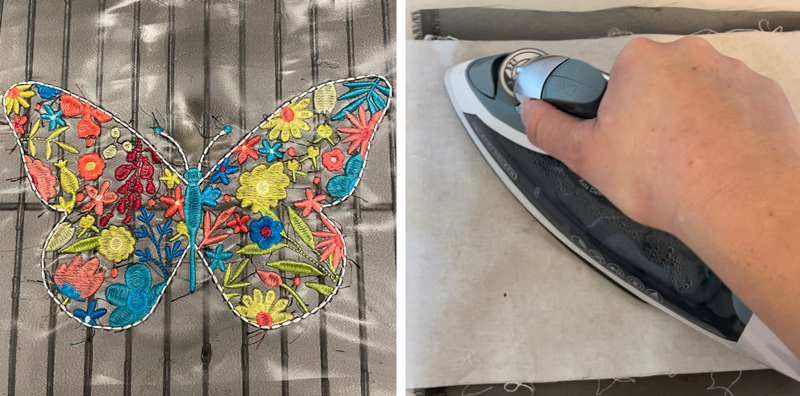
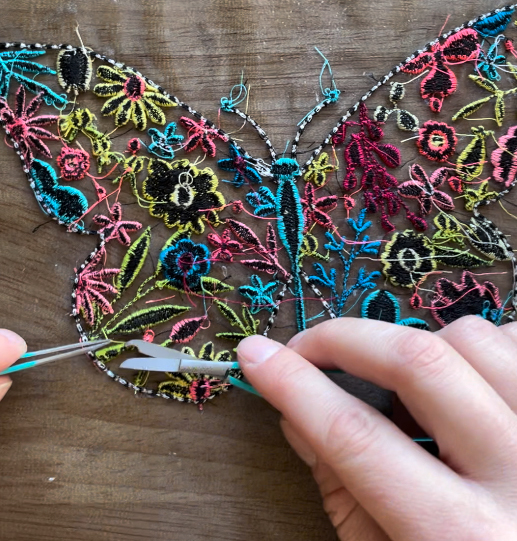
Step 6
Turn the design over and carefully remove any excess thread using the convenient OESD Perfect Snip. Take your time, and do this step carefully. This will make the design look better at the end as you won’t see any stray threads showing through the sheer fabric.
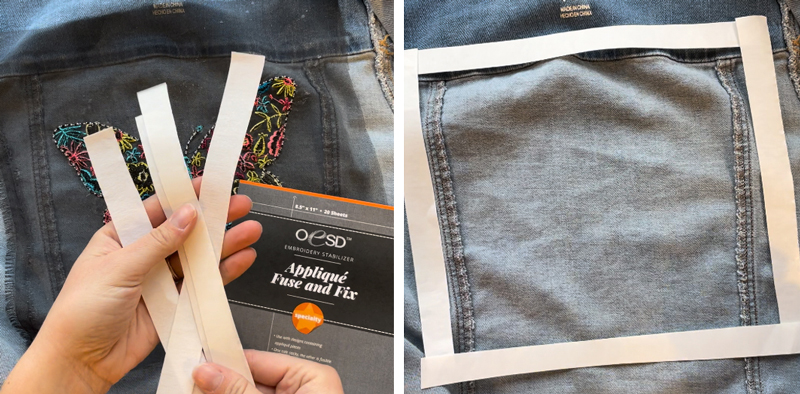
Step 7
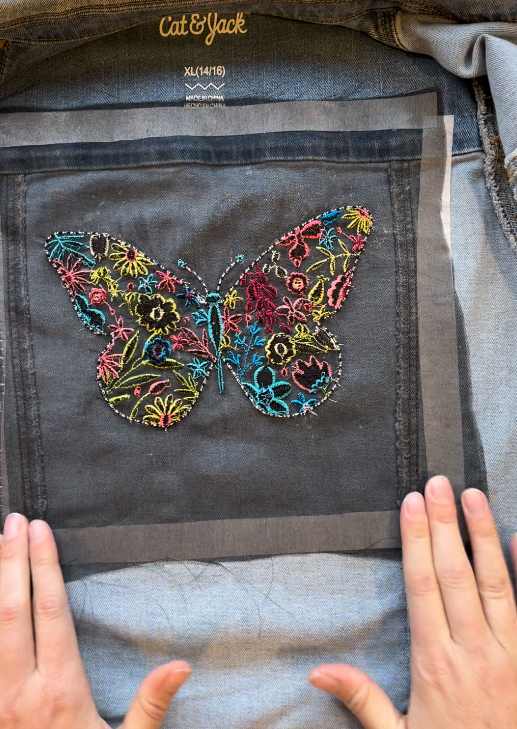
On the inside of the jacket, apply strips of Applique Fuse and Fix where your design is going to go. You will want the add it to the outside of the chosen design area and make sure it will only be touching the edges of the embroidered fabric.
Step 8
With right side down, attach the embroidered fabric to the Applique Fuse and Fix.
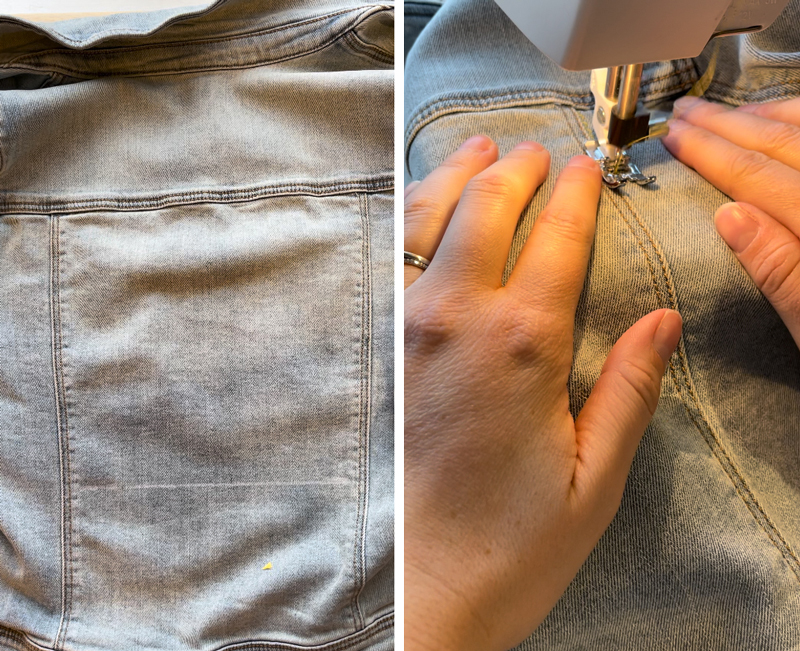
Step 9
Top stitch using a zigzag stitch along the marked seam lines. This will add some decoration as well as really secure the fabric to the Applique Fuse and Fix and the jacket. Use the OESD Perfect Pencil to make a mark where the fabric ends if there are no seams to follow on your jacket. We also did a top stitch on both sides of the side seams for both style and function, using a bold color to coordinate with the design and add a nice touch to the jacket.
Step 10
Carefully cut just inside the line you just stitched, making sure to only get the jean jacket layer, and not the sheer fabric layer. This will remove the jean material and expose the embroidery you added.

Step 11
Put on your jacket and enjoy!


JOIN US IN THE OESD COMMUNITY!
We hope you enjoyed this machine embroidery tutorial! Have you stitched your own Denim and Organza Jacket? Come show off your work in our private Facebook group, The Perfect Stitch!