Grace your porch or entryway bench with an extended size pillow that will welcome visitors to your home.
Supplies
- OESD’s Words to Live By from Cherry Guidry #80285
- OESD Fusible Woven CutAway Stabilizer
- OESD Ultra Clean and Tear Plus
- StabilStick Template Sheets
- OESD Perfect Embroidery Press Cloth
- Isacord thread
- Organ 80/12 or 75/11 Sharp Embroidery Needle
- 16″ x 18″ fabric for the embroidery background area
- 14″ x 18″ fabric for inner embroidery frame, cut into 4 – 3.5″ x 18″ strips
- 10″ x 18″ fabric for outer embroidery frame, cut into 4 – 2.5″ x 18″ strips
- 1-yard fabric for pillow back and the side pieces on the front of the pillow
- Pillow Form – 16″ x 38″ Bench Pillow Form
- Loop and Tail Wand (Optional)
- Rotary Cutter
- Ruler
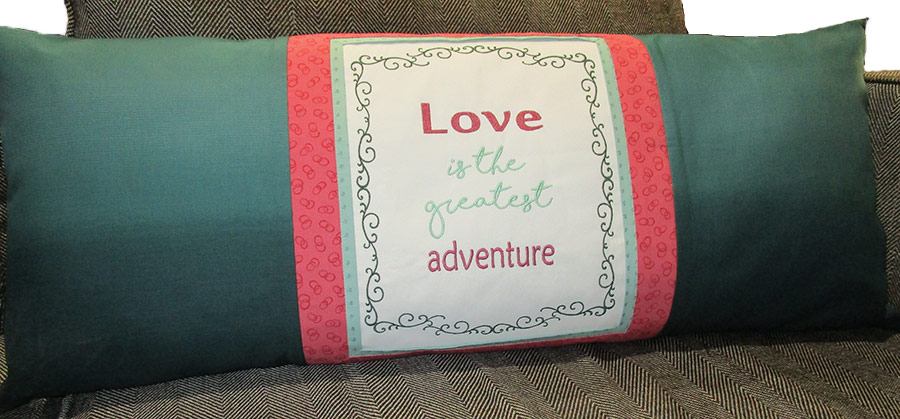
Instructions
Note: For best results, prepare all fabric to minimize shrinkage issues by washing, drying, and pressing prior to embroidery.
Apply one layer of Fusible Woven to the wrong side of the background fabric per printed instructions.
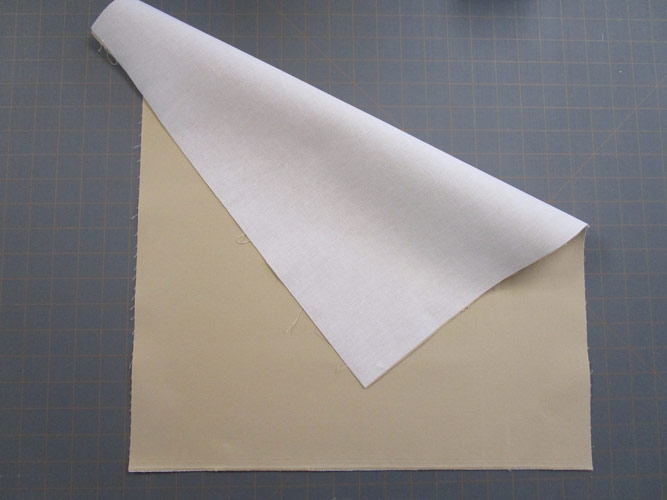
Print the design template pages attached on StabilStick Template Sheets. Trim away excess paper from the outer edges of the design as needed.
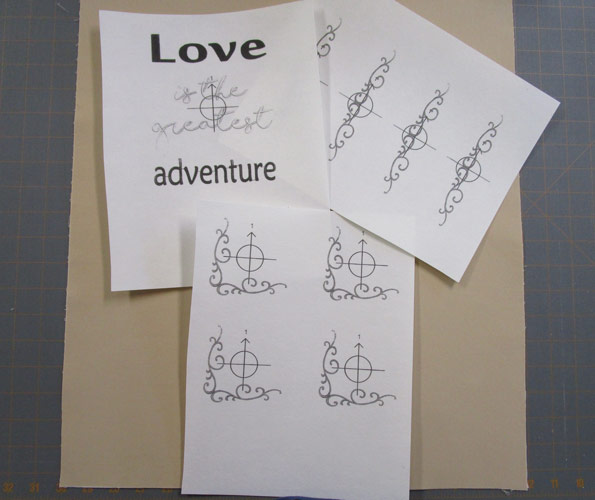
Optional – Marking Background Fabric for Placement of Templates
Follow the measurements below to mark centers for specific placement of each of the 9 design templates:
Center Design: Make a vertical and horizontal line with a chalk marker to locate the center of the background fabric.
Top and Bottom Borders: Mark parallel horizontal lines that are 5-3/8″ above and below the center horizontal line. (Make sure to cross the vertical center line by at least 1″-2″ on either side.)
Left and Right Side Borders: Mark parallel vertical lines that are 4-3/8″ to the left and right of the center vertical line. (Make sure to cross the horizontal center line by at least 1″-2″ on either side.)
Four Corners: Mark parallel vertical lines 3-1/4″ to the left and right of the center vertical line. Then, mark parallel horizontal lines 3-7/8″ above and below the center horizontal line. (Recommend marking just the portions of the lines needed to position the corner borders.)
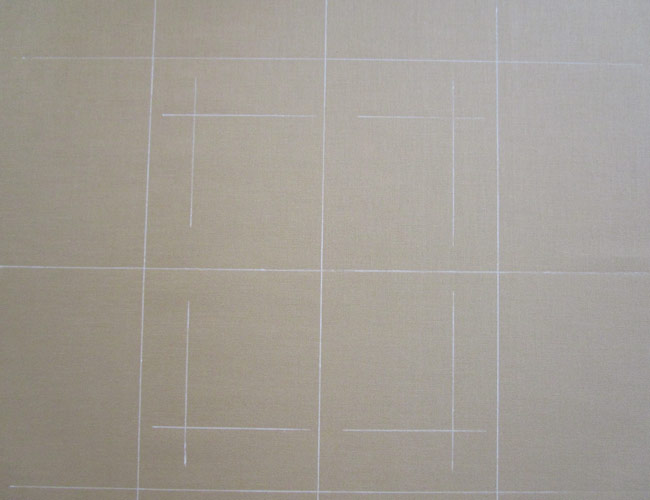
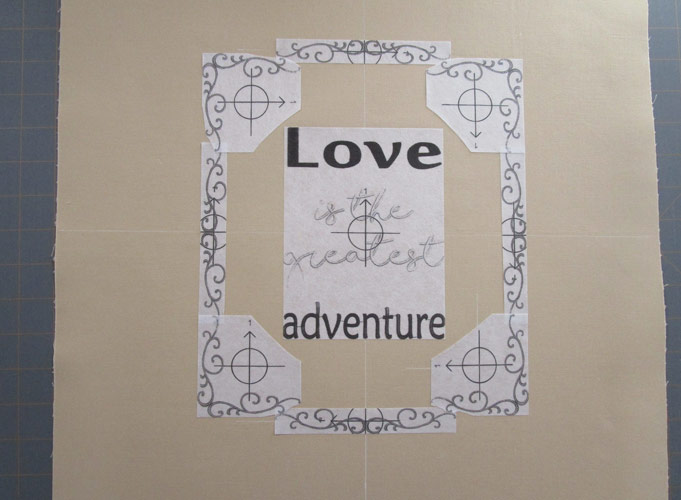
Peel the backing from one template piece. Place piece according to the above measurement location. Pay close attention to rotate pieces as needed while matching the center of the template to the corresponding marking on the background fabric. Repeat the process until all 9 pieces are placed.
Note – trim templates to avoid overlapping and getting the template caught in an adjacent design or peel the overlapping portion back during stitching.
Note – If Skipping Step 3: Place the templates as desired.
If the desired look contains any overlapping of design elements (such as the design created for this project), consider cutting off the overlapping areas to make stitch out easier or pull back the overlap areas prior to stitch out.
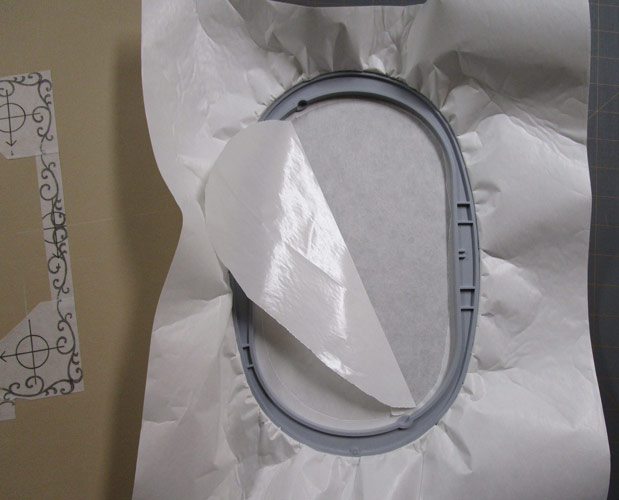
Hoop a piece of Ultra Clean and Tear Plus with the paper side up. Score the paper with loop and wand tool, pin, or stylus. Remove paper from the hooping area to expose the sticky surface.
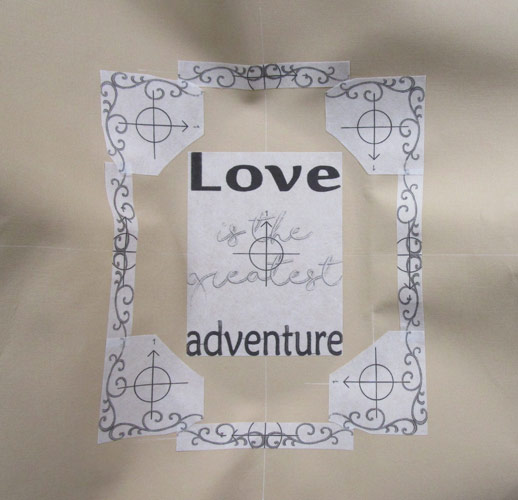
Position the prepared fabric in the hoop with the vertical lines matching the top and bottom hoop markings or use the hoop template that came with the hoop. Finger press the fabric to secure in place. Place the hoop on the machine.
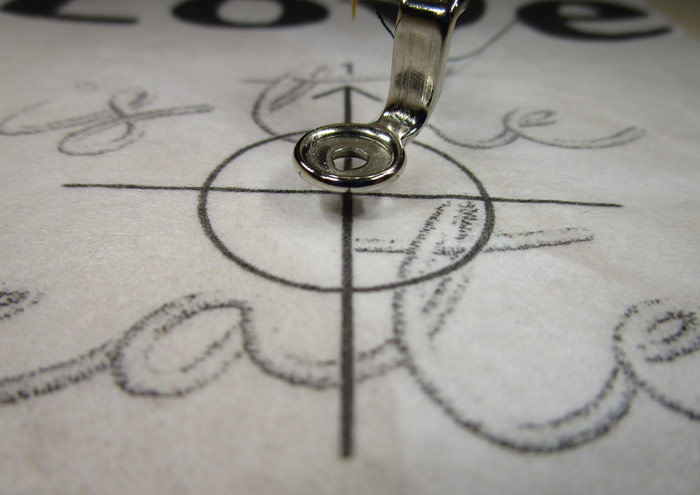
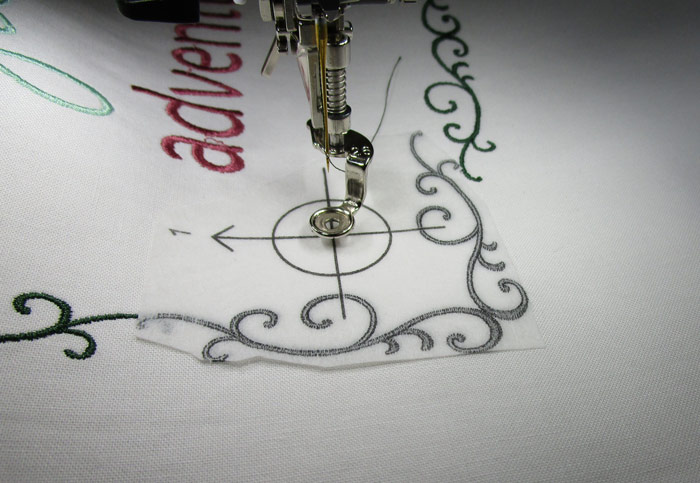
Use available machine embroidery tools to further align the crosshairs of the template with the needle. Carefully remove the design template and replace original backing or freezer paper to use again in the future.
Note – Make sure that all overlapping areas of adjacent templates are out of the way before embroidering the design.
Follow the thread chart to embroider the design. Remove the hoop from the machine when the design is complete. Carefully remove the stabilizer per the package directions with a damp cloth to protect the delicate satin stitches. Cover the back of the embroidery area with a damp cloth or spritz with water to disintegrate the stabilizer. Then, lift away the excess and allow time to dry completely before completing the remaining steps.

Repeat steps 5-7 with design 80285-11 for the Top, Bottom, Left Side, and Right Side Borders. Check rotation and alignment of each side border before stitching the entire design. Remove the stabilizer as described in Step 7 and/or on the package directions.
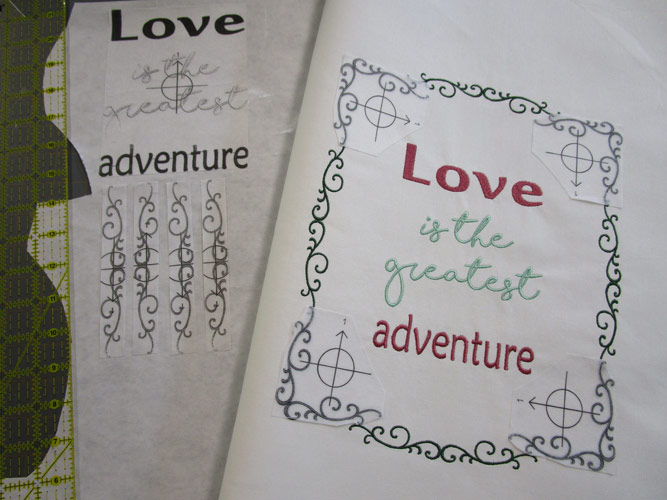
Repeat steps 5-7 with design 80285-12 for each of the four corners. Check rotation and alignment for each corner before stitching each design. Remove the stabilizer as described in Step 7 and/or on the package directions.
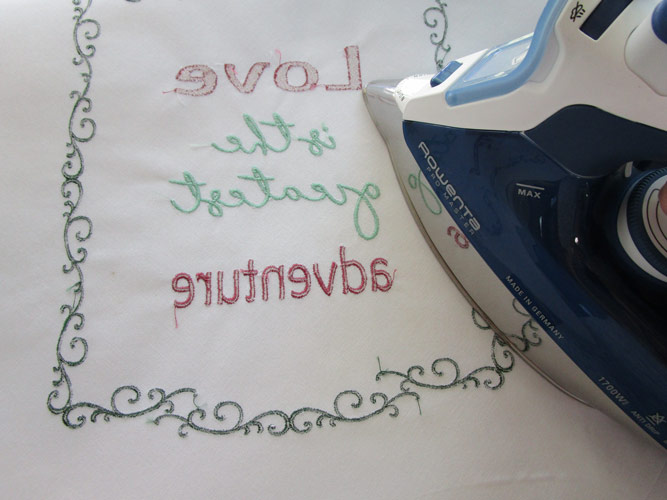
Press the embroidered fabric right side down on the OESD Press Cloth.
Use a Rotary Cutter and Ruler to trim the embroidered fabric to 17″ x 15″.

Cut 2 pillow back fabric pieces 17″ x 24″. Finish the newly cut 17″ edges as follows: iron under 1/2″, fold over another 1/2″, and iron. Topstitch 3/8″ from the edge. Overlap finished edges as needed to have a 39″ total length. Machine baste the overlapped areas on each side. Set aside.
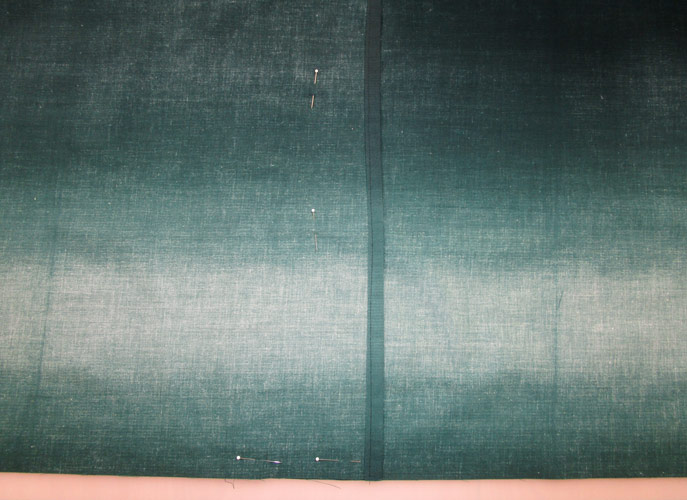
Place the right sides together of one Inner Frame strip and one Outer Frame strip. Sew 1/2″ seam along the length. Repeat for the other three strip sets. Press seam toward the Outer Frame. Then, fold in half, wrong sides together, matching raw edges. Press.
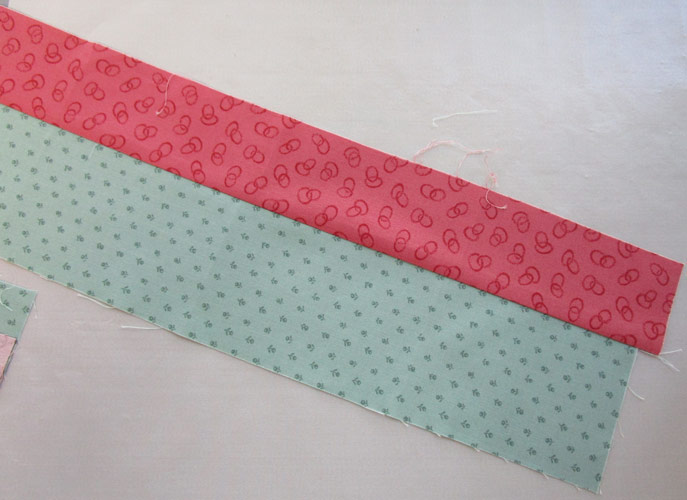
Trim two strips to a length of 17″. Trim two strips to a length of 15″. Miter the corners by sewing each corner at a 45-degree angle from the outer raw edge to the folded edge (where the frame pieces meet). Press seams open.
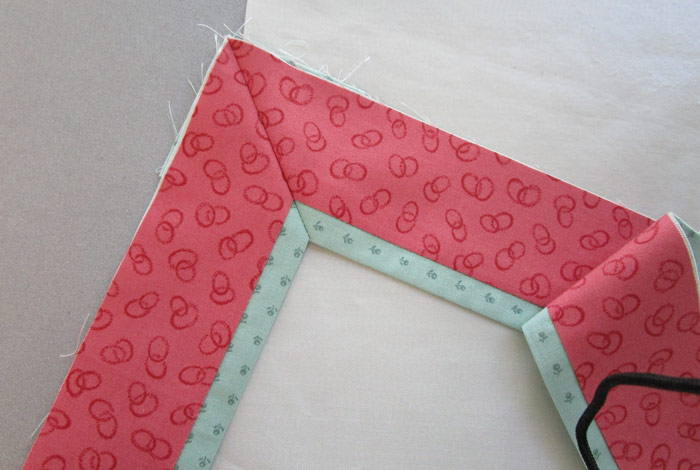
Place the frame over the embroidered fabric aligning raw edges.
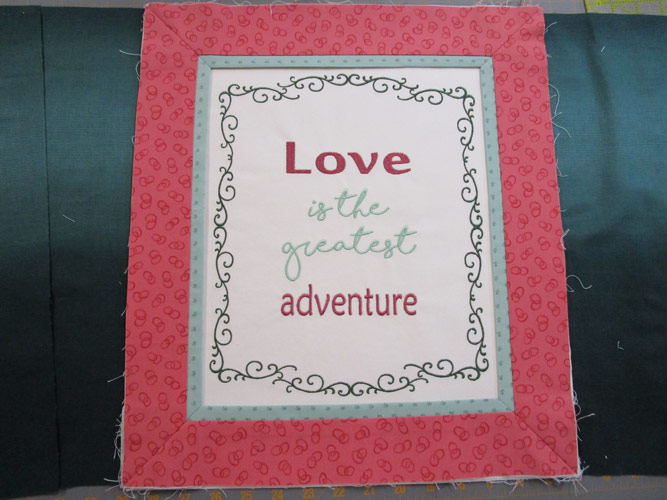
Stitch in the ditch to secure in place between the two frame fabrics.
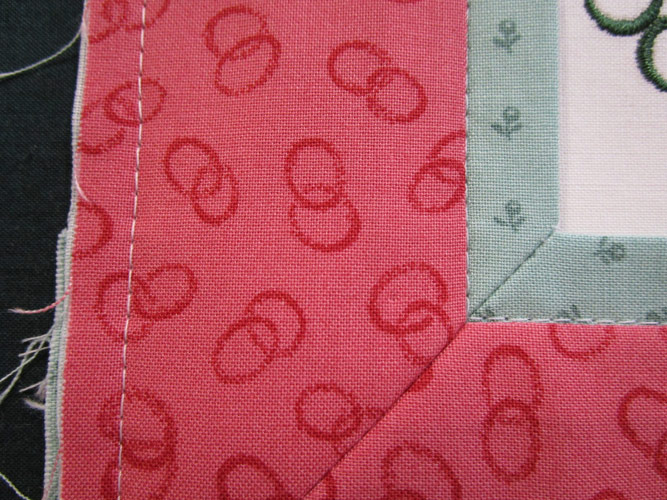
Cut two pieces of backing fabric or fabric of choice 17″ x 13″. Sew one piece to each side of the framed embroidered piece. (Consider adding one-two layers of Fusible Woven before stitching to better match the hand of the embroidered piece.) Press toward the outer edge.
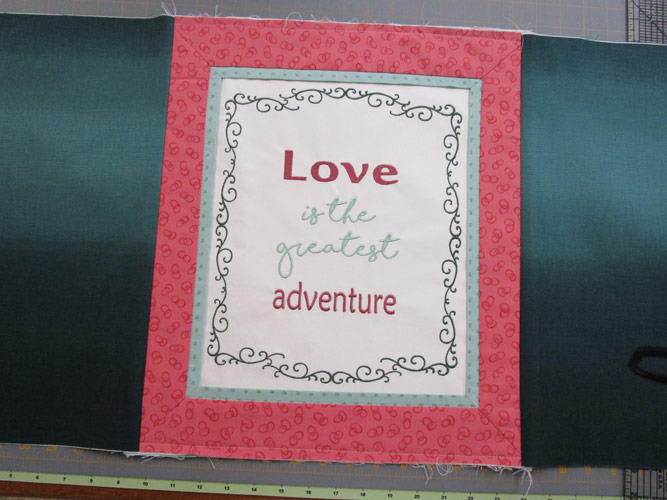
Place the right sides of the front and back together and stitch 1/2″ seam on all edges. Overlock or Zig-Zag seam edges to help prevent raveling. Trim corners at a 45-degree angle making sure not to cut through the seam threads. Turn right side out and press. Stuff with pillow form.
This material is © OESD, LLC and may not be reproduced or published without permission.
