Turn your list of travel ideas into a journal for your adventures! Use the pockets to tuck away ticket stubs, brochures, and other mementos you gather along the way. This travel journal is the perfect inspiration to get you started! Sized for a standard composition notebook (7.5” x 9.75”).

Supplies
- Scissortail Stitches’ All Who Wander #51284
- OESD Fuse and Fleece
- OESD Fuse and Seal
- OESD Fusible Woven
- OESD StabilStick TearAway
- OESD StabilStick Template Sheets
- OESD Expert Point and Press Tool
- Embroidery Needle 75/11
- Velcro, 1.5 inches
- Standard composition notebook (7.5″ x 9.75″)
- Fabric:
- Main fabric, quilter’s cotton 1/3 yard
- Contrast fabric, quilter’s cotton 1/3 yardNote: Fabric sizes are estimates and may result in overage.
Instructions
Note: All seams are 1/2 inch.
Step 1
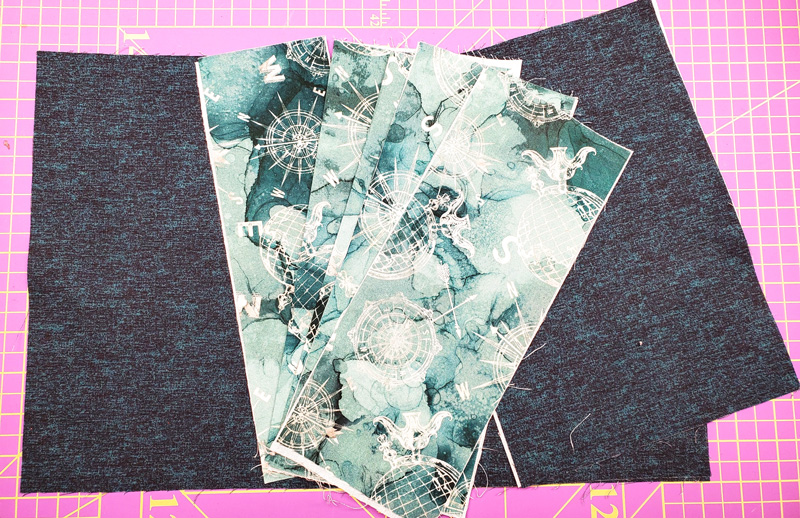
Cut fabric, Fusible Woven, and Fuse and Fleece:
Main Fabric:
(2) 11” x 7¾ “ – front and back cover
(1) 11” x 17” – lining
Contrast Fabric:
(1) 11” x 3½” – Spine
(2) 11” x 10” – pocket
(2) 11” x 4½” – flap
Fusible Woven:
(2) 11” x 7¾” – front and back cover
(1) 11” x 3½” – spine
(2) 11” x 5” – pocket
(2) 11” x 4½” flap
Fuse and Fleece:
(1) 11” x 17” – cover
Step 2
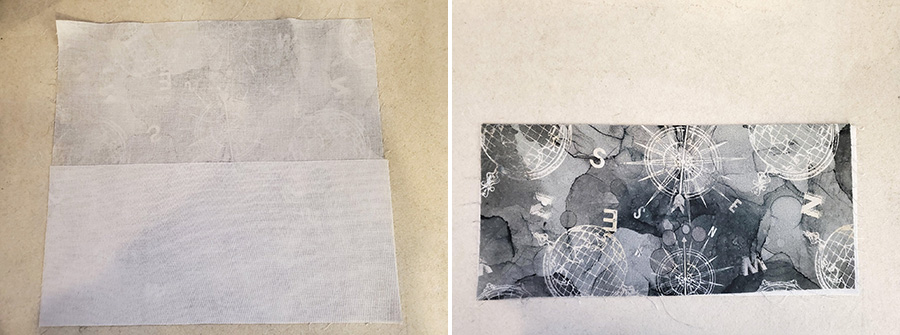
Fuse the Fusible Woven to front and back covers, spine, pockets, flaps.
On the pockets, fuse the 11” x 5” piece of Fusible Woven to half of the pocket fabric. Fold the fabric in half and press. The pocket will now measure 11” x 5” inches.
Step 3
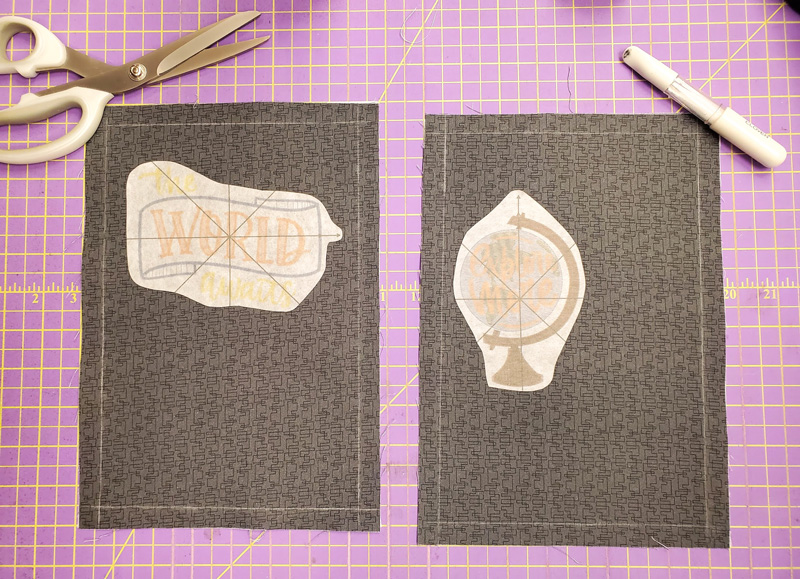
Use the StabilStick Template Sheets to print the templates for placement. I used design #51284–05 for the front cover and design #51284-03 for the back cover.
On the front cover, measure down 5½” from the top and 2½” from the left side to place the center of the design.
On the back cover, fold the cover in half the long way to find the center and measure down 3½” from the top to place the center of the design.
If you choose to use other designs, the measurements will vary.
Step 4
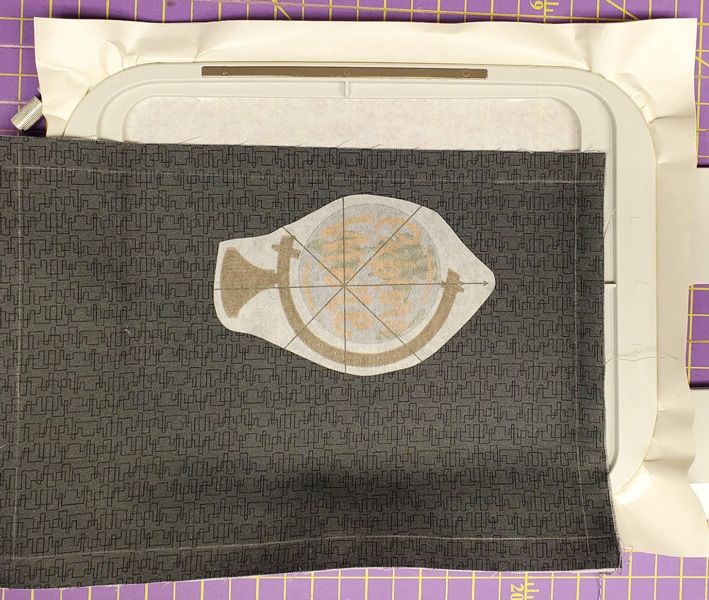
Hoop the Stabilstick TearAway with the shiny side up. Score and remove paper backing to expose the sticky surface. Attach the fabric to the stabilizer. For proper placement in the hoop, use the templates and the placement tools on your machine.
Step 5
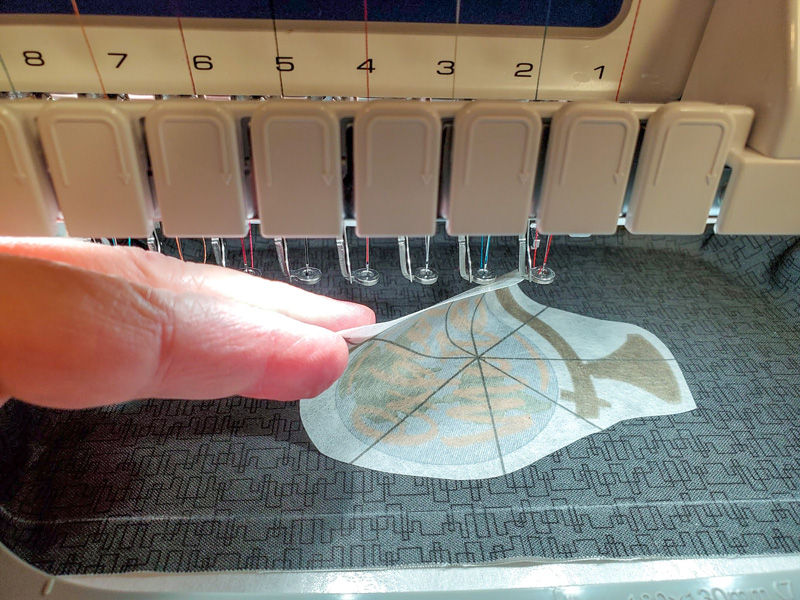
Remember to remove the template before stitching.
Step 6
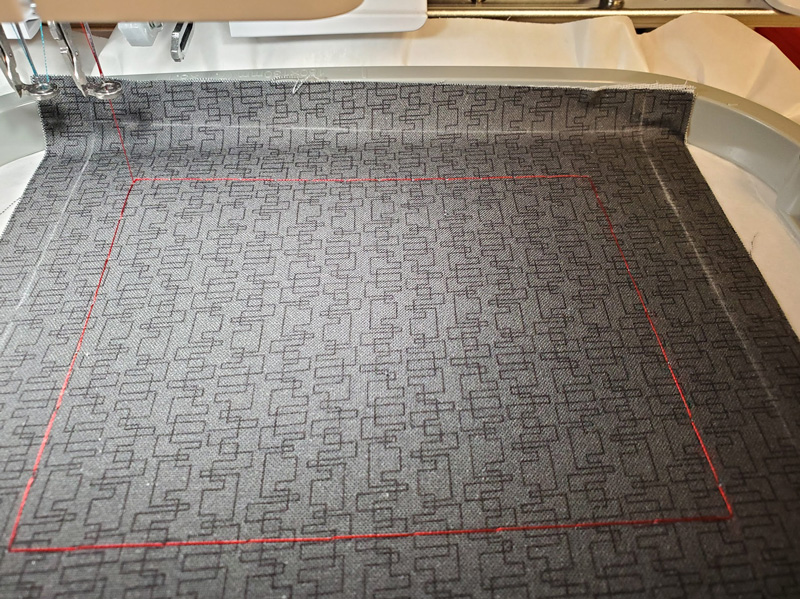
Since I floated the fabric, I added a basting box around the design.
Step 7
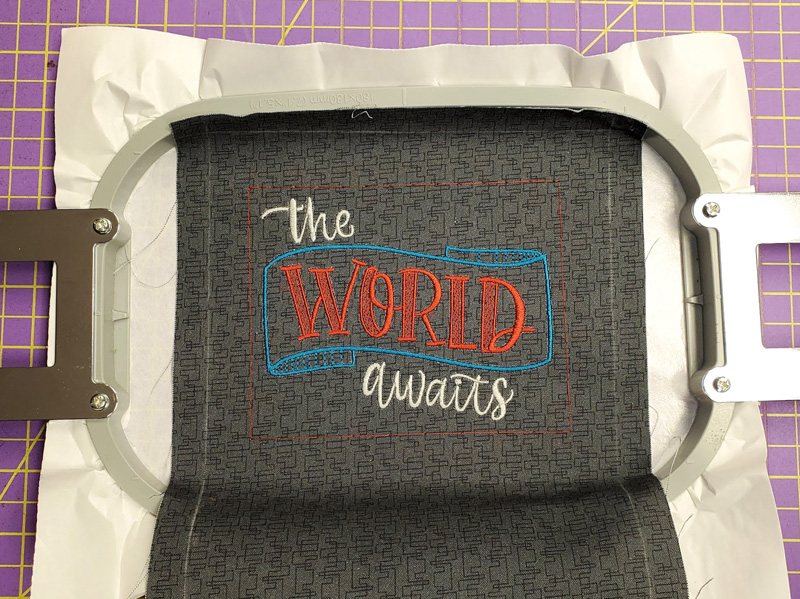
After the design is finished, remove from the hoop, remove the basting stitches, and remove stabilizer from the design.
Step 8
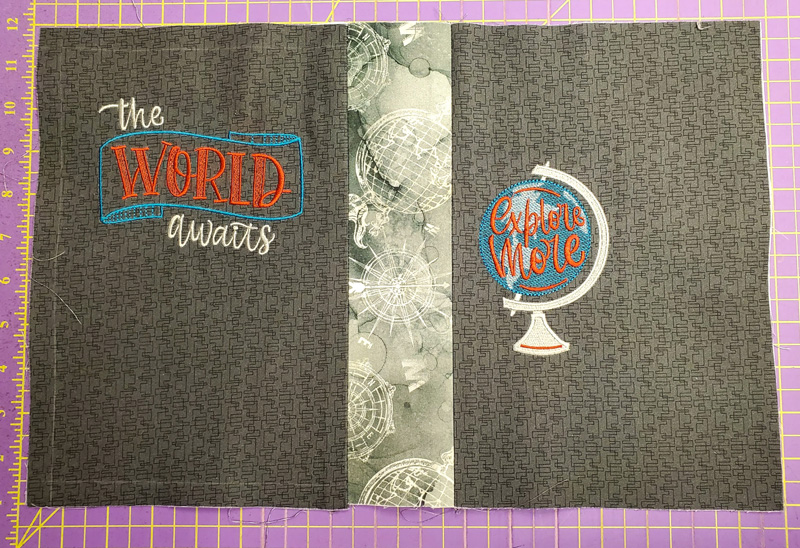
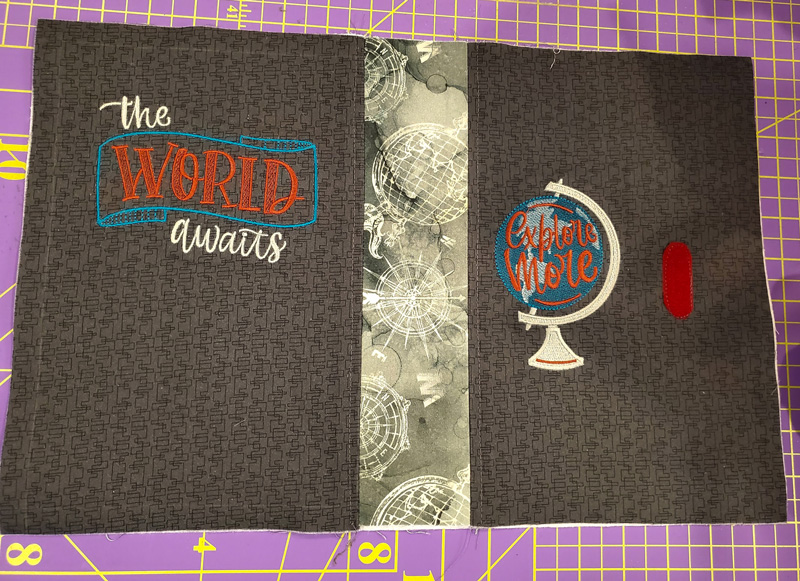
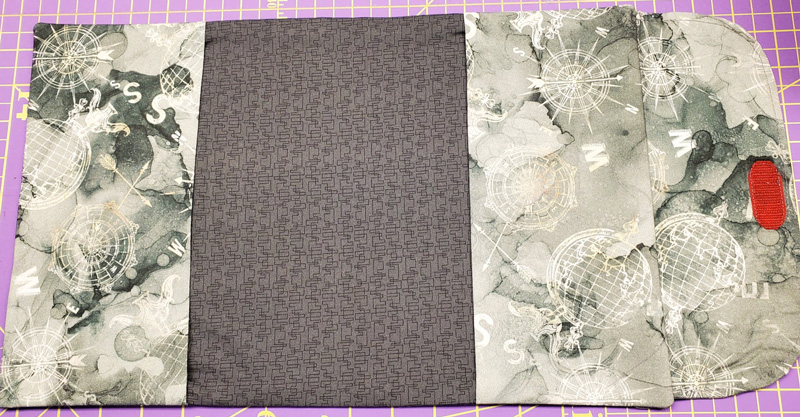
With the back cover on the left side, stitch the back cover to the spine and the spine to the front cover, which will be on the right. Press the seams.
Step 9
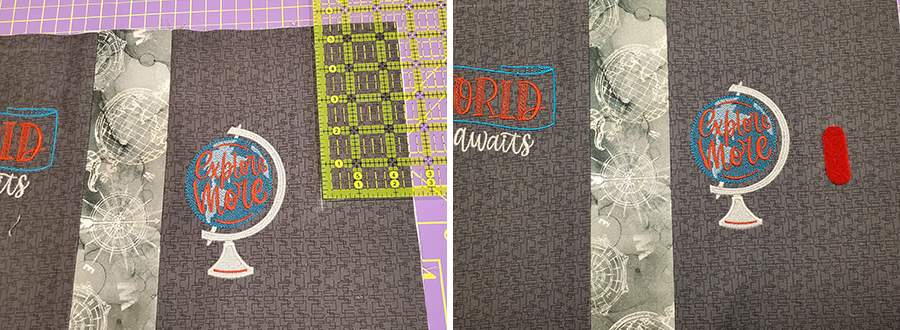
To place the Velcro, measure down 5½” from the top and 2½” from the right side. Center the Velcro (cut to 1½”) over the 5½” mark, against the 2½” mark. I use a glue stick on the back of the Velcro to hold it in place while I stitch. Also, I like to round the corners of the Velcro so they don’t catch on anything. Stitch the Velcro on the front cover.
Step 10
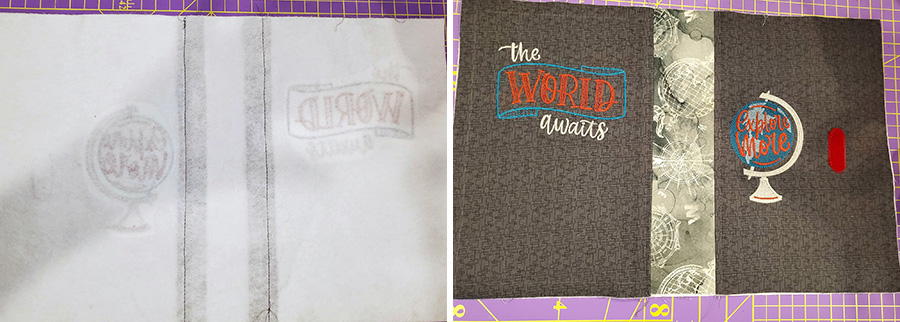
Press Fuse and Fleece to the cover piece. Stitch ¼” from the spine on both sides.
Step 11
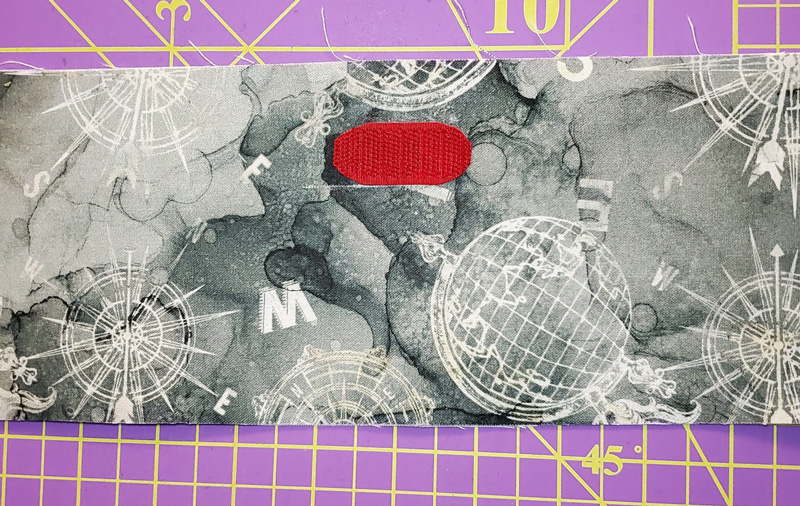
To place the Velcro on the flap, fold the 2 short ends together to find the middle. Measure down 1½” in the middle. Center the Velcro against the 1½” mark on the right side of the fabric. Stitch.
Step 12
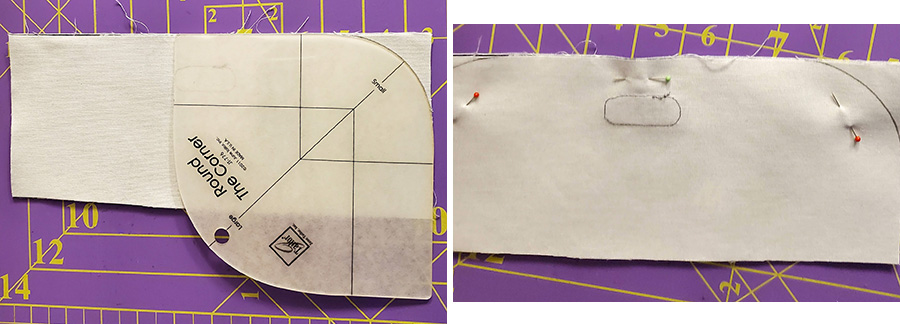
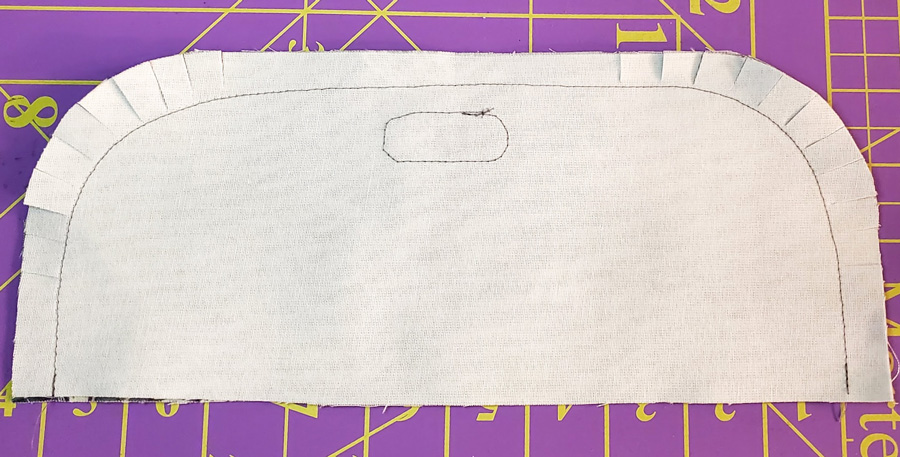
To complete the flap, put the 2 flap pieces right sides together. I used a corner template to round the corners, but you could use a saucer or small plate. Trim corners.
Step 13
Stitch a ½” seam. Clip to, but not through, the corners.
Step 14
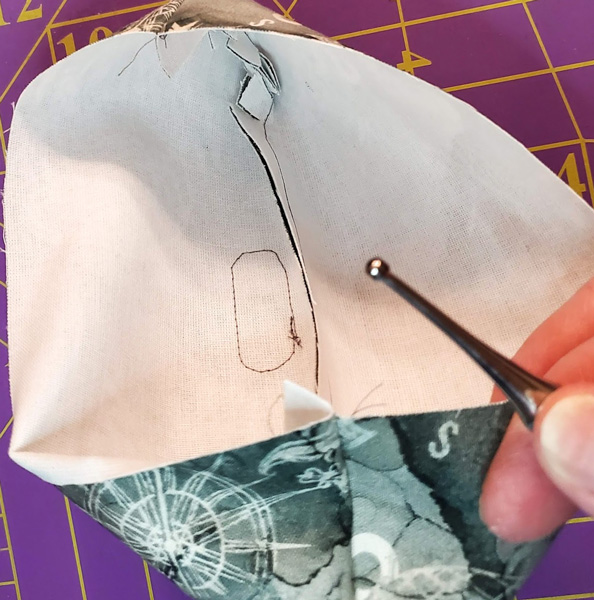
Turn the flap right side out. Use the Expert Point and Press Tool to push the corners out. Press. Top Stitch ¼” on the curved edge.

Now that all the parts are assembled, it is time to put everything together.
Step 15
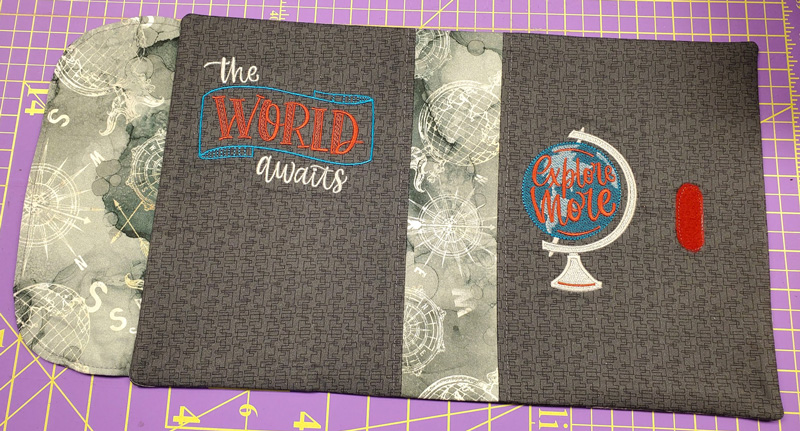
Place cover right side up. Front cover is on the right.
Step 16
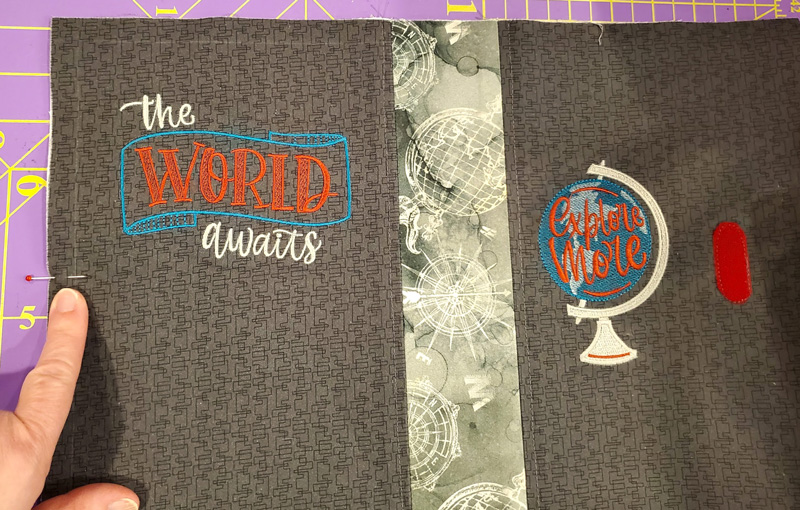
On the left side (back cover) find the center of the cover and mark with a pin.
Step 17
Find the center of the long unfinished edge of the flap, mark with a pin. Place the flap on the back cover, matching the pins, Velcro side up.
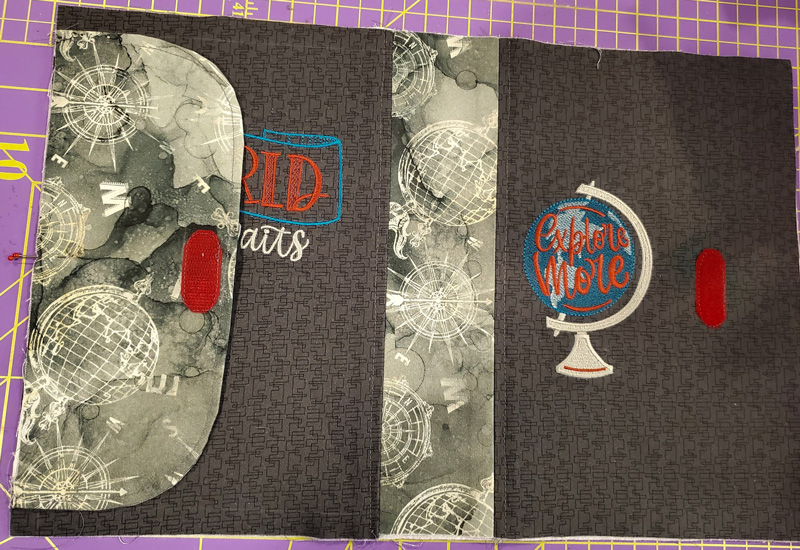
Step 18
Place the pockets on the cover. The folded edge to the middle.
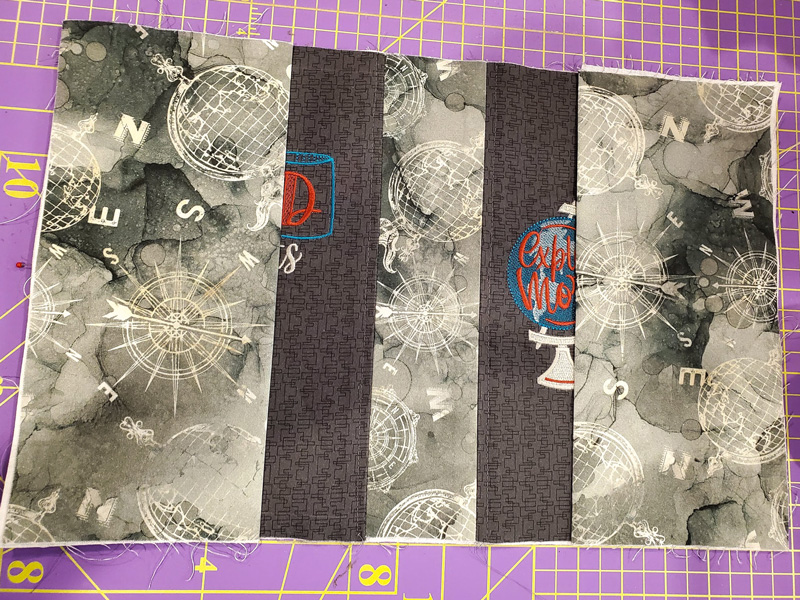
Step 19
Stitch the pockets to the cover. I stitched in red, so it was more visible.
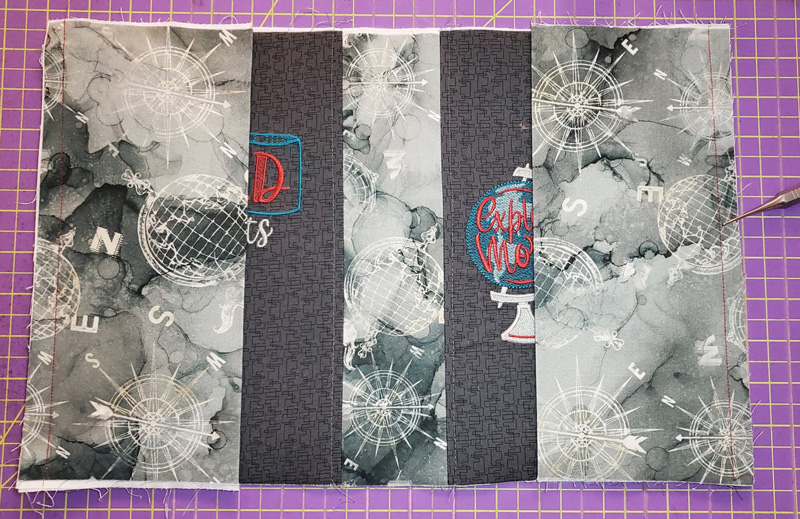
Step 20
Place the 11” x 17” lining fabric face down on the pocket layer. On the right side, leave about a 5” opening, so you can turn the project right side out.
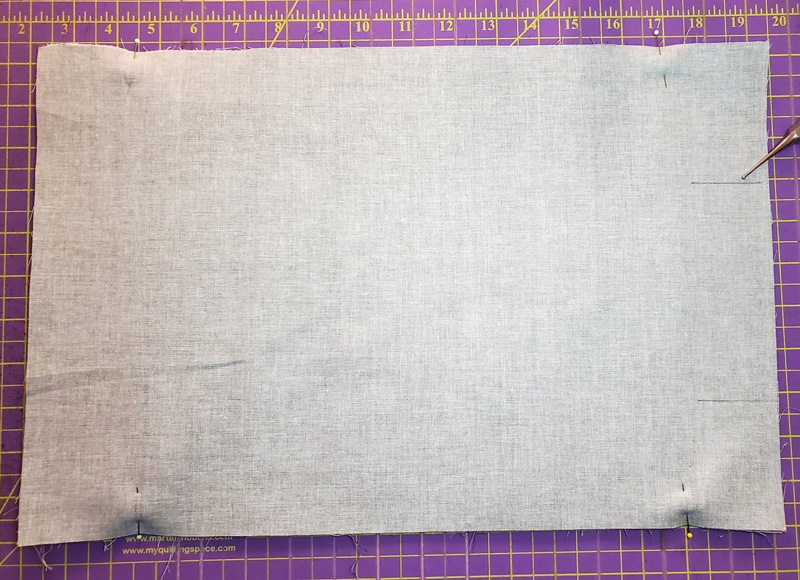
Step 21
Stitch around the journal with a ½” seam, not stitching in the 5” area.
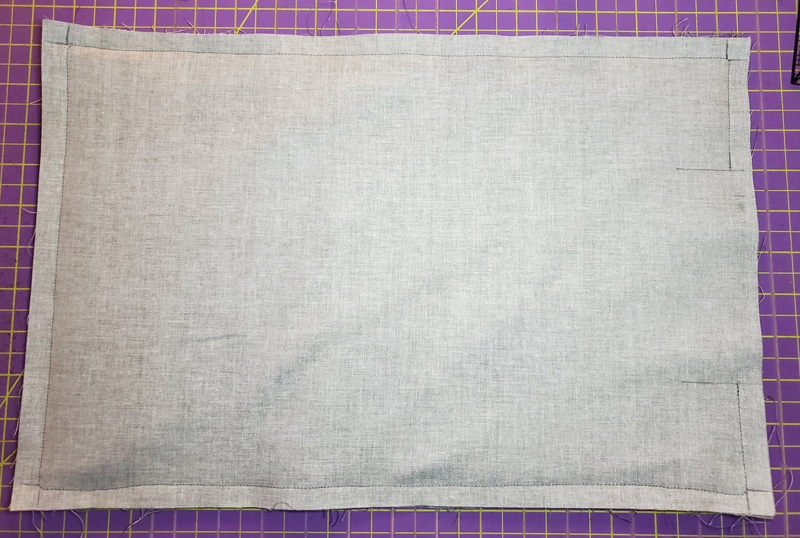
Step 22
Clip to, but not through, the corners. Remove some of the extra seam allowance by the corners. Turn right side out. Press.
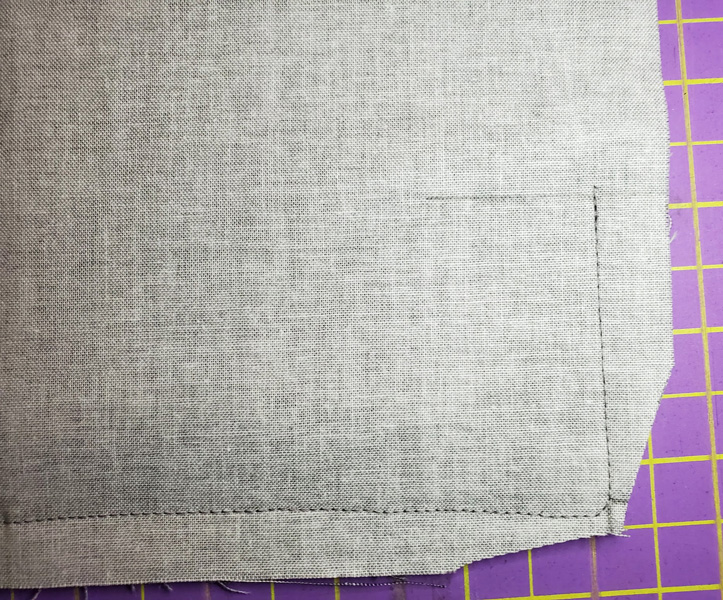
Step 23
Before you turn the pockets right side out, you will need to close the opening. You can either hand stitch the opening or use a piece of Fuse and Seal. I cut a strip of Fuse and Seal ½” x 5”. I placed the Fuse and Seal in the opening and pressed it. Remove the paper and press again.
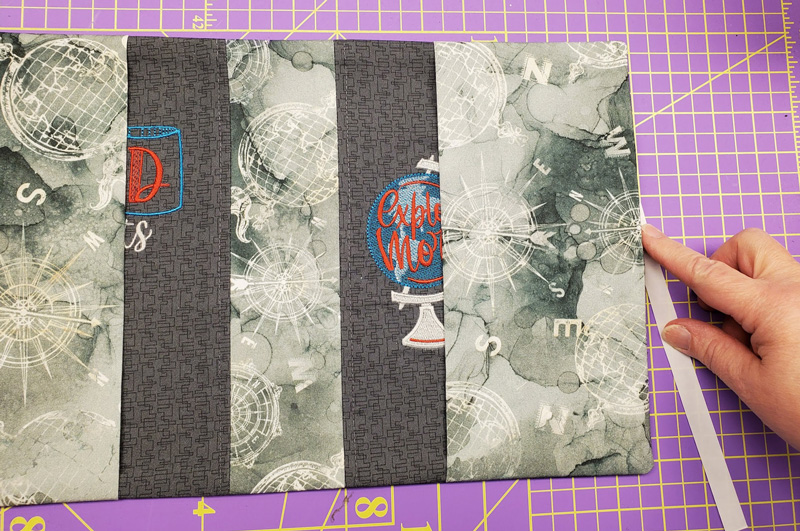
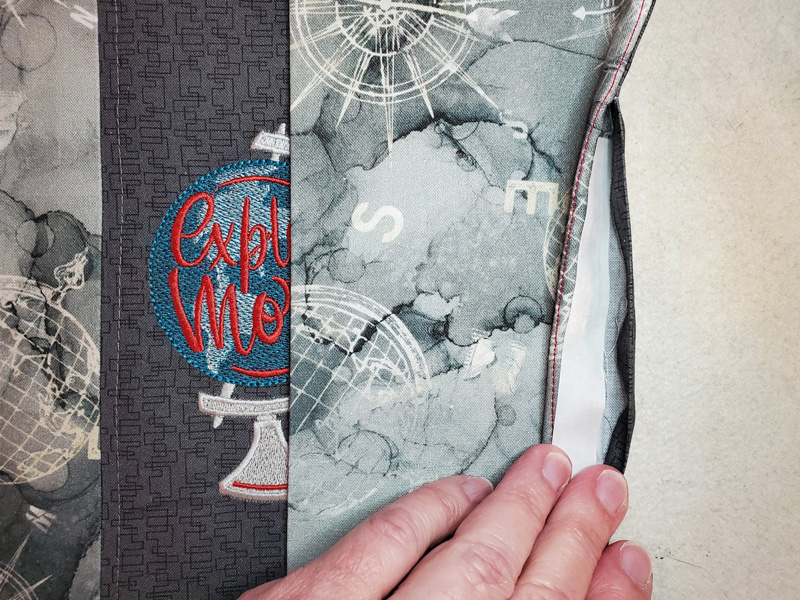
Step 24
Use the Point and Press Tool to turn the pockets right side out.
Step 25
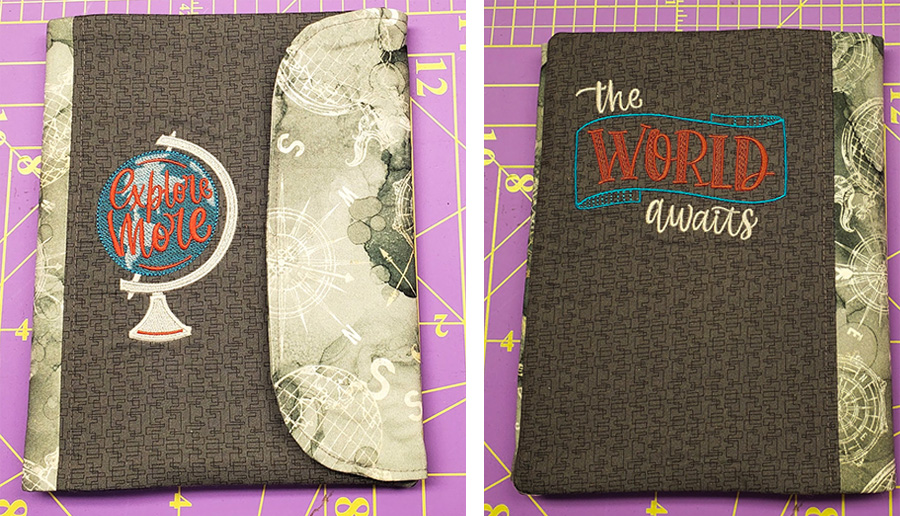
Add the journal and your project is complete!
This material is © OESD, LLC and may not be reproduced or published without permission.
