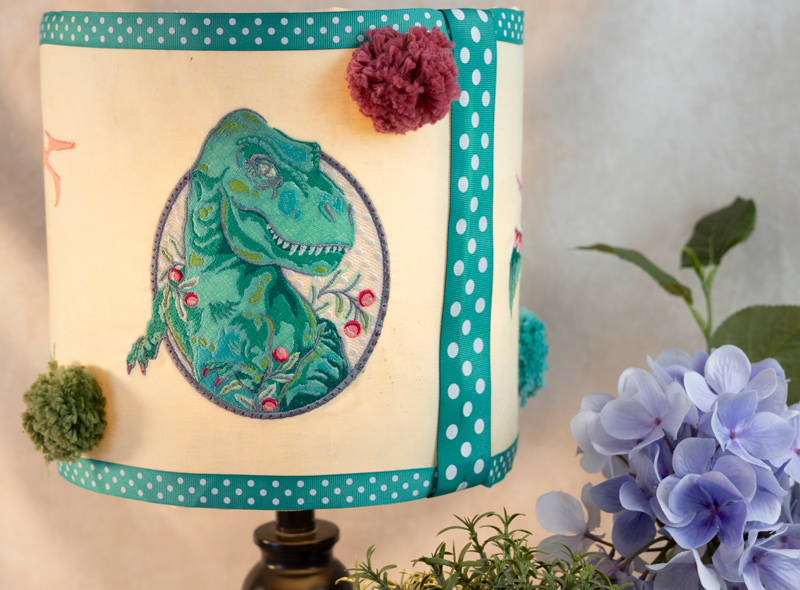
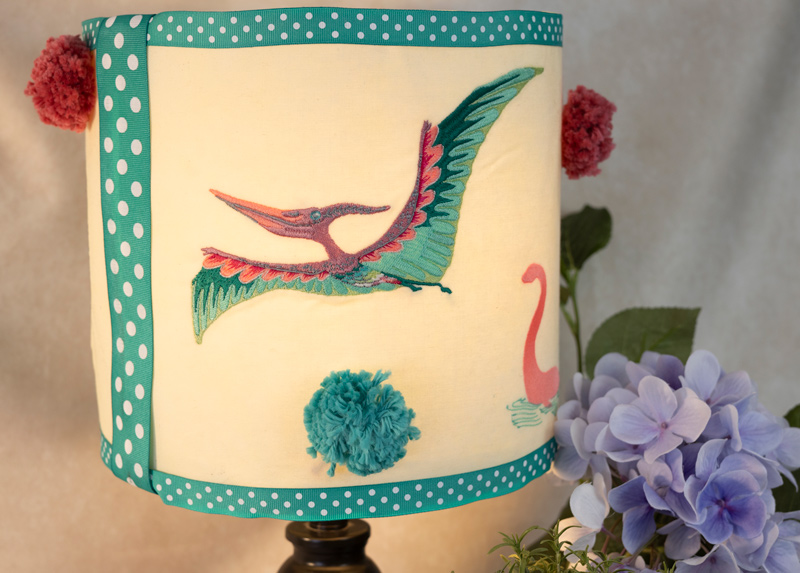
In this step-by-step tutorial, we’ll show you how to upcycle a lamp and add to your home decor with machine embroidery! We used the Roar collection by Tula Pink, intricate dinosaur-themed designs, to decorate this lamp shade and turn it into a work of art! Illuminate your space with creativity when you place the designs, stitch, then embellish with ribbon and other decorations that match your style. Grab your supplies, find a lamp you love, and let’s get stitching!
Supplies:
- Roar by Tula Pink #80372
- OESD Medium Weight TearAway
- OESD Fusible Woven
- OESD StabilStick TearAway
- OESD StabilStick Template Sheets
- Lampshade – we found ours at the thrift store!
- Large piece of tracing paper to make your pattern
- 505 Temporary Adhesive Spray
- Permanent Adhesive Spray (we used Elmer’s brand)
- Spray Starch
- Ribbon and Pompoms for decoration
Instructions:
Step 1
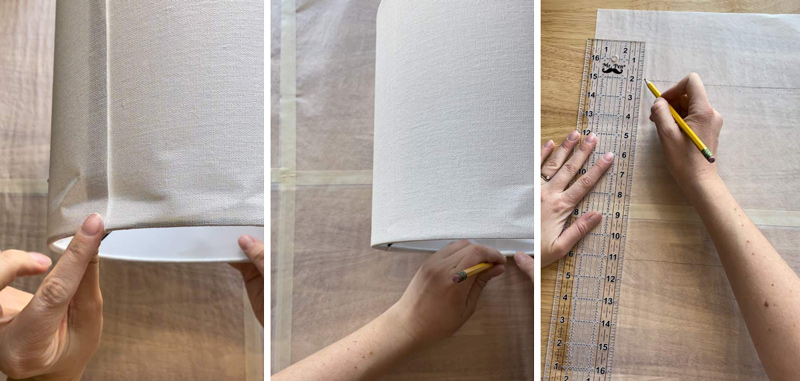
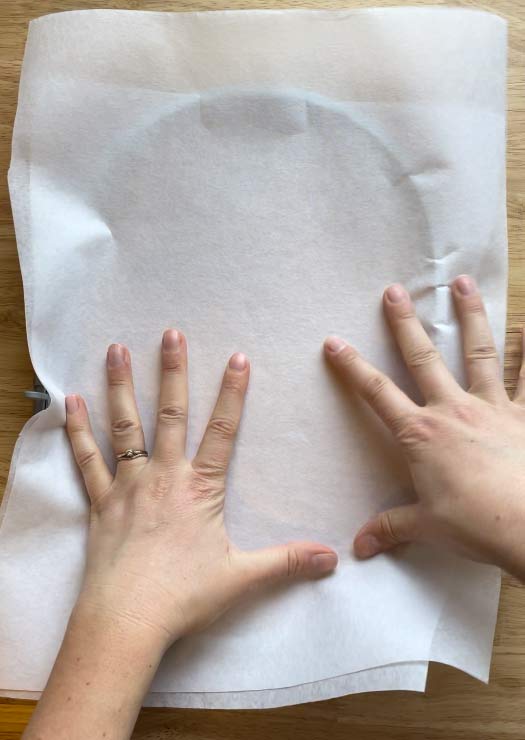
Lay out your large piece of paper on a flat surface. Starting at the seam on your lamp shade, trace along the bottom as you roll the lamp shade, stopping when you get to the seam again. Repeat this process on the top. Connect the two lines together using a straight edge.
Step 2
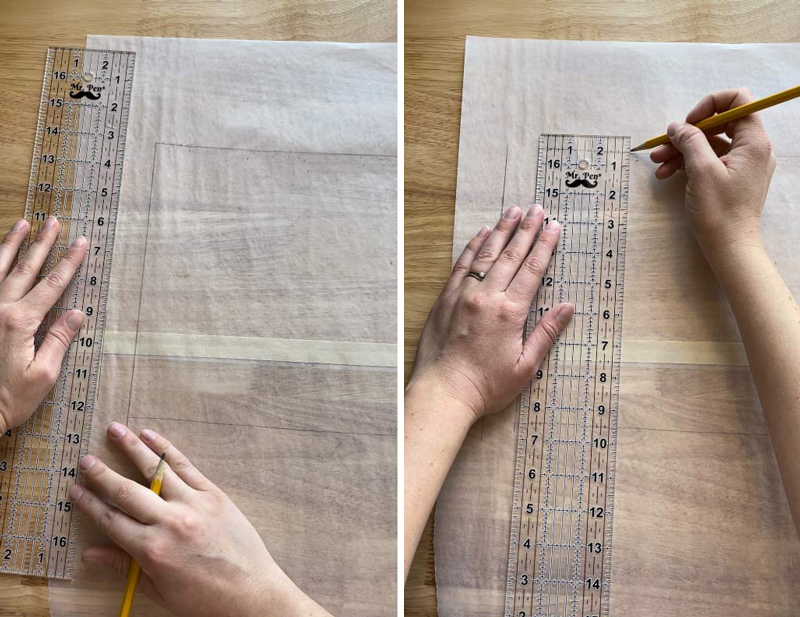
Add ½” to the top and the bottom for the hem to overlap a the end. Add 1-2” or more to one of the sides for overlap when wrapping the fabric onto the shade at the end.
Step 3
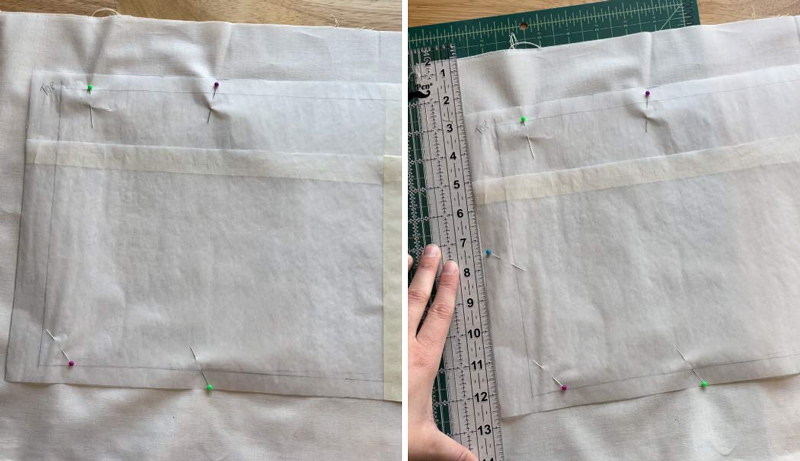
Pin the template to the fabric and cut the fabric along the template lines.
Step 4
Starch the fabric using a spray starch. This will help stiffen the fabric since the Roar designs we are using are dense.
Step 5
Apply Fusible Woven to the back of the fabric.
Step 6
Apply StabilStick TearAway to the back of the fabric. All of these stabilizers will help eliminate puckering
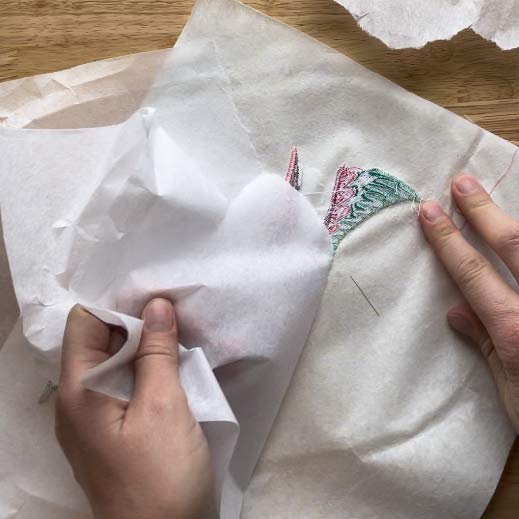
Step 7
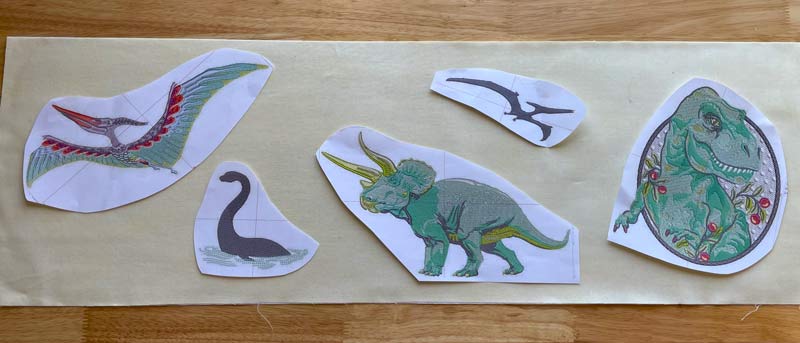
Print your chosen designs on StabilStick Template Sheets and place them in your desired locations on the fabric.
Step 8
Hoop 2 layers of Medium Weight TearAway.
Step 9
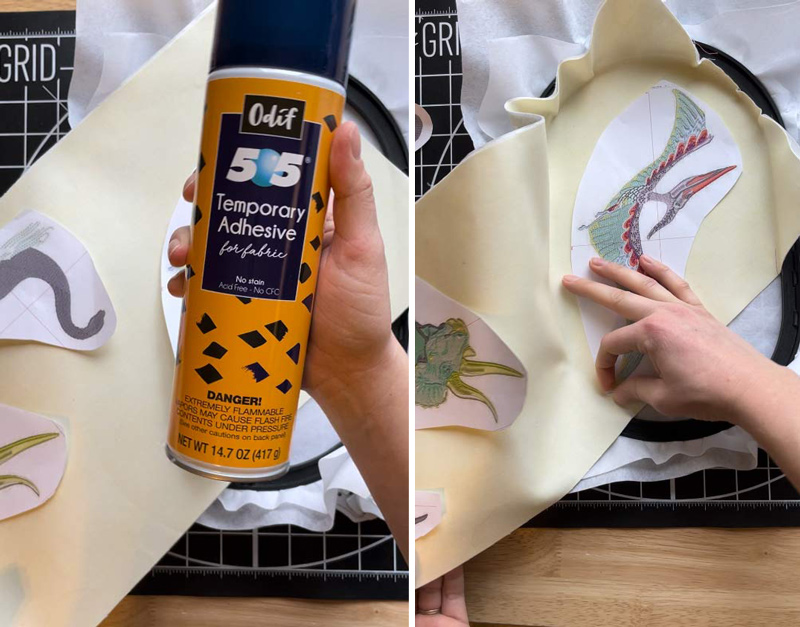
Using 505 Spray Adhesive temporary bond, spray the back of the fabric in the spot the first design will be. Float the design on your embroidery hoop.
Step 10
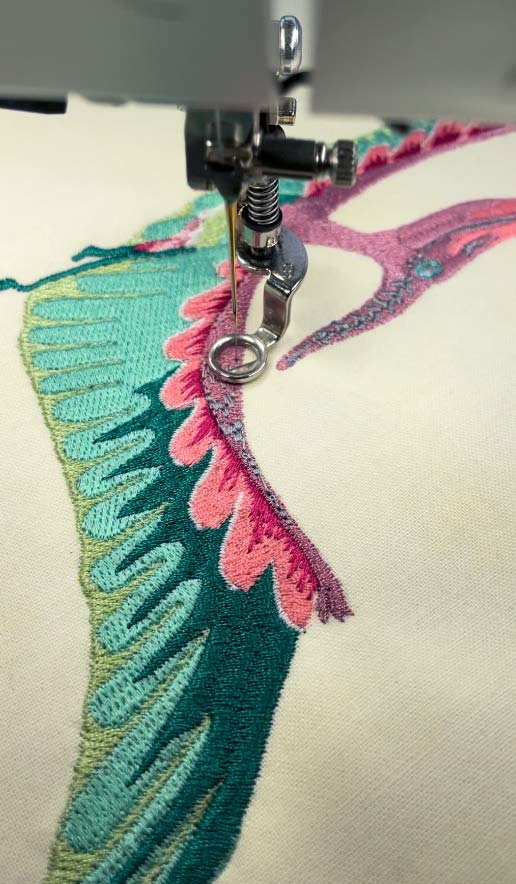
Stitch your design.
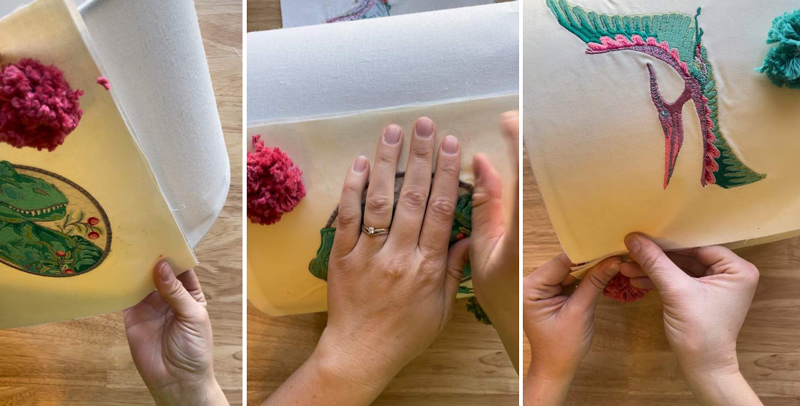
Step 11
Carefully tear away the stabilizer. Repeat for all designs.
Step 12
Add pompoms or other decorations to tie all of the designs together.
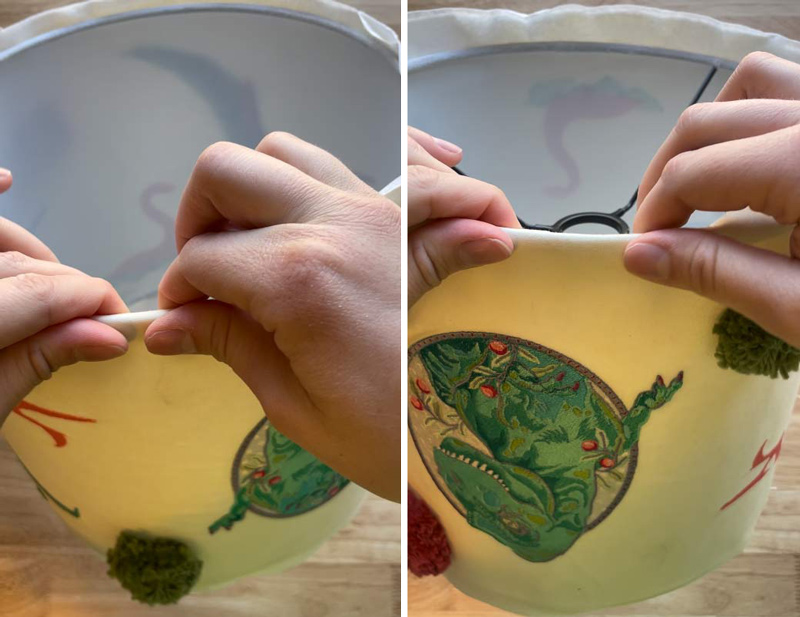
Step 13
Use a spray adhesive permanent bond to attach the fabric to the lampshade. Start at the seem on the lamp shade and carefully roll the shade onto the fabric, pressing it down as you go.
Step 14
Fold the top and bottom towards the inside of the shade to secure it in place.
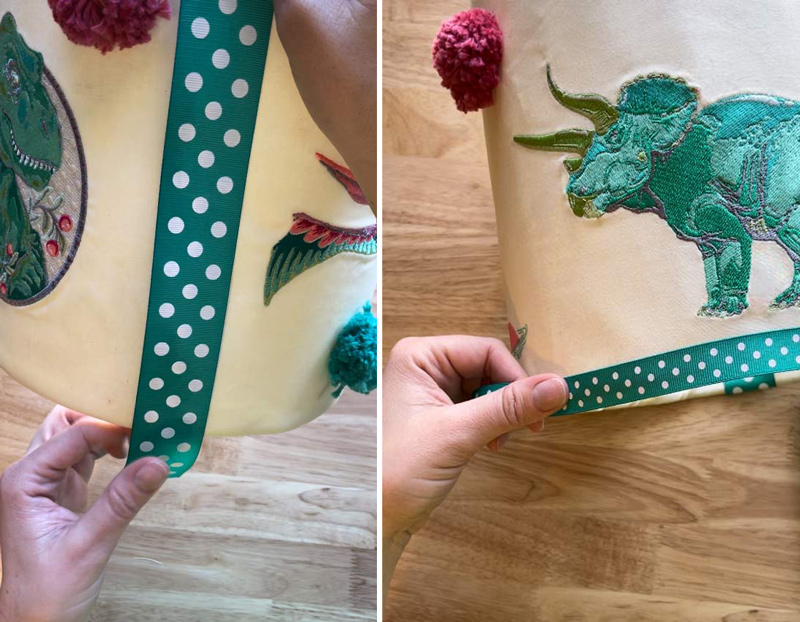
Step 15
Using the spray adhesive, add decorative ribbon to the top and bottom, but do not fold in. Cover the seam overlap with ribbon for a finishing touch.
Step 16
Attach your new lampshade to the lamp base, screw in a lightbulb, and enjoy!

JOIN US IN THE OESD COMMUNITY!
We hope you enjoyed this machine embroidery tutorial! Have you ever added embroidery to a lamp? Come show off your work in our private Facebook group, The Perfect Stitch!